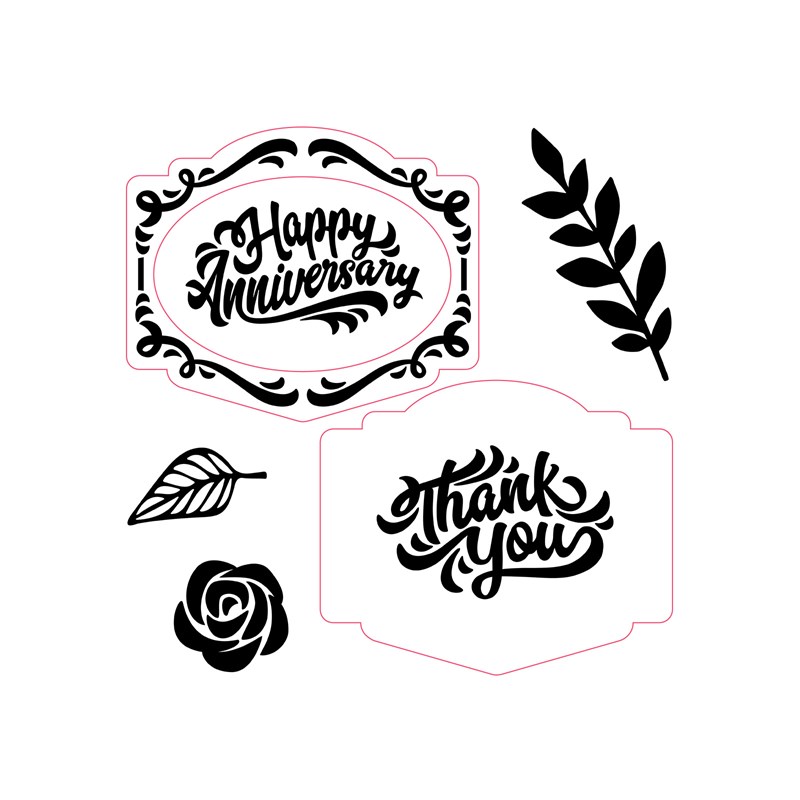
While there are no new Cricut® Collections, there are three new Cricut® Compatible Stamp Sets. When looking at the stamp set images in Seasonal Expressions 1 or online, the coordinating images are outlined in red.
|
| ||||
| this space intentionally left blank |
In addition to the cut size (height) and handbook page number, in the past year or so Close To My Heart added the image code to the stamp carrier sheets.
If you are not familiar with how to use the image code, here is an example to add the cupcake image from Years of Sweetness to your Design Space virtual mat.
Click on Images as you typically would to add any image to your Design Space virtual mat.
 |
| Images button |
The image will appear on your screen. Click on the image once so a green box will be added around it (and a thumbnail of the image will appear near the bottom of the screen). Then click Insert Images.
This is your default virtual mat once the image is added.
Once the image is on your virtual mat, you need to set the size (height) to match the size on the stamp carrier sheet. On the stamp carrier sheet the sizes are listed as fractions, for the cupcake the height is listed as 2¾", but you will need add it in Design Space as a decimal which is 2.75". If you hate fractions and decimals you only need to remember ¼" is 0.25", ½" is 0.5" and ¾" is 0.75".
When the cupcake is added to your virtual mat, two layers are added. Click "UnGroup" to separate the two layers.
Click once to select the top layer. You can then drag the top layer to the side (or click the red "x" to delete the layer).
Cut the image and start stamping.
Please come back on Sunday to see what I created using one of the Cricut Compatible stamp sets for the Seasonal Expressions 1 New Product Blog Hop. I share my Cricut Design Space file at the bottom of my blog hop post.
Thank you for stopping by my blog today. Have a fabulous day!


YOU... are amazeballs! Thank you for sharing this!
ReplyDeleteApril, I am happy that you found this post helpful. Enjoy crafting with CTMH and your Cricut.
Delete