Before I tell you about my card, I need to remind you that it is the last week of February. There are several Close To My Heart specials that end on Sunday, February 28 at 11:59pm MST (Monday, March 1 at 1:59am EST). All of the current CTMH Promotions are summarized on the Monthly Specials page (link also in green bar above).
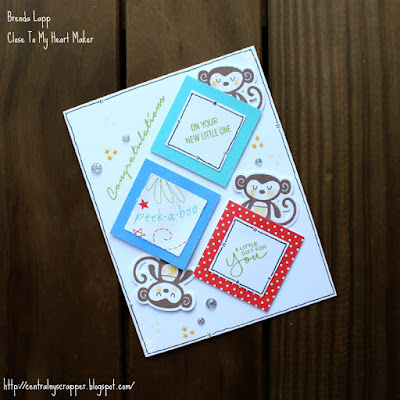
I recently worked with the Sweet Safari Cardmaking Workshop. I was not sure what I would do with four "Wild About You" cards, so after making one card following the directions, I decided to make three cards into "congratulations on your baby" cards.
 |
| Sweet Safari Cardmaking Workshop - Project 3 - Variation 1 |
I had the Shower Flowers stamp (C1612) from Bring Back My Pack—Blossom still on my desk and thought the "Congratulations" and "On Your New Little One" stamps would be perfect. To stamp the "On Your New Little One" phrase on two lines I used the technique of bending the stamp around the side of the My Acrylix® Block, but tape or sticky notes would work too.
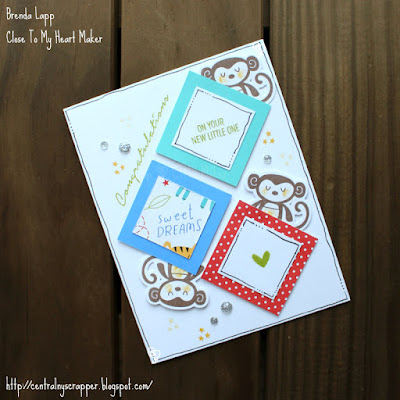
I also created two other variations to the card. This card uses the heart in the lower square as in the Workshop Guide.
 |
| Sweet Safari Cardmaking Workshop - Project 3 - Variation |
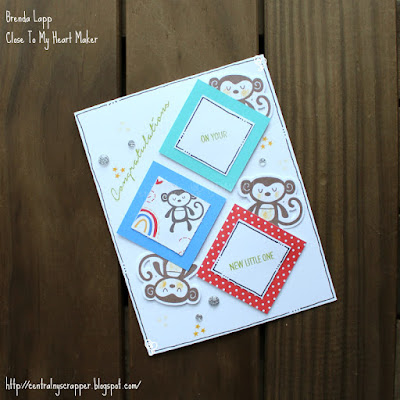
On the card below, I split the "On Your New Little One" phrase over two squares.
 |
| Sweet Safari Cardmaking Workshop - Project 3 - Variation 3 |
I don't know if you noticed, but when using the Journaling Pen, I did each doodle a little different as well. I also found it easier to doodle around the entire card before adding the die cut monkeys.
Cutting tips. If you want to be certain that you have a cuter portion of the Sweet Safari paper in the square layered on the Bluebird cardstock, do not cut 3E on page two of the cutting guide, but fussy cut the squares from the remaining paper. To ensure you have more Sweet Safari paper to choose from, rather than cut 2A 5¼" x 4", cut two pieces 5¼" x 2" and rather than cover up the middle of 2A with Bluebird cardstock, align the two pieces right above and below the Bluebird cardstock.
I was having a little difficulty lining up the twisted squares so I got the idea to lay out the lines in Cricut Design Space®, flatten them and use the Print Then Cut feature (I only printed) to create a pattern that I could use with a light box (you could use a bright window or a glass table lit from below too).
The red lines are from the Workshop Guide; I added the black lines to help space the Sweet Safari red dots paper and Bluebird and Lagoon cardstock squares. The angled line on the upper left also helped with stamping "Congratulations" on the card before adding the cardstock squares–this way I could avoid stamping around the popped up squares.
 |
| Sweet Safari Cardmaking Workshop Project 3 alignment guide |
If you order the Sweet Safari Cardmaking Workshop from my eCommerce Website, please send me a message if you would like a PDF copy of this template. Be sure to print at actual size. You can also create your own template in Cricut Design Space®; the app is free to use and you do not need a machine to be able to print from the app.
All supplies are from Close To My Heart except where noted:
- My Acrylix™ Stamps: stamp set in the Sweet Safari Cardmaking Workshop Kit (G1224), Shower Flowers (C1612), the other stamp set is an older Petite Perk
- Sweet Safari Cardmaking Workshop Kit (G1224)
I hope you like the changes I made when creating Project 3 from the Sweet Safari Cardmaking Workshop. I would love to know what you think.
No comments:
Post a Comment
Thank you for leaving a comment! I enjoy reading them.