Happy Labor Day! I hope you were able to enjoy some craft time today. If not, I hope you were surrounded by family and friends on this weekend that is traditionally referred to as the "last weekend of the summer". My morning was spent putting away the fans and taking the air conditioners out of two windows in preparation for colder weather. Not fun, but a necessity.
If you read my first post of the month,
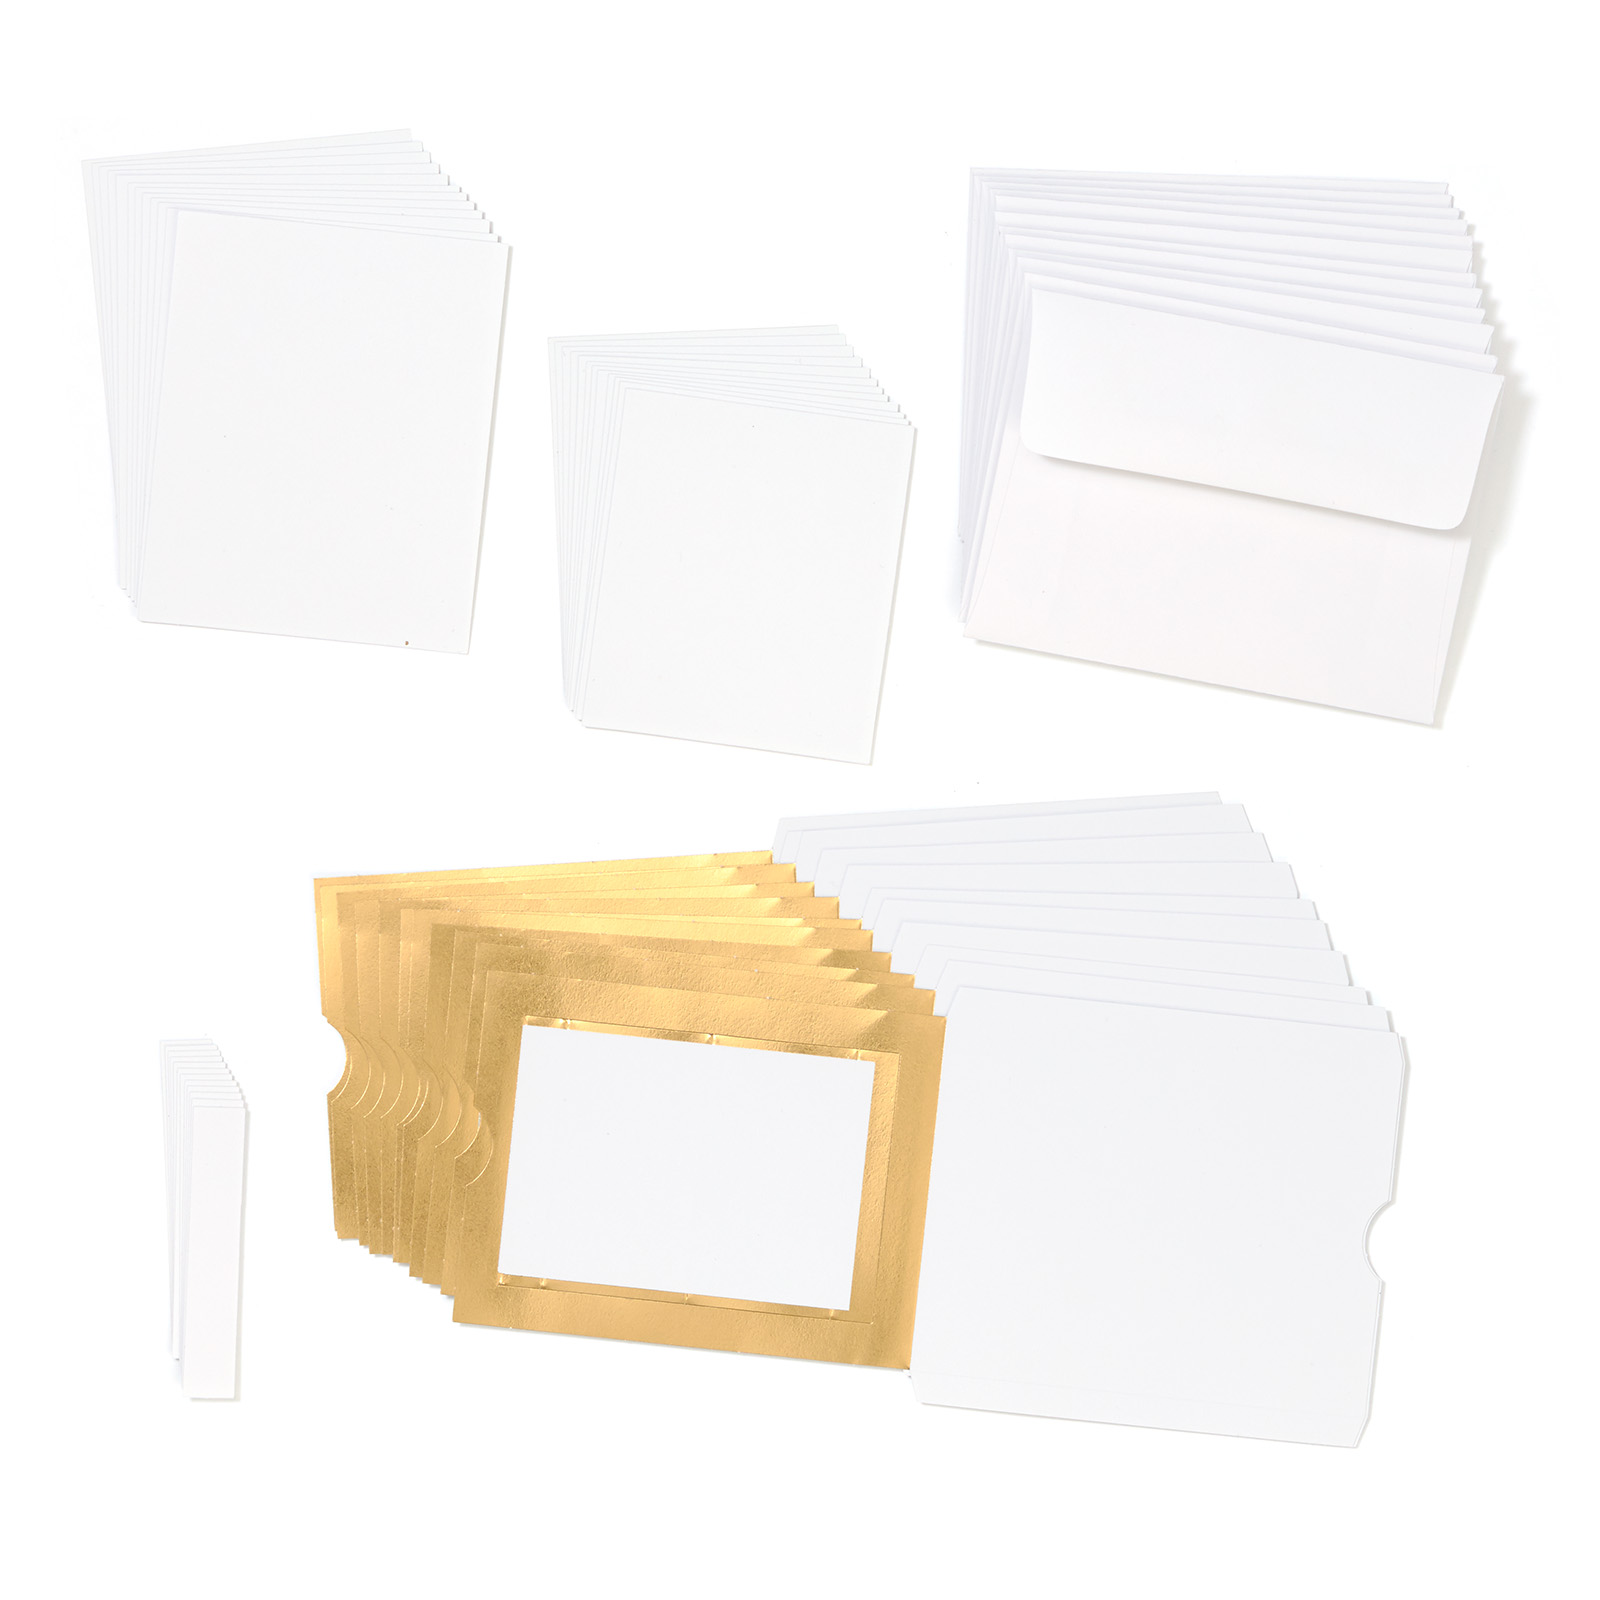
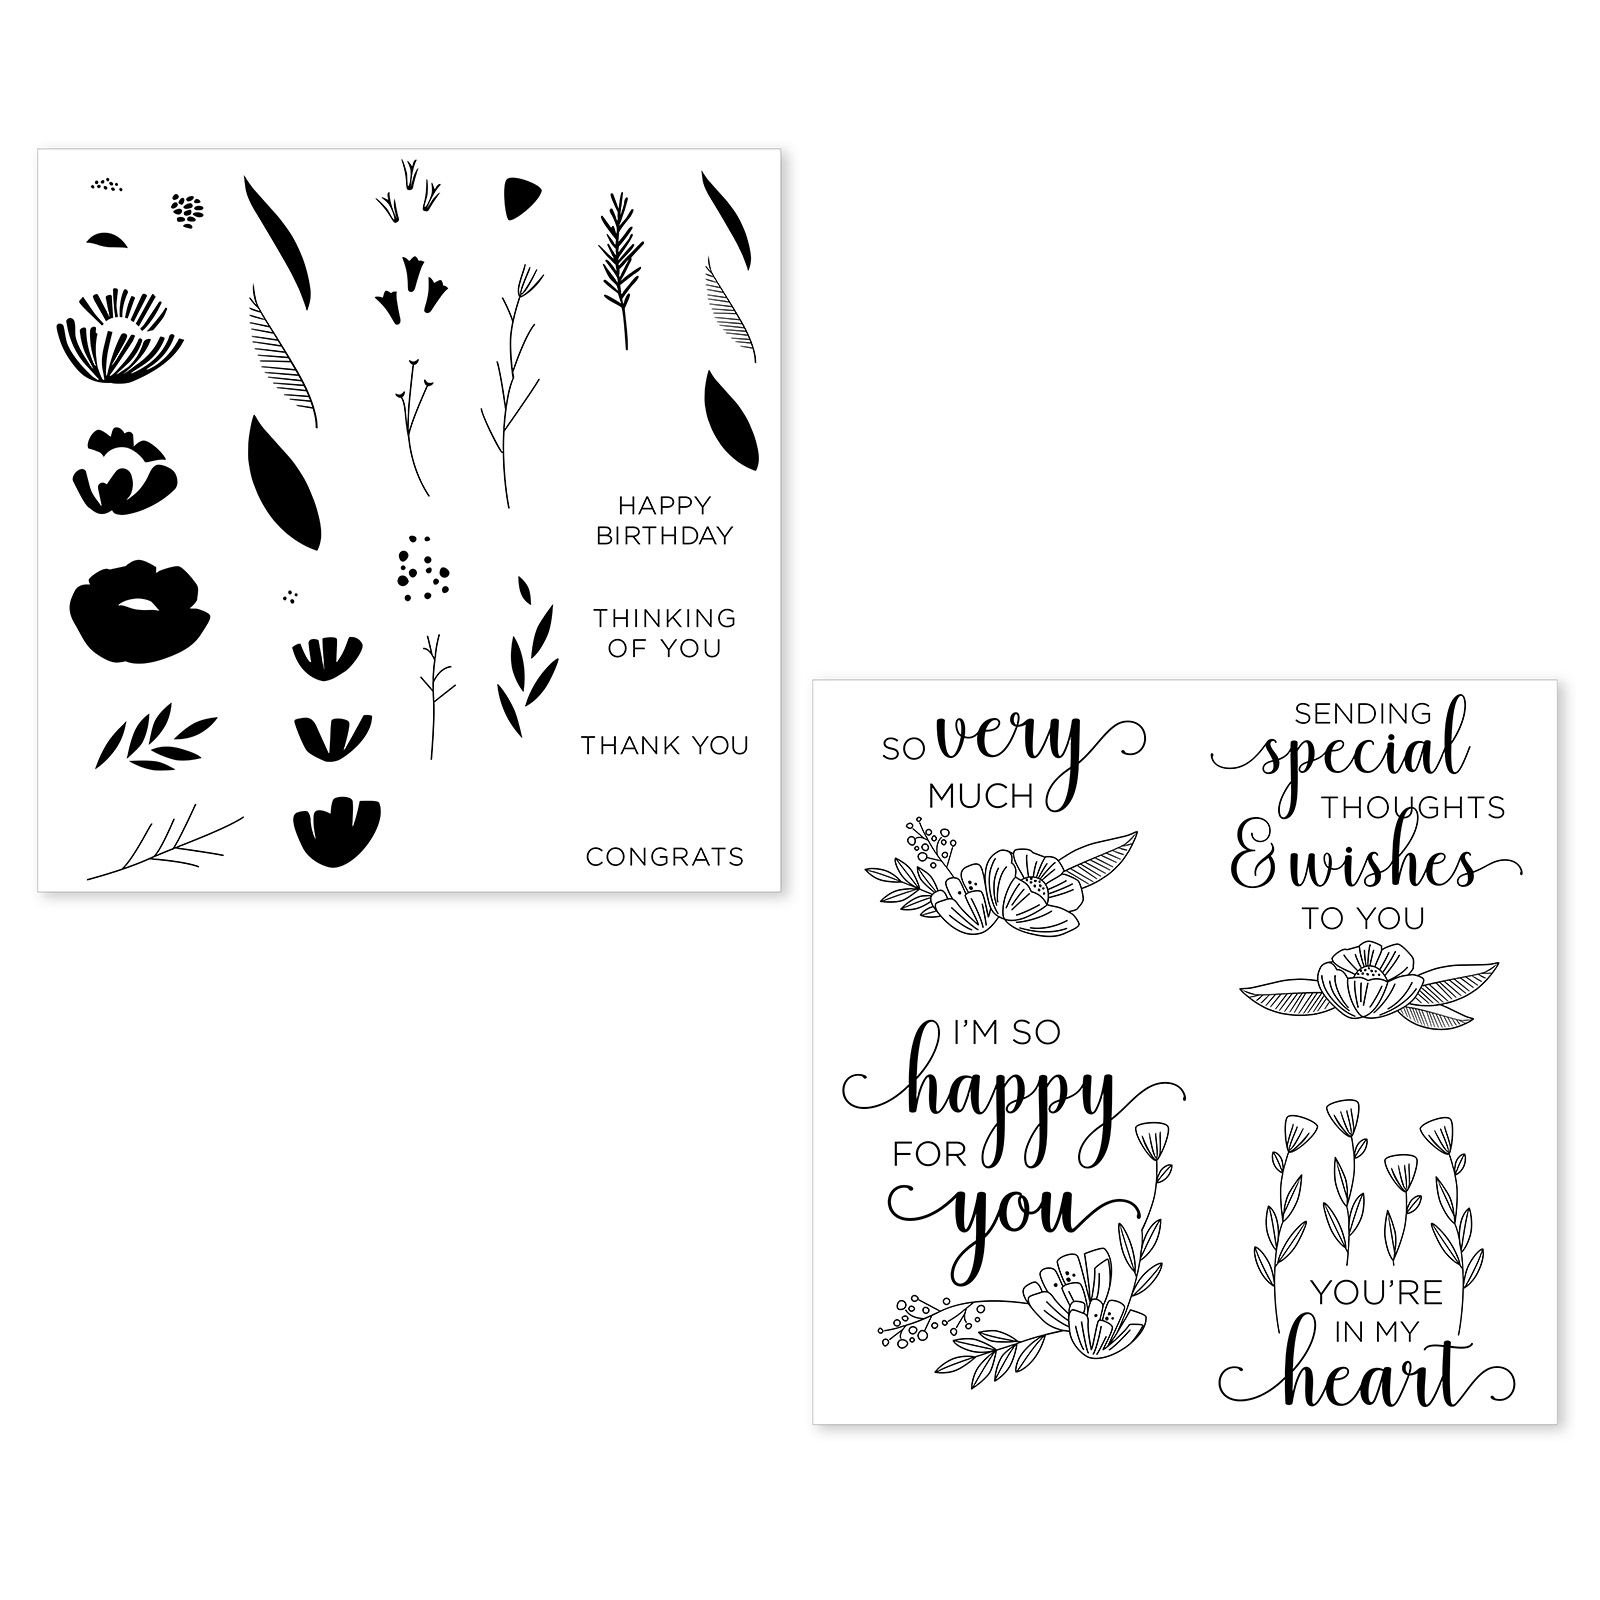
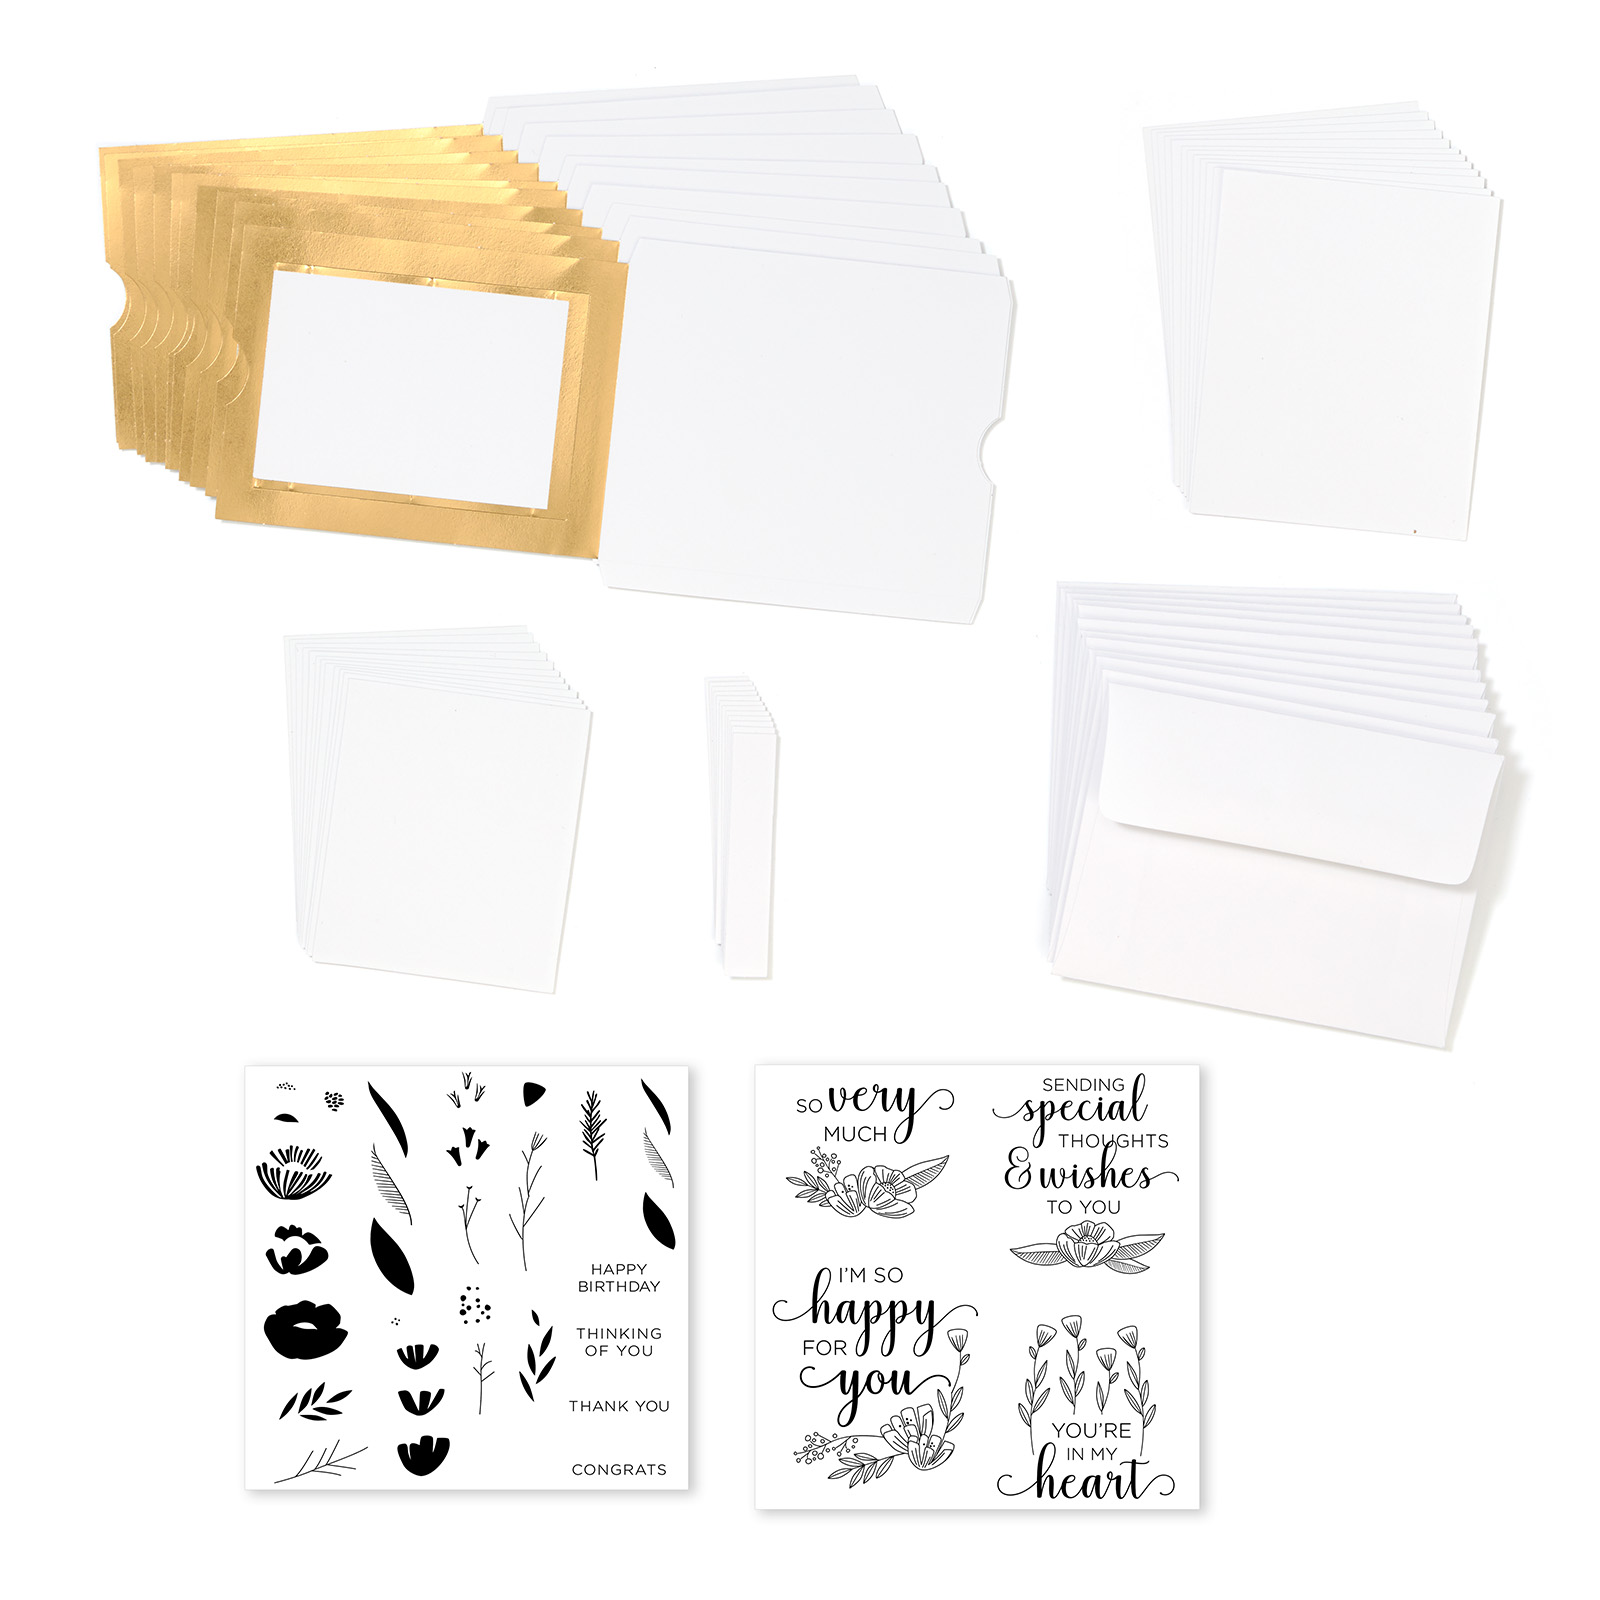
September 2017 CTMH News, you know that it is National Stamping Month and Close To My Heart created a From the Heart card kit. If you would like to know more about what is in the kit, please check out my September 1 post or visit my
Consultant Website.
When you receive your kit there will be a 12" x 12" cover page with the four photos above. On the back of the cover page there are diagrams showing the four pieces needed to create this card and there are assembly photographs with some written instructions under the photos. Do not worry. The cards look complicated, but the directions are very clear and are easier to assemble than they look.
I created a few cards using this kit and I have a few bits of advice. My first tidbit. Throw the idea of perfection and symmetry out of the window. Seriously. My blog name, "Crafting for sanity? Or insanity?" is mostly because I was always striving for perfection and it just is not realistic. And it was driving me crazy and making crafting stressful. I am a struggling perfectionist for more than 8 years (probably longer, but I was not blogging when I was taking those sewing classes). Look at nature. Yes, most of the leaves on a tree look similar, but there are those that did not form quite right. The same holds true for flowers. And let's not talk about how insects will also alter the look of things. Yes, you want to create something that looks nice, but how many times do you want to start the same card over?
Another tip is to save the scraps after removing the die cuts from the sheet:
There is enough paper left over to cut a new C shape if you are unhappy with the stamping you started on the original card front. Or you can use it for a practice sheet. In addition, if you want some gold foil to show at the base of the easel when the card is open, you can cut a new D shape with gold foil on the long side (example below).
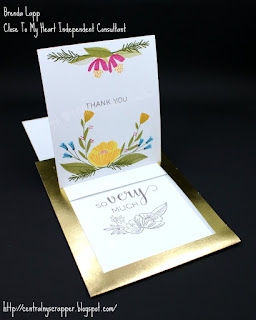
This Thank You card was made mostly following the instructions. I tucked the D shape inside the left and right edges so it does not cover the gold foil on the sides of the card; on the sheet that comes in the kit, the two cards that are pictured on the left and "open" look like this piece is left outside and on the cards on the right and "closed" look like the D piece is tucked in.
I used the following Exclusive Inks™ Stamp Pads: Lemon, Tangerine, Bashful, Raspberry, Crystal Blue, Peacock, Safforn, Flaxen, Fern, New England Ivy. I stamped "Thank You" in Charcoal. I stamped the inside sentiment long enough ago that I am not certain which color I used. I suspect Charcoal, but cannot be certain.
Do not stamp the inside sentiment too centered top to bottom because it requires the "pull out" to be pulled almost all of the way out for the full sentiment to be seen. Also, one of the wonderful things about My Acrylix® stamps is you can "bend" them to make the image "flow" another way. If you do this, remember that the stamp designed to coordinate with that stamp, e.g., a stem with leaves, also has to be "bent".
Another tip, while I did not color the inside sentiment with ShinHan™ Touch Twin™ Markers, I would avoid doing so unless you plan to cover the back of the card. The ink would bleed through enough that the back of the card would not look very neat.
For this Thank You card I cut a new "D" piece. I hate that we cover the gold foil at the bottom of the "slider", so I cut a new "D" using the scraps leftover after punching out the card pieces so there would be a gold strip at the bottom of the "slider". The gold strip is thinner, but still has that framed look.
I used the following Exclusive Inks™ Stamp Pads: Linen, Heather, Fern, New England Ivy, Thistle, Eggplant, Lemon, Safforn, Pixie, Smoothie.
I found it easier for me if I stamp the sentiment on the front first. On this card I stamped the sentiment after the flowers and leaves. Having the other stamping around made it harder to place the sentiment; my eye was getting tricked with placing the stamp. I used a piece of scrap to re-stamp the sentiment, dovetailed it and used Thin 3-D Foam Tape to attach my new sentiment. Mistake hidden.
For this card I trimmed the width of the C piece to 2⅞" so it would not be wider than the slider and the gold foil would show on either side. I also trimmed the D shape to ¼" so it would not cover the foil on the slider. The ends of the trimmed D shape were also tucked in.
I used the following Exclusive Inks™ Stamp Pads: Pewter, Fern, New England Ivy, Thistle, Eggplant, Lemon, Safforn, Blossom, Pomegranate.
I think the thinner C and D pieces do not compromise how the card functions and I love having the gold foil frame on my card front.
While all of these changes are very subtle, I hope you enjoyed seeing some of the things you could do differently with this kit. Perhaps you see a way to make the cards uniquely your own.
If you would like to purchase the any of the National Stamping Month — From the Heart options, please visit the
National Stamping Month — From the Heart promotions page on my Consultant website.
I created other cards using this stamp set which I will share on the National Stamping Month Blog Hop on September 13. I hope you will be able to hop with us then.
