I have been a Close To My Heart Independent Consultant since March 2012 and I learned something about purchasing the Stamp Of The Month (SOTM) from my Online Business Address (OBA) recently; it is possible to pay $17.95 for the SOTM even if you have a qualifying order total in your shopping cart. It turns out that in addition to having a qualifying purchase, the price you pay depends on how you add the SOTM to your shopping cart.
I am writing this blog post because I want to help prevent my readers from experiencing this.
As you know, there is a new Close To My Heart SOTM each month and that you can either purchase it for $17.95 or with a $50 qualifying order you can get the SOTM for only $5. You may also know that you can get one SOTM for $5 for each qualifying amount in your cart, that is, if you have $150 in qualifying items in your cart you can purchase three SOTM for $5 each, but I digress.
Before I go further, you may be asking what a qualifying order/amount is. Items that are purchased at a discount, e.g., clearance items, often do not count toward your qualifying purchase. It has been my experience that the purchase of monthly promotional products, e.g., purchase of the Welcome Home Wreath in January, do count toward the qualifying purchase. If they do not, I try to remember to add that information to the CTMH News I publish on the first of each month.
Now, how do you avoid paying $17.95 for the SOTM when you have a qualifying order total in your shopping cart? It is all in how you add the SOTM to your cart.
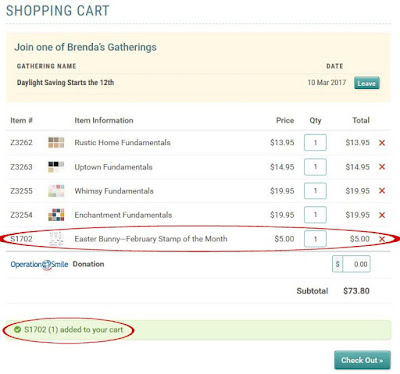
My suggestion is to wait to add the SOTM to your cart until you see a message on your screen that you qualify for the SOTM. When I added an item to my cart that made the shopping cart total over $50, a green shaded bar appeared on my screen with "Congratulations! You qualify for Stamp of the Month."
When I clicked on the link in "Congratulations! You qualify for Stamp of the Month", I was taken to my Shopping Cart and the Promotional Items I qualify for are shown near the bottom of the cart in a green shaded area:
Once I clicked the Add To Cart button to the right of the item number and name in the Promotional Items area of my shopping cart, I saw a message that the item was added to my cart and the item is now listed with the other items I placed in my cart.
If my order total qualified me to purchase additional SOTM stamp sets for $5 or there were other promotional items I qualified for, I would still see the green shaded Promotional Items area in my Shopping Cart. If this was a month where a qualifying purchase allowed me to to add something else to my cart, for free or at at discounted price, I would see those items in the Promotional Items area too.
I hope this information helps you to more easily shop my Online Business Address and save money when Close To My Heart is offering a Stamp Of The Month or other promotional item that you would like to purchase.
If you are ready to place an order or would like to research any product, the Shop Now button will take you there.
If you have any product or promotion questions, do not hesitate to email me. You will also find me on Facebook at Brenda's Paper Crafts. Thank you for visiting today.
Some of my latest crafty projects especially card making and scrapbooking with some home decor thrown in.
Sunday, February 26, 2017
Thursday, February 16, 2017
CTMH Fundamentals Creative Collections Blog Hop
Welcome to the CTMH Fundamentals Creative Collections Blog Hop. For this hop there are over 20 bloggers sharing projects they created with the Fundamentals Creative Collections. If blog hopping is new to you, we try to keep it easy: just keep clicking on the link to the next blog (typically near the bottom of the post) to visit the next stop. Our blog hop is circular so visiting the next blog will take you back to where you started.
You should have arrived here from ***Darlys Recker's Crafty Happy***. If you get lost along the way, Melinda Everitt keeps a list of participants on her blog at If You Bling It.
The Fundamentals Creative Collections come in four colorways to coordinate with each Exclusive Color Palettes: Whimsy, Adventure, Enchantment and Basics. You will find the Fundamentals Creative Collections on pages 14 to 31 of Annual Inspirations 2016-2017 and on pages 44 to 47 of Seasonal Expressions 1.
Our family is welcoming a baby this Spring so I decided to create this card for the parents-to-be. The gender was already revealed so it was easy to choose papers to create the card.
The card front uses three Cricut® shapes (listed below) and a Thin Cut. I heavily used the Slice feature in Cricut® Design Space for the card front and inside. My first thought was to use Whisper or Slate cardstock behind the rain drops, but they seemed too dark so I used the watercolor-type paper from the Whimsy Fundamentals.
This is how I completed the inside.
Again, I used the Slice feature a lot. I tried adding a patterned paper behind the words "Welcome" and "Sweet", but I thought it made it difficult to read. For some reason I struggled a bit with the design for this card. Finally I used Cricut® Design Space to audition many baby images, design and create my card. I hope the parents-to-be and you love the card.
Before you head to ***Paper HeARTIST Creations by Tamytha Jenkins***, the supplies I used to create my project are listed below.
All supplies are from Close To My Heart except where noted:
Before you leave I would be delighted if you left me a comment letting me know what you think of my project. So you do not have to scroll back up, the next stop on the hop is ***Paper HeARTIST Creations by Tamytha Jenkins***.
I hope you are finding many ideas for using the Fundamentals available from Close To My Heart. Thanks for hopping with us!
You should have arrived here from ***Darlys Recker's Crafty Happy***. If you get lost along the way, Melinda Everitt keeps a list of participants on her blog at If You Bling It.
The Fundamentals Creative Collections come in four colorways to coordinate with each Exclusive Color Palettes: Whimsy, Adventure, Enchantment and Basics. You will find the Fundamentals Creative Collections on pages 14 to 31 of Annual Inspirations 2016-2017 and on pages 44 to 47 of Seasonal Expressions 1.
Our family is welcoming a baby this Spring so I decided to create this card for the parents-to-be. The gender was already revealed so it was easy to choose papers to create the card.
The card front uses three Cricut® shapes (listed below) and a Thin Cut. I heavily used the Slice feature in Cricut® Design Space for the card front and inside. My first thought was to use Whisper or Slate cardstock behind the rain drops, but they seemed too dark so I used the watercolor-type paper from the Whimsy Fundamentals.
This is how I completed the inside.
Again, I used the Slice feature a lot. I tried adding a patterned paper behind the words "Welcome" and "Sweet", but I thought it made it difficult to read. For some reason I struggled a bit with the design for this card. Finally I used Cricut® Design Space to audition many baby images, design and create my card. I hope the parents-to-be and you love the card.
Before you head to ***Paper HeARTIST Creations by Tamytha Jenkins***, the supplies I used to create my project are listed below.
All supplies are from Close To My Heart except where noted:
- Workshops Your Way® Happy Congratulations Cardmaking Kit (G1125) - "Congratulations"
- Hello Lovely Cardmaking Thin Cuts Bundle (Z3301) - "It's A Shower"
- Whimsy Fundamentals (Z3253)
- 12" X 12" Cardstock: White Daisy (1385); Pixie (X5773)
- Exclusive Inks™ Stamp Pads: Blossom (Z2810)
- VersaMark™ Ink Pad (Z891)
- Ranger™ White Super Fine Embossing Powder (Z2068)
- Craft Heater (Z555)
- 3L® E-Z Dots® Adhesive (Z3022)
- Thin 3-D Foam Tape (Z2060)
- Close To My Heart Cricut® Collections
- Flower Market Physical Cartridge (Z3285) or Digital Collection no cartridge (Z3290)
- Artistry Physical Cartridge (Z3167) or Digital Collection no cartridge (Z3190)
- Artfully Sent (retired)
- Cricut® Images used to create the card front:
- Square - #M369896 - Basic Shapes/Insert Images
- Under the Weather Pop-Up Card - #M102360 - Artfully Sent
- Baby Pop-up Card - #M105BB5 - Artfully Sent
- Welcome Baby Banner - #MD70B1F - Flower Market
- Cricut® Images used to create the card inside:
- Square - #M369896 - Basic Shapes/Insert Images
- Welcome Spring Scene Card - #M131A5E - Artfully Sent
- Sweet Baby Scene Card - #M1316C0 - Artfully Sent
- Artistry Font
- Baby Pop-up Card - #M105BB5 - Artfully Sent
- I cut the dotted Whimsy Fundamentals using my paper trimmer (to be able to used scraps/less paper)
- Cricut® Images used to create the card inside:
- Baby Pop-up Card - #M105BB5 - Artfully Sent
- Supplies not from Close To My Heart: Cricut® Design Space, Cricut® Explore, Cuttlebug I used the Craftwork Card's blog for instructions to cut and assemble the Twist and Pop Card—I used all of their measurements, except I started with an 8½" x 11" sheet of cardstock rather than A4
Before you leave I would be delighted if you left me a comment letting me know what you think of my project. So you do not have to scroll back up, the next stop on the hop is ***Paper HeARTIST Creations by Tamytha Jenkins***.
I hope you are finding many ideas for using the Fundamentals available from Close To My Heart. Thanks for hopping with us!
Labels:
Artfully Sent,
Artistry,
blog hop,
Cricut®,
CTMH,
Design Space,
Explore,
Flower Market,
stamping,
Thin Cuts
Wednesday, February 15, 2017
CTMH Fundamentals Creative Collections
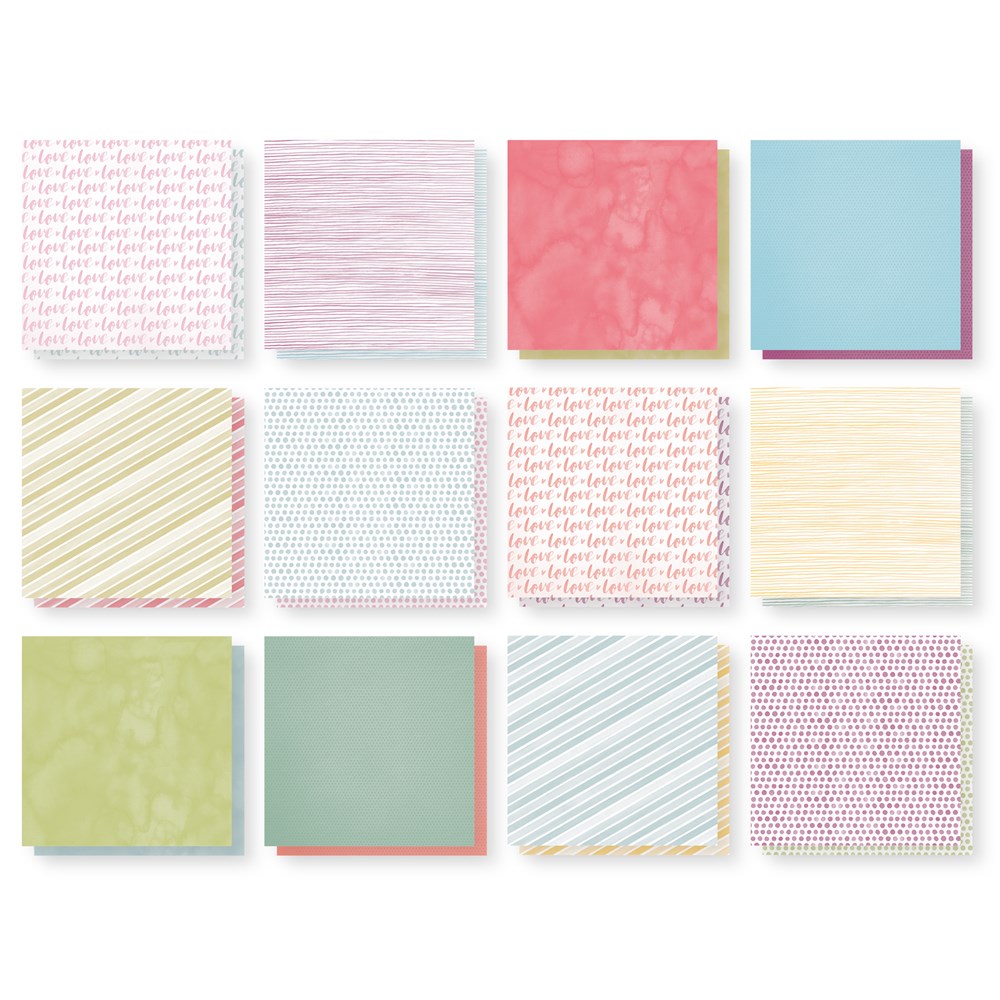
I am participating in a CTMH Fundamentals Creative Collections Blog Hop soon (my post will be available on February 17th) so I thought today might be a good time to remind you of the Fundamentals options available in Annual Inspirations 2016-2017 and those introduced in Seasonal Expressions 1.
There are Fundamentals Creative Collections that coordinate with each Exclusive Color Palette: Whimsy, Adventure, Enchantment and Basics.
The Whimsy Fundamentals Creative Collections can be found on pages 14 to 17 of Annual Inspirations 2016-2017 and have the following featured colors: Thistle, Crystal Blue, Glacier, Juniper, Sweet Leaf, Canary, Flaxen, Sorbet, Pixie, Smoothie. The Springtime Complements were introduced in Seasonal Expressions 1 on page 46.
The Adventure Fundamentals Creative Collections can be found on pages 18 to 21 of Annual Inspirations 2016-2017 and have the following featured colors: Pansy, Pacifica, Lagoon, Emerald, Willow, Lemon, Tangerine, Blossom, Raspberry, Cranberry. The My Girl Complements were introduced in Seasonal Expressions 1 on page 45.
The Enchantment Fundamentals Creative Collections can be found on pages 22 to 25 of Annual Inspirations 2016-2017 and have the following featured colors: Eggplant, Sapphire, Peacock, New England Ivy, Fern, Saffron, Goldrush, Poppy, Pomegranate, Ruby. The My Boy Complements were introduced in Seasonal Expressions 1 on page 44.
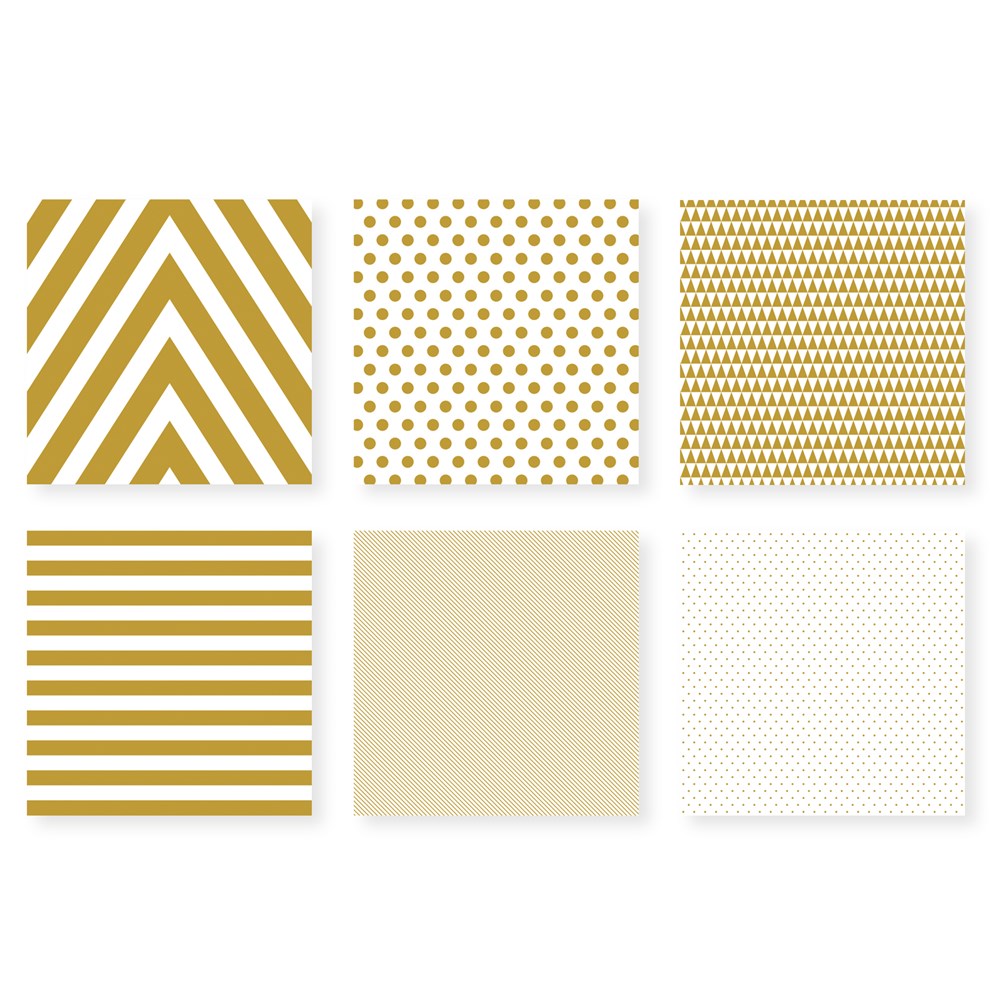
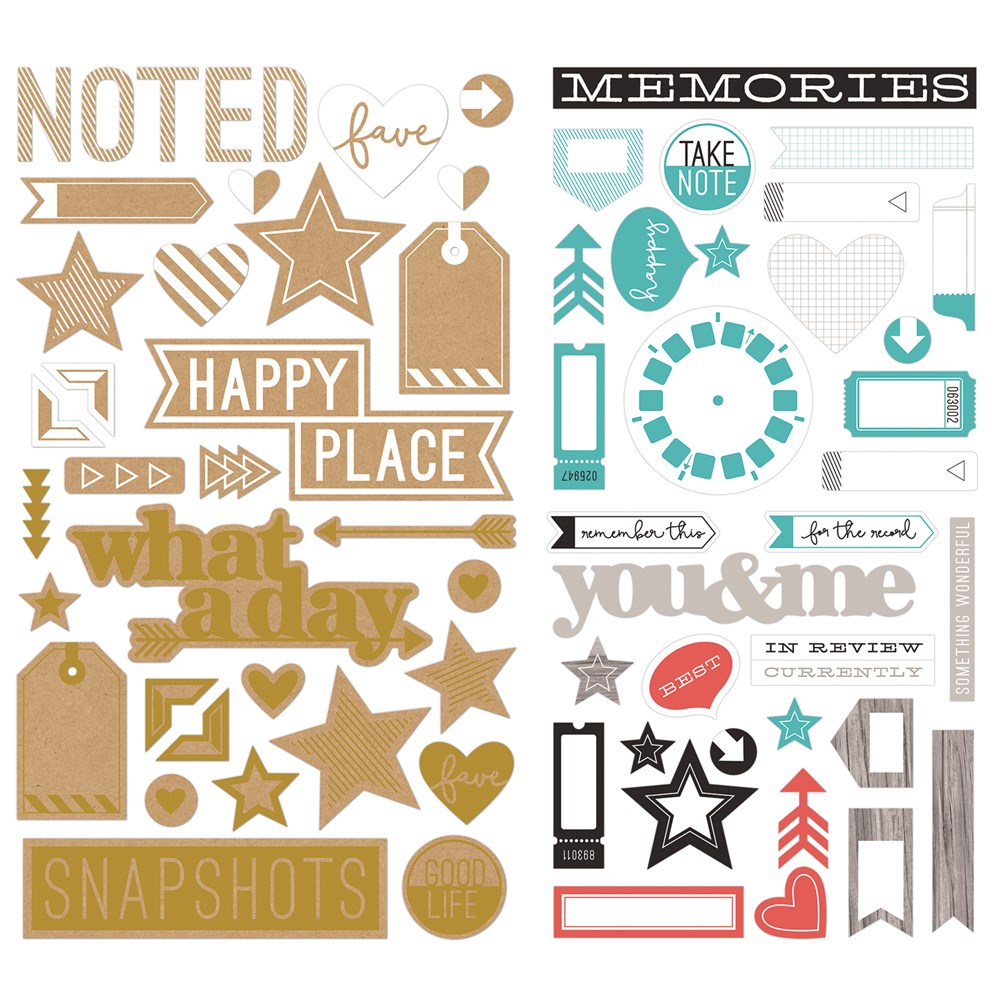
The Basics Fundamentals Creative Collections can be found on pages 26 to 31 of Annual Inspirations 2016-2017 and have the following featured colors: Black, Slate, Whisper, Cocoa, Chocolate, Saddle, Cashmere, Champagne, Desert Sand, Bamboo. The Snapshot Complements were introduced in Seasonal Expressions 1 on page 47.
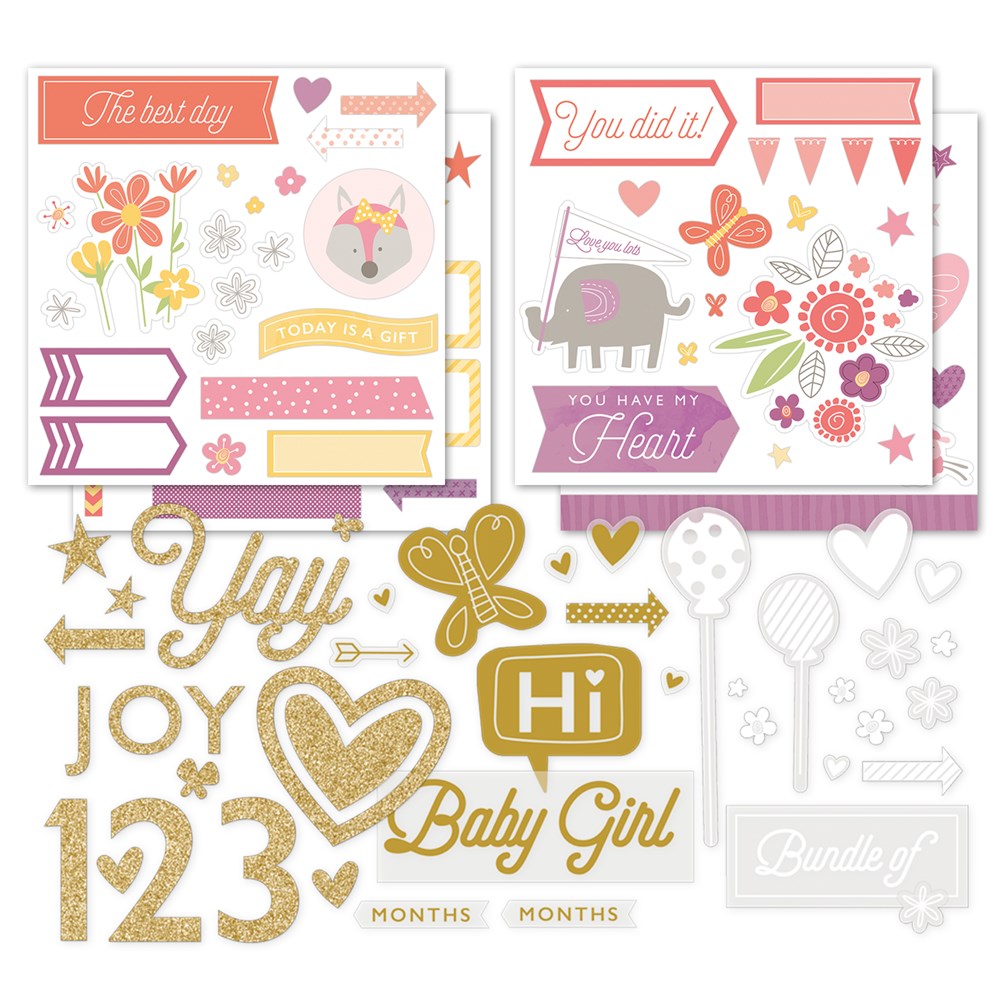
As you can see, with some gold glitter and foil accents on complements, the Basics are anything but basic. Also, many of the complements will work across collections.
Please stop back on Friday to see the projects we have created to share with you. If you are ready to place an order or would like to research any product, the Shop Now button will take you there.
If you have any product or promotion questions, do not hesitate to email me. You will also find me on Facebook at Brenda's Paper Crafts. Thank you for visiting today.
There are Fundamentals Creative Collections that coordinate with each Exclusive Color Palette: Whimsy, Adventure, Enchantment and Basics.
The Whimsy Fundamentals Creative Collections can be found on pages 14 to 17 of Annual Inspirations 2016-2017 and have the following featured colors: Thistle, Crystal Blue, Glacier, Juniper, Sweet Leaf, Canary, Flaxen, Sorbet, Pixie, Smoothie. The Springtime Complements were introduced in Seasonal Expressions 1 on page 46.
|
| ||||
|
| ||||
|
|
The Adventure Fundamentals Creative Collections can be found on pages 18 to 21 of Annual Inspirations 2016-2017 and have the following featured colors: Pansy, Pacifica, Lagoon, Emerald, Willow, Lemon, Tangerine, Blossom, Raspberry, Cranberry. The My Girl Complements were introduced in Seasonal Expressions 1 on page 45.
|
| ||||
|
|
The Enchantment Fundamentals Creative Collections can be found on pages 22 to 25 of Annual Inspirations 2016-2017 and have the following featured colors: Eggplant, Sapphire, Peacock, New England Ivy, Fern, Saffron, Goldrush, Poppy, Pomegranate, Ruby. The My Boy Complements were introduced in Seasonal Expressions 1 on page 44.
|
| ||||
|
| ||||
|
|
The Basics Fundamentals Creative Collections can be found on pages 26 to 31 of Annual Inspirations 2016-2017 and have the following featured colors: Black, Slate, Whisper, Cocoa, Chocolate, Saddle, Cashmere, Champagne, Desert Sand, Bamboo. The Snapshot Complements were introduced in Seasonal Expressions 1 on page 47.
|
| ||||
|
| ||||
|
| ||||
|
| ||||
|
|
As you can see, with some gold glitter and foil accents on complements, the Basics are anything but basic. Also, many of the complements will work across collections.
Please stop back on Friday to see the projects we have created to share with you. If you are ready to place an order or would like to research any product, the Shop Now button will take you there.
If you have any product or promotion questions, do not hesitate to email me. You will also find me on Facebook at Brenda's Paper Crafts. Thank you for visiting today.
Tuesday, February 14, 2017
Close To My Heart One-Day Sweet Sale
Happy Valentine's Day! Today is the Close To My Heart One-Day Sweet Sale! Set an alarm on your smart phone as it starts at 5:00 pm EST!
In celebration of the sweetest holiday of the year, Close To My Heart is holding a one-day flash sale on my Consultant website—it's called a Sweet Sale! The sale will give you a chance to get a 30% discount on selected products from Annual Inspirations and Seasonal Expressions 1.
The Sweet Sale starts February 14 at 5:00 pm EST and will end at that same time on February 15 . Sale prices are only available on orders placed through my Online Business Address (OBA) during these times. All discounted items ordered as part of this sale count towards Stamp of the Month qualifying order totals. As usual with discounted items, shipping and handling will be based on the full retail value of sale items.
To see which items will be discounted during this sale, visit the shopping cart on my OBA at any time during the sale—the Sweet Sale items will be listed on that page. All the items included in the sale are only available while supplies last, and discounts are only good for 24 hours, so be sure to get your orders in before the sale ends!
The Corporate Office will be emailing all newsletter subscribers at the beginning of the sale to let you know (or remind you) that the sale has begun. If you have not subscribed to the newsletter from the Corporate Office, I posted how to subscribe a few months ago. You will find that post here.
I hope you will find items on your wish list are part of the Sweet Sale. Thank you for visiting today and Happy Valentine's Day!
Saturday, February 11, 2017
Hello Lovely Blog Hop
Welcome to our Close to My Heart Hello Lovely Blog Hop! On this hop we will be showcasing items created by several talented Close To My Heart Independent Consultants using the Hello Lovely collection available in Seasonal Expressions 1.
If you are visiting from Haley Dyer’s blog then you are on the right track, if not please start at the beginning with our hostess Carol.
For today's hope I created this card using the Hello Lovely papers and Cardmaking Thin Cuts Bundle. I stamped the floral on vellum using VersaMark Ink and heat embossed with Princess Gold Embossing Powder. I colored on the back of the vellum using ShinHan markers. Sometimes I colored the same space with two different markers to create different tones and I also colored some areas two or more time to try to create a deeper color.
I cut the vellum and a layer of White Daisy cardstock using the Thin Cuts. I used dots of liquid glue behind the embossing to attach the vellum to the White Daisy cardstock. I added this layer using 3-D Foam Tape. To create the bow I used the Adorable Little Bow video Close To My Heart posted to their Instagram account, except I did not staple the middle to "scrunch" the center, I just wrapped it with another piece of ribbon. The floral at the bottom of the card is a zip strip.
All supplies are from Close To My Heart except where noted:
Before you head to see what Erica Haskin created, please take a moment to let me know what you think of my card. I love to read your comments and I hope you are finding many ideas for using the Hello Lovely collection.
Here is a copy of the blog hop list. Clicking the blog address will take you directly to each person's Hello Lovely blog post.
Thank you for hopping with us today!
If you are visiting from Haley Dyer’s blog then you are on the right track, if not please start at the beginning with our hostess Carol.
For today's hope I created this card using the Hello Lovely papers and Cardmaking Thin Cuts Bundle. I stamped the floral on vellum using VersaMark Ink and heat embossed with Princess Gold Embossing Powder. I colored on the back of the vellum using ShinHan markers. Sometimes I colored the same space with two different markers to create different tones and I also colored some areas two or more time to try to create a deeper color.
I cut the vellum and a layer of White Daisy cardstock using the Thin Cuts. I used dots of liquid glue behind the embossing to attach the vellum to the White Daisy cardstock. I added this layer using 3-D Foam Tape. To create the bow I used the Adorable Little Bow video Close To My Heart posted to their Instagram account, except I did not staple the middle to "scrunch" the center, I just wrapped it with another piece of ribbon. The floral at the bottom of the card is a zip strip.
All supplies are from Close To My Heart except where noted:
- Papers: Hello Lovely (X7216B)
- Hello Lovely Cardmaking Thin Cuts Bundle (Z3301)
- My Acrylix™ Stamp Sets: Good Thymes! (D1717)
- 12" X 12" Cardstock in the following colors: White Daisy (1385)
- 5½" × 4¼" White Cards & Envelopes, Value Pack (X254)
- Exclusive Inks™ Stamp Pads: New England Ivy (Z2835)
- VersaMark™ Ink Pad (Z891)
- Ranger™ Princess Gold Embossing Powder (Z2066)
- Craft Heater (Z555)
- ShinHan™ Touch Twin™ Markers in the following colors: Vivid Green (Z2466), Sap Green (Z2463), Pastel Peach (Z2460), Light Orange (Z2455)
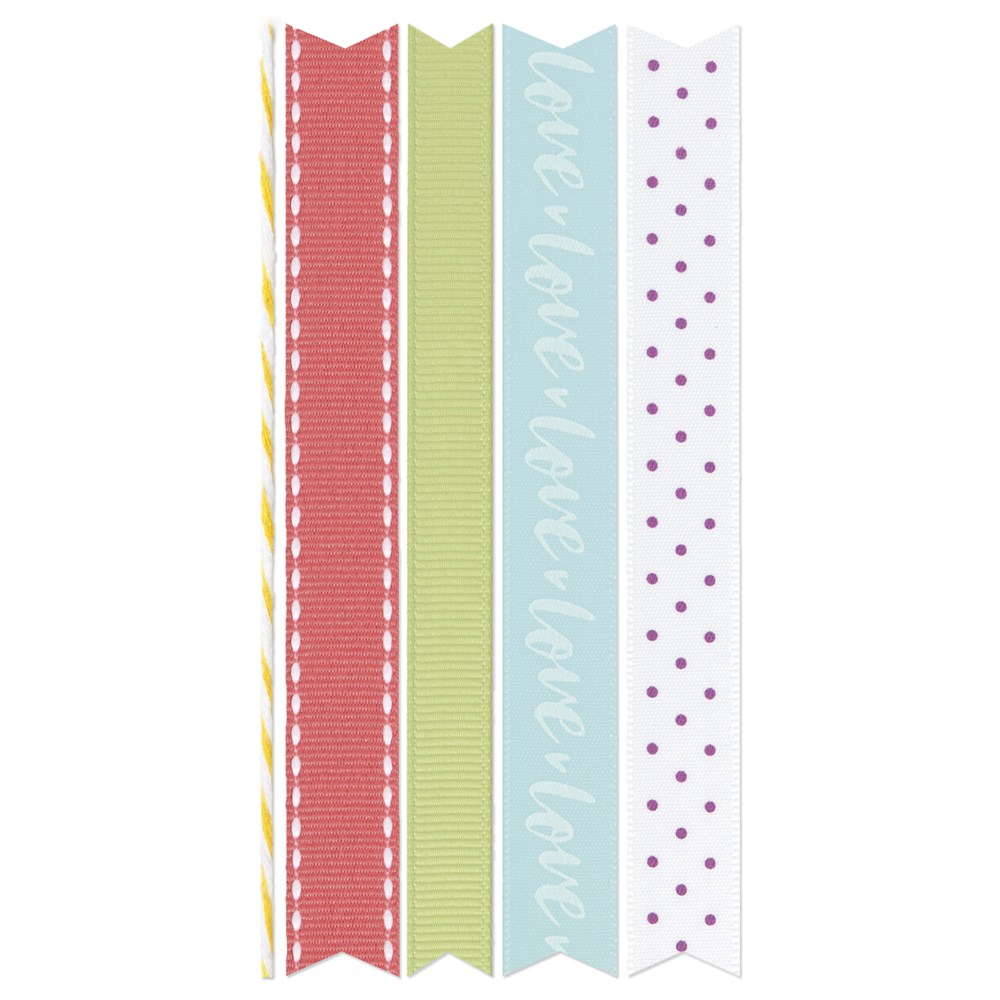
- Blush Shimmer Ribbon (Z3313)
- 3L® E-Z Dots® Adhesive (Z3022)
- Memory Book Mini Glue Dots™ (Z341)
- 3-D Foam Tape (Z1151)
- Supplies not from Close To My Heart: Cuttlebug, vellum, anti-static bag (brand unknown), Scotch Quick-Dry Adhesive
Before you head to see what Erica Haskin created, please take a moment to let me know what you think of my card. I love to read your comments and I hope you are finding many ideas for using the Hello Lovely collection.
Here is a copy of the blog hop list. Clicking the blog address will take you directly to each person's Hello Lovely blog post.
| Carol Loftus | http://carolloftus.blogspot.com/ |
| Julie Scott | http://craftwithjulie.blogspot.com/ |
| Haley Dyer | http://inkyscrapper.blogspot.com/ |
| Brenda Lapp - you are here | http://centralnyscrapper.blogspot.com/ |
| Erica Haskin | http://dressesandspurs.blogspot.com/ |
Thank you for hopping with us today!
Saturday, February 4, 2017
My Legacy™ 12" x 12" Albums
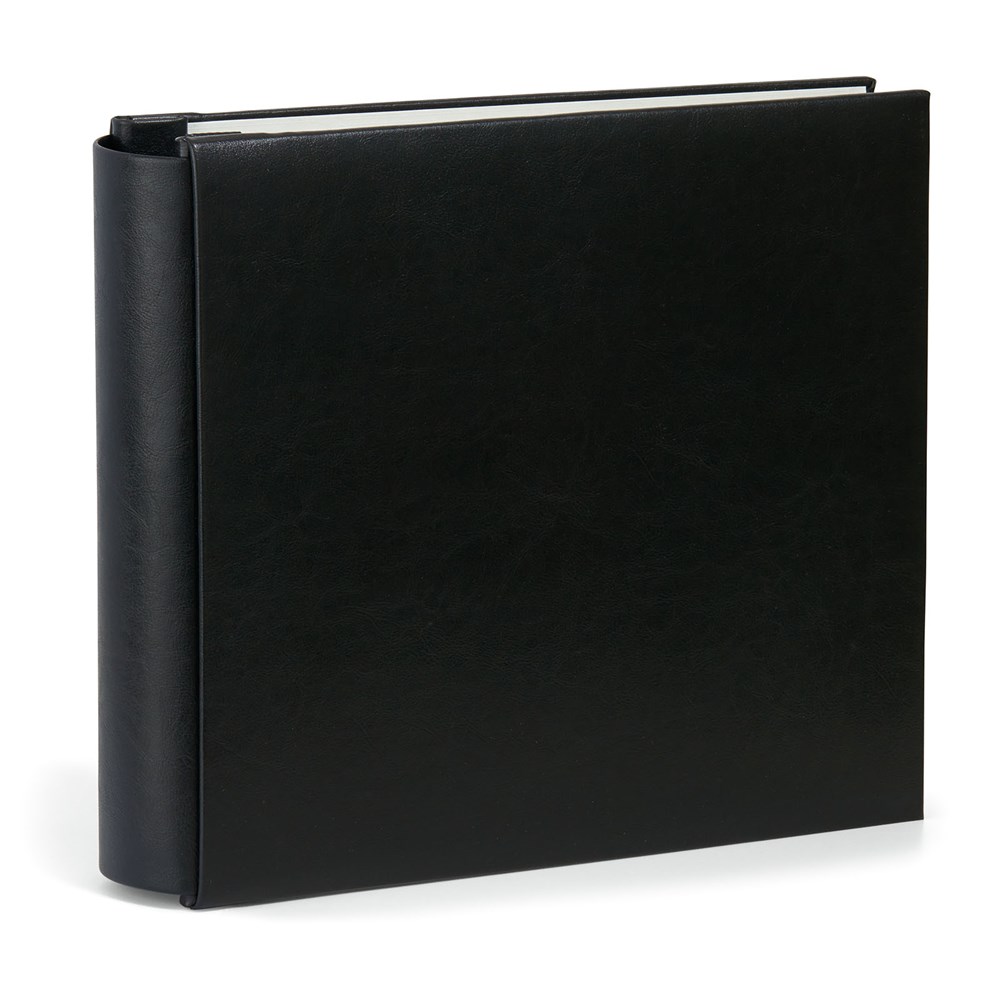
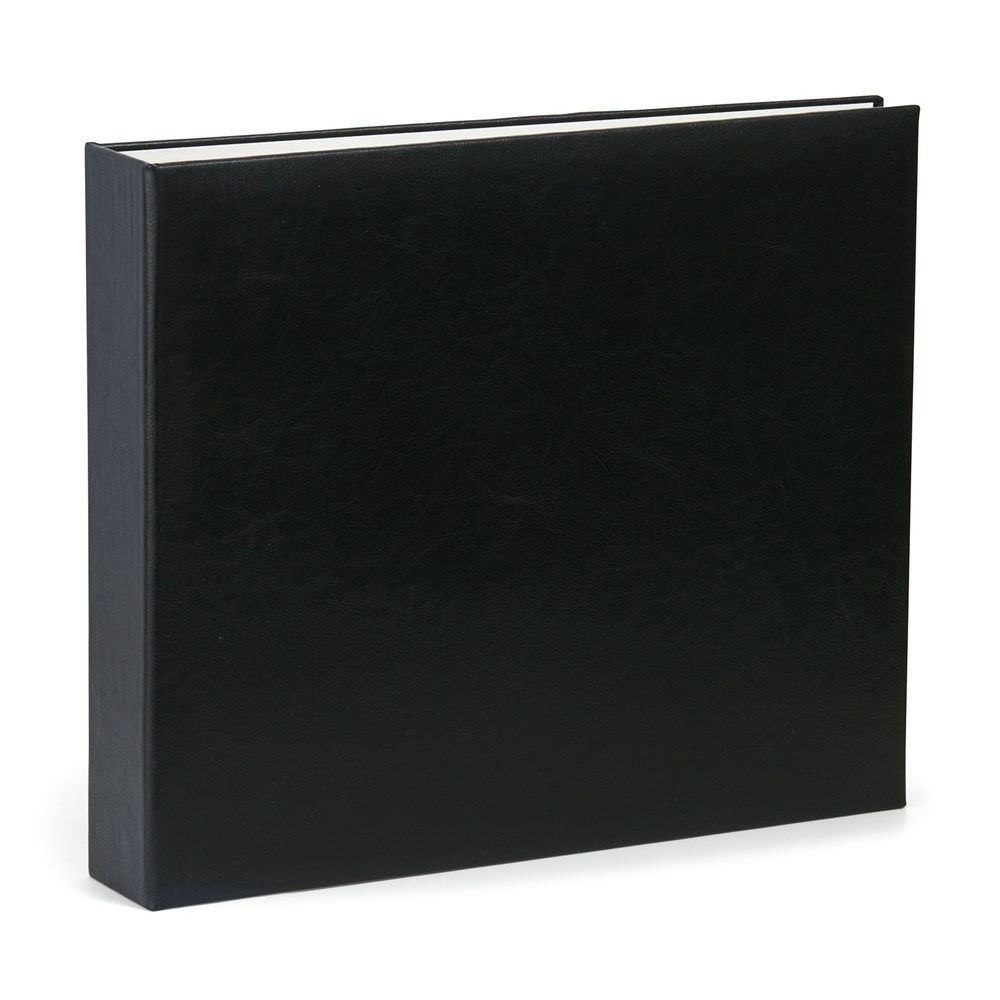
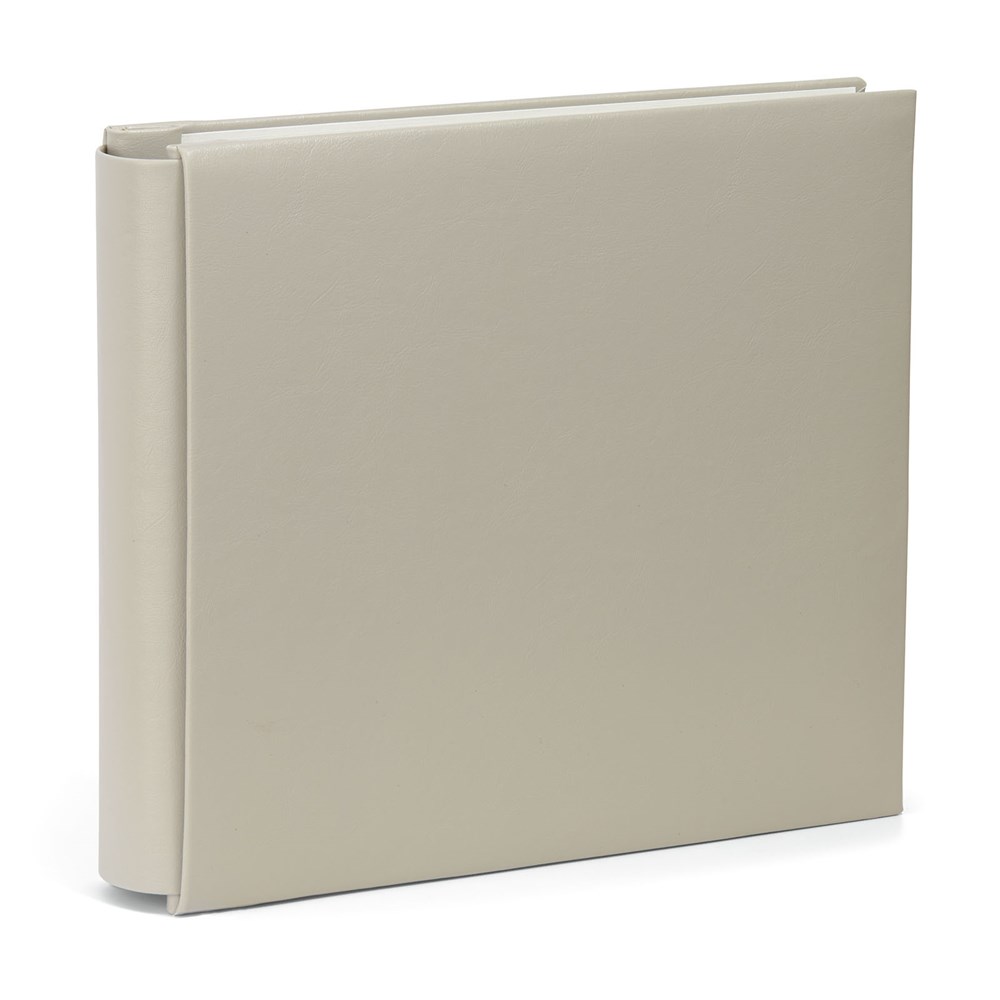
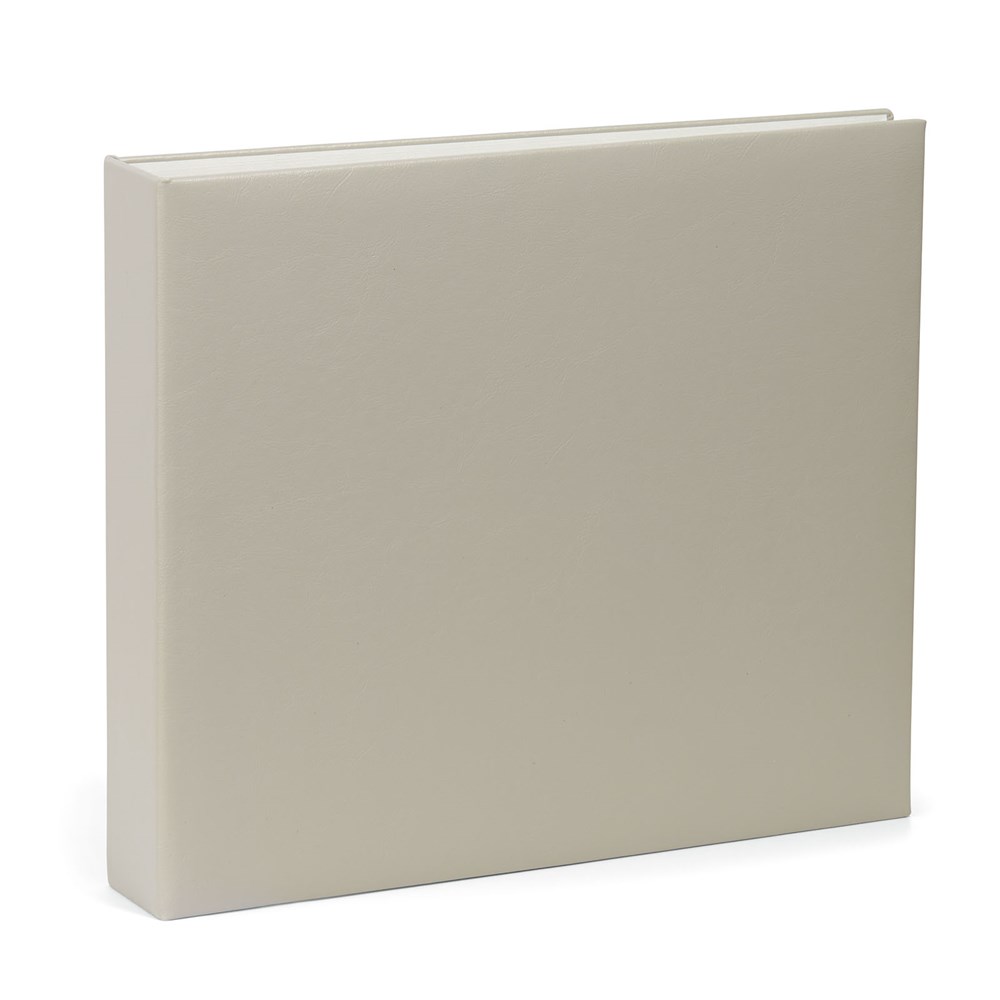
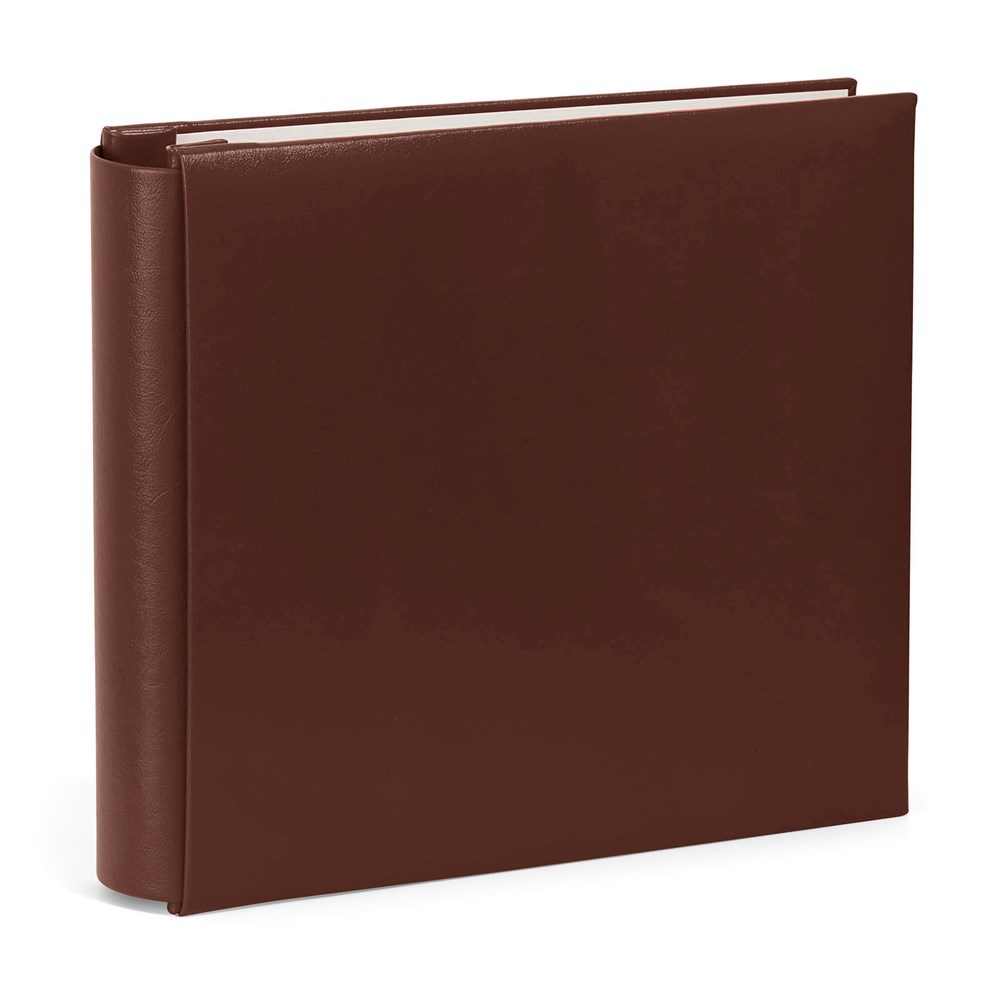
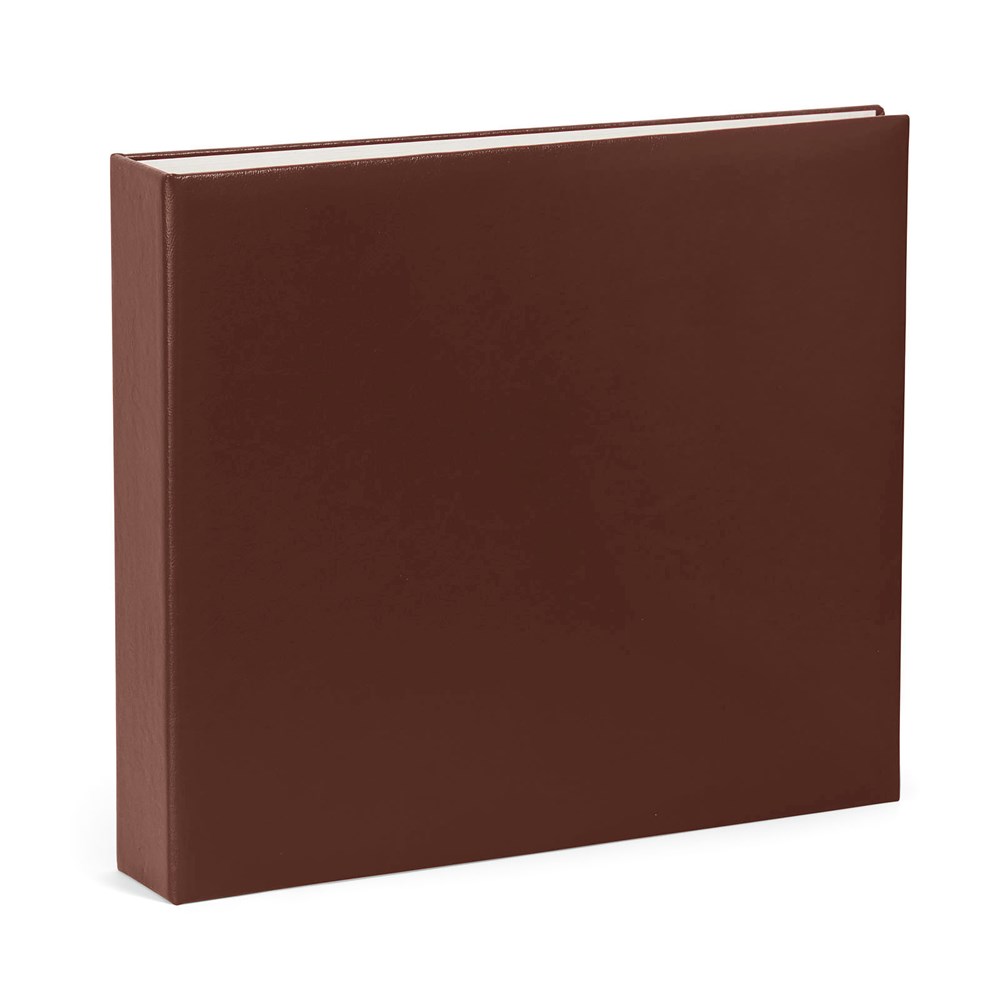
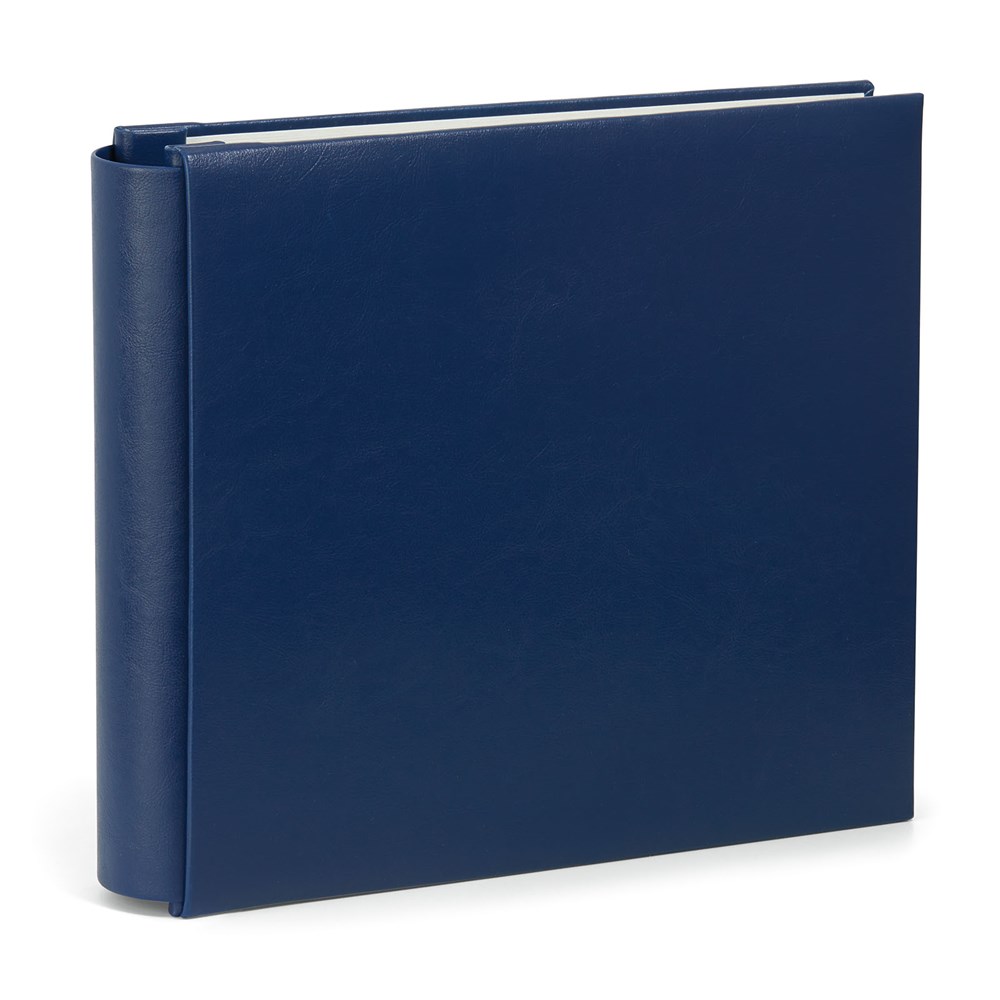
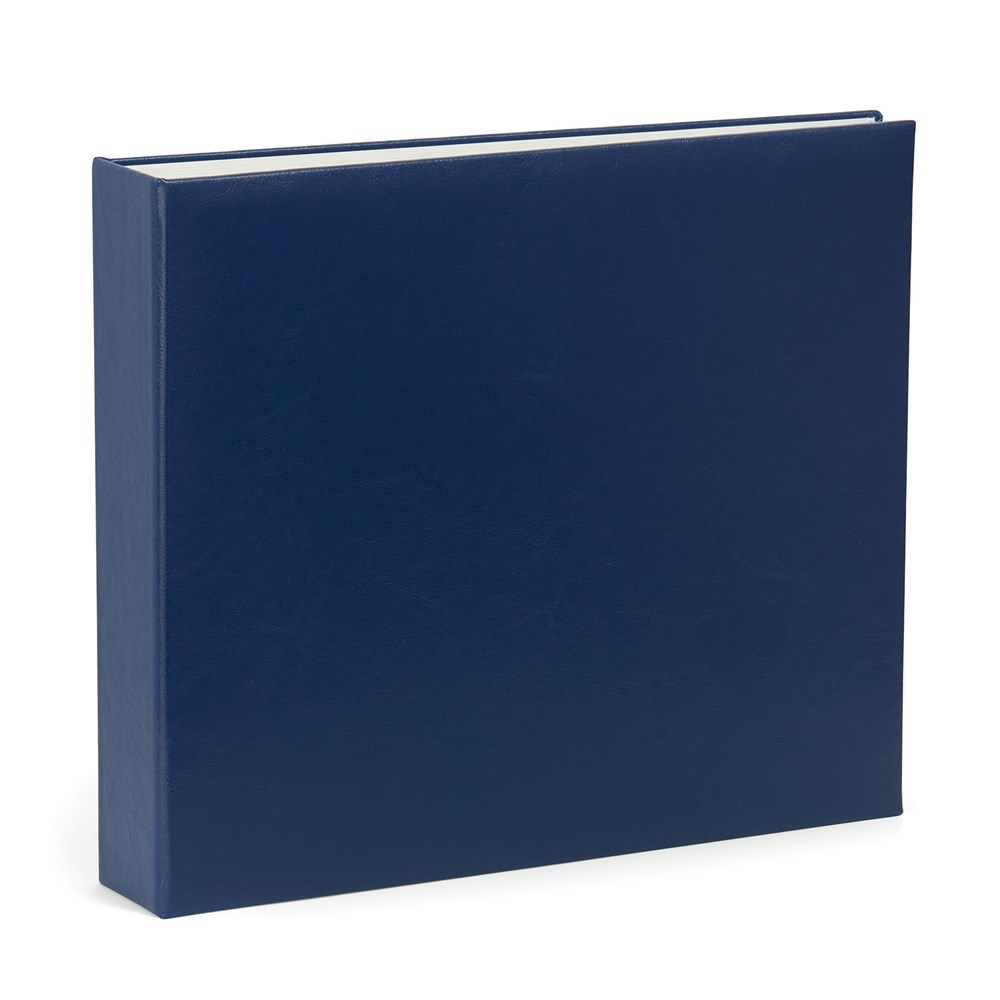
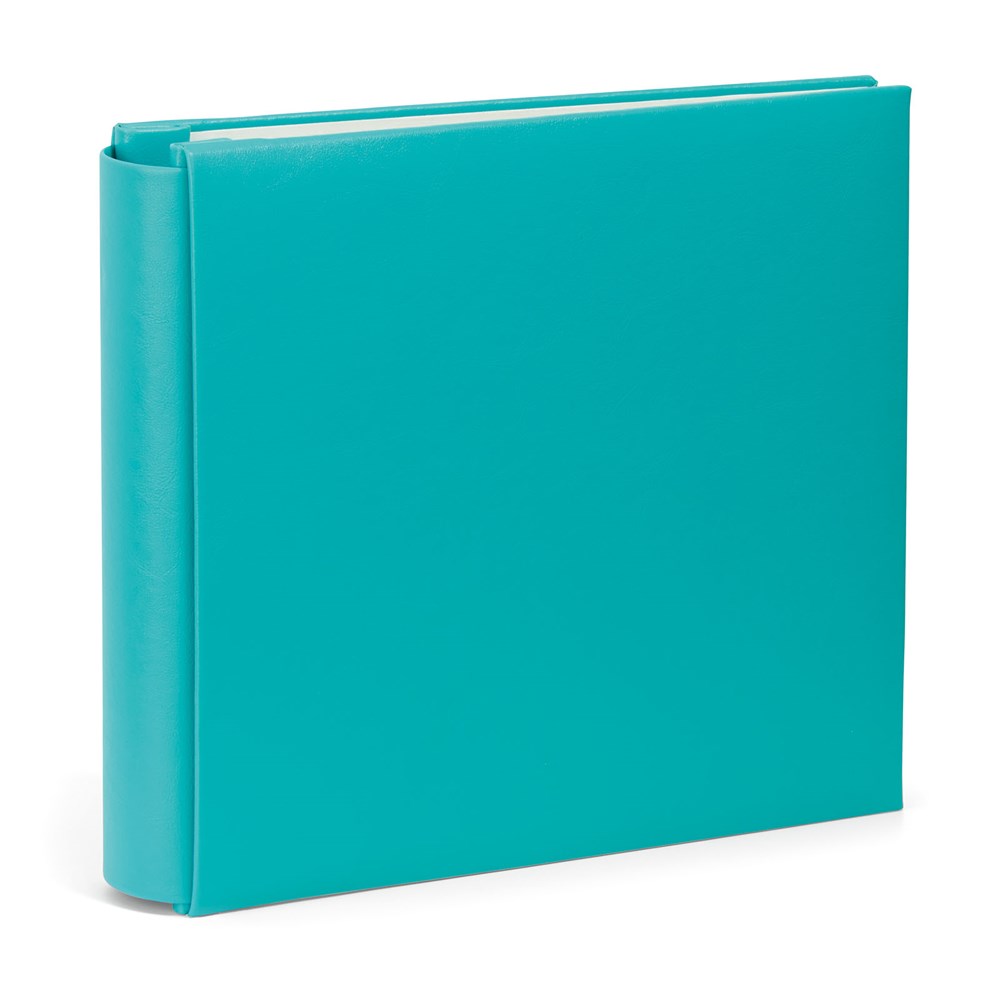
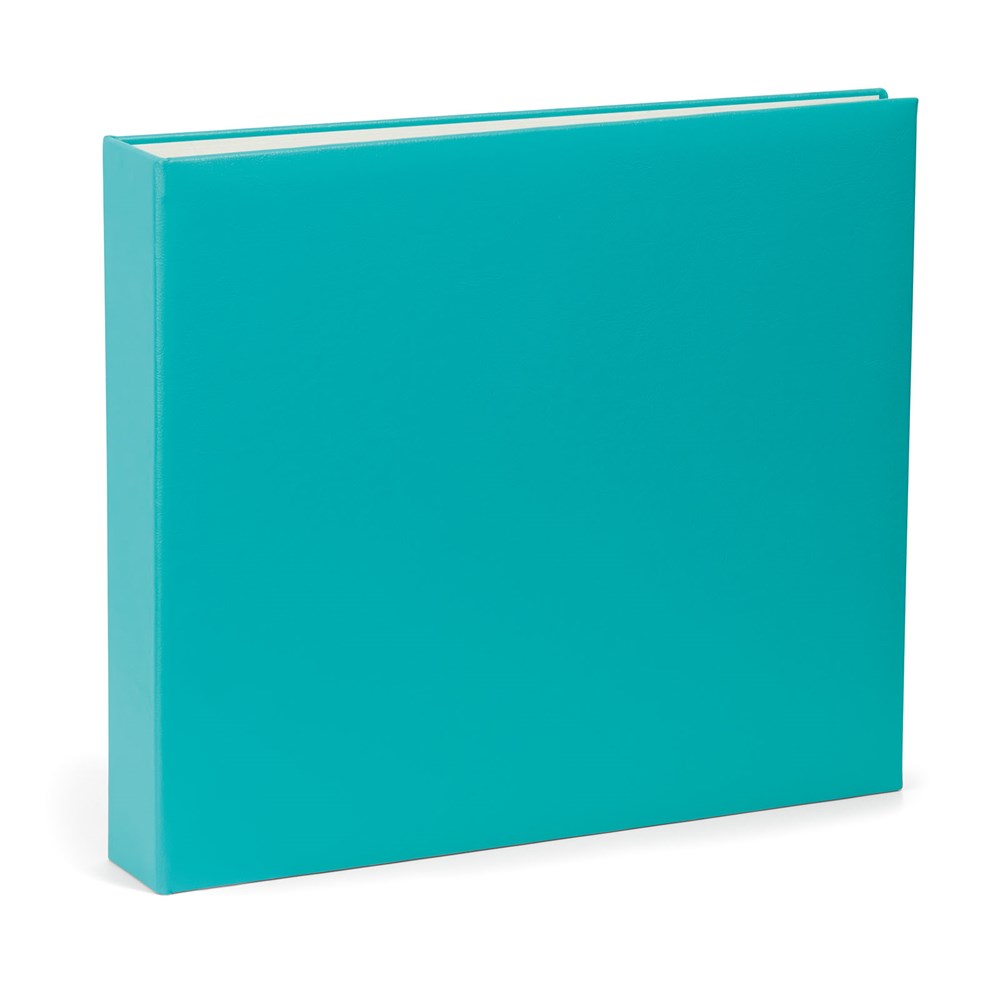
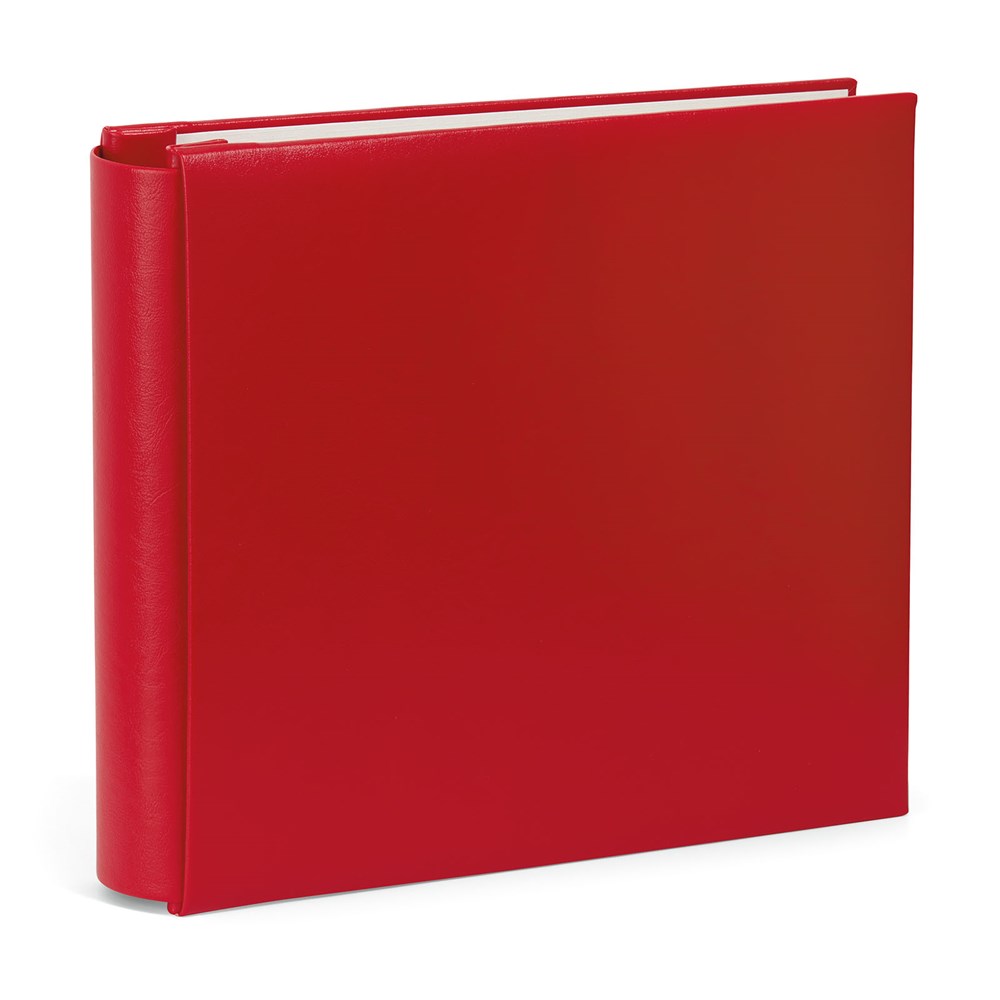
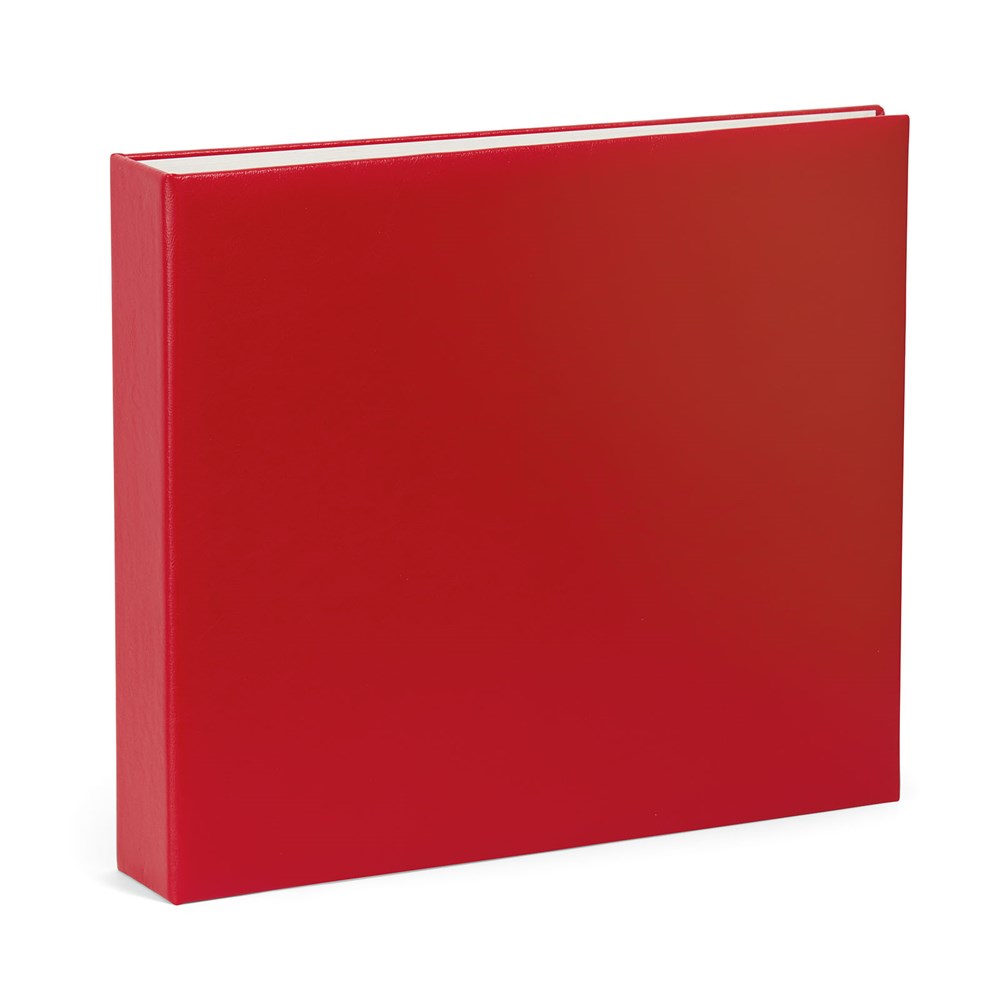
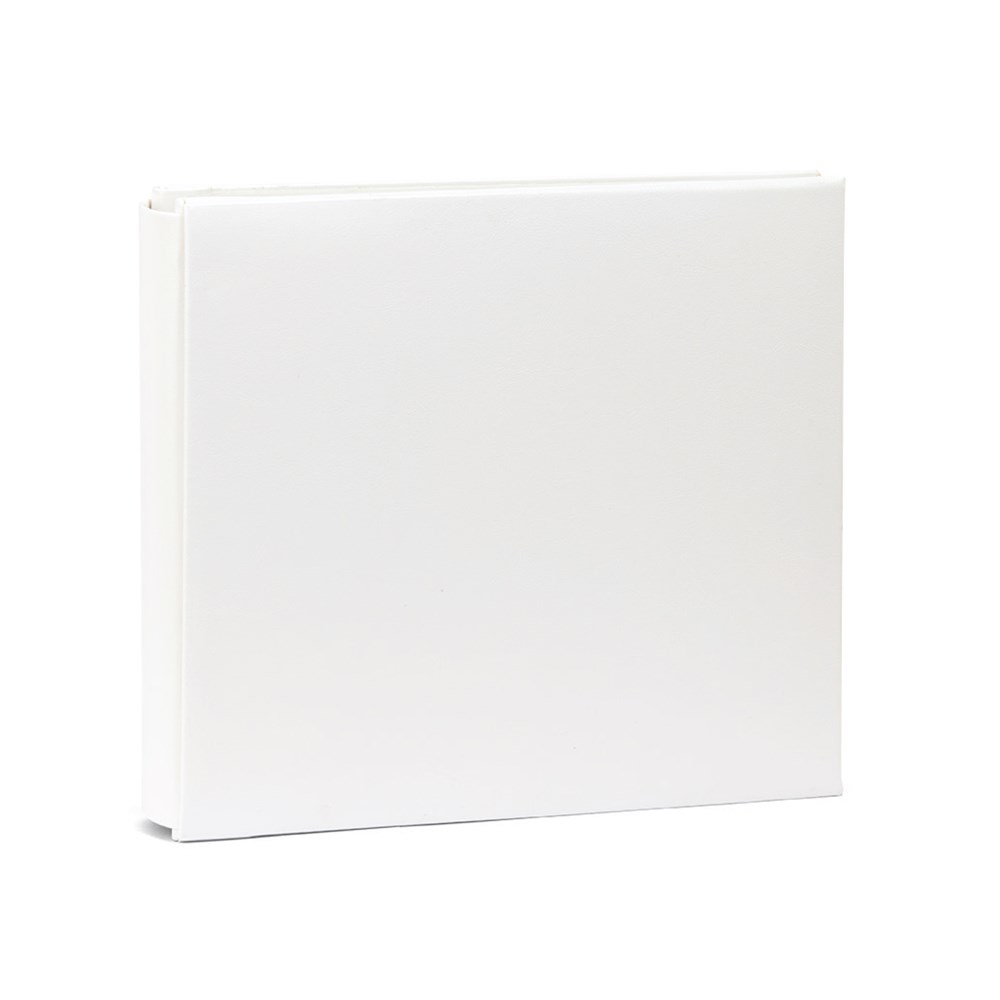
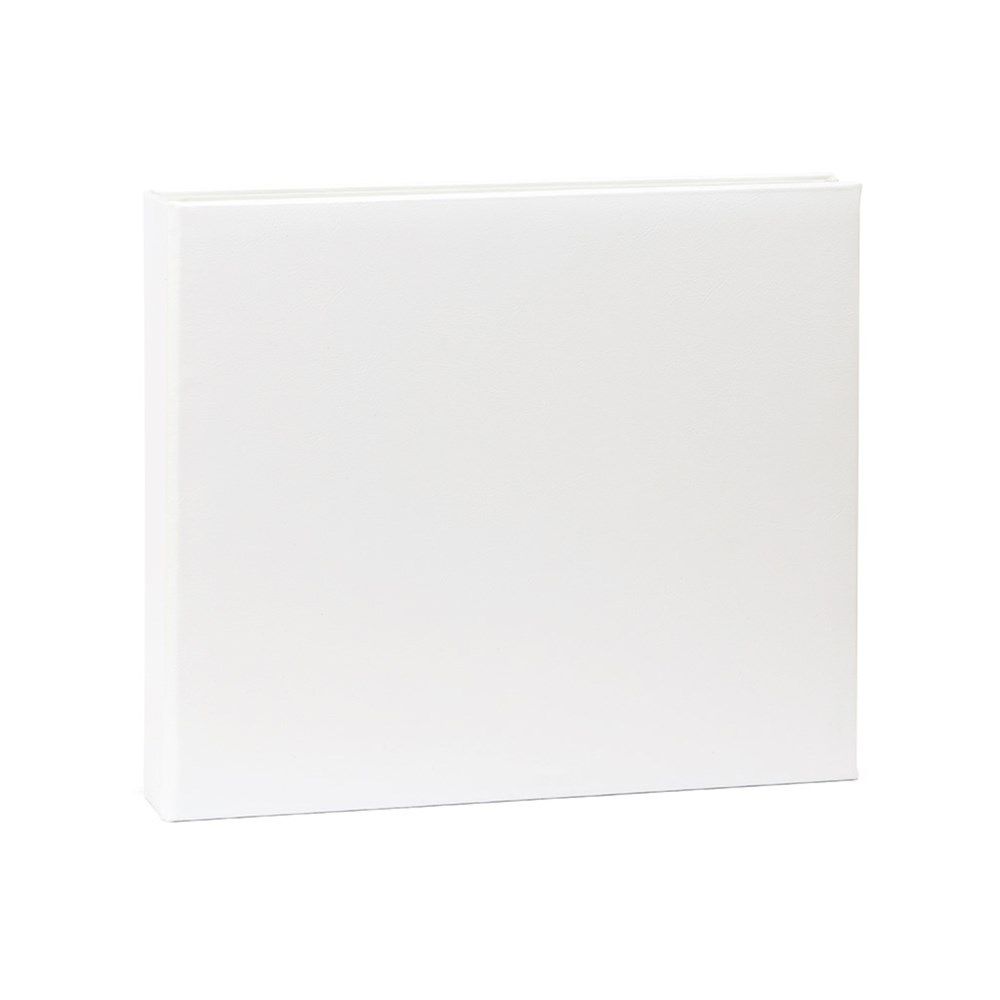
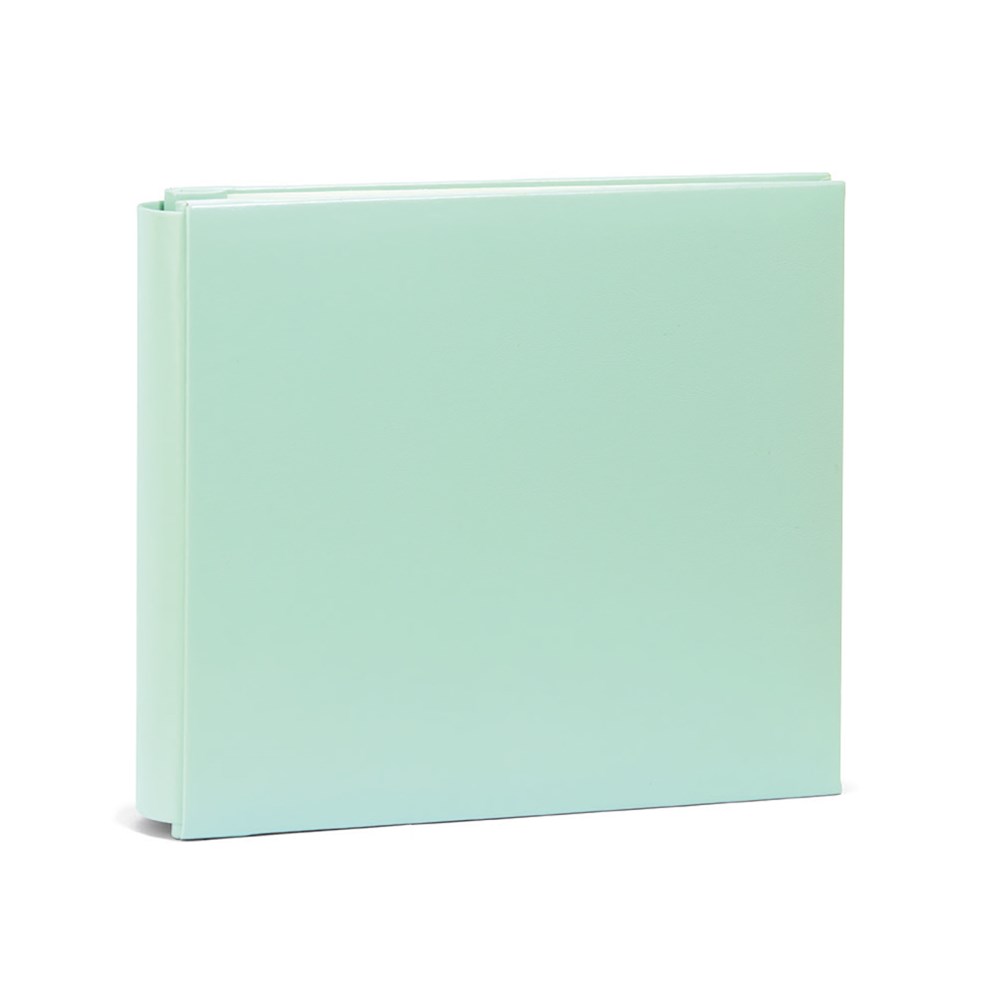
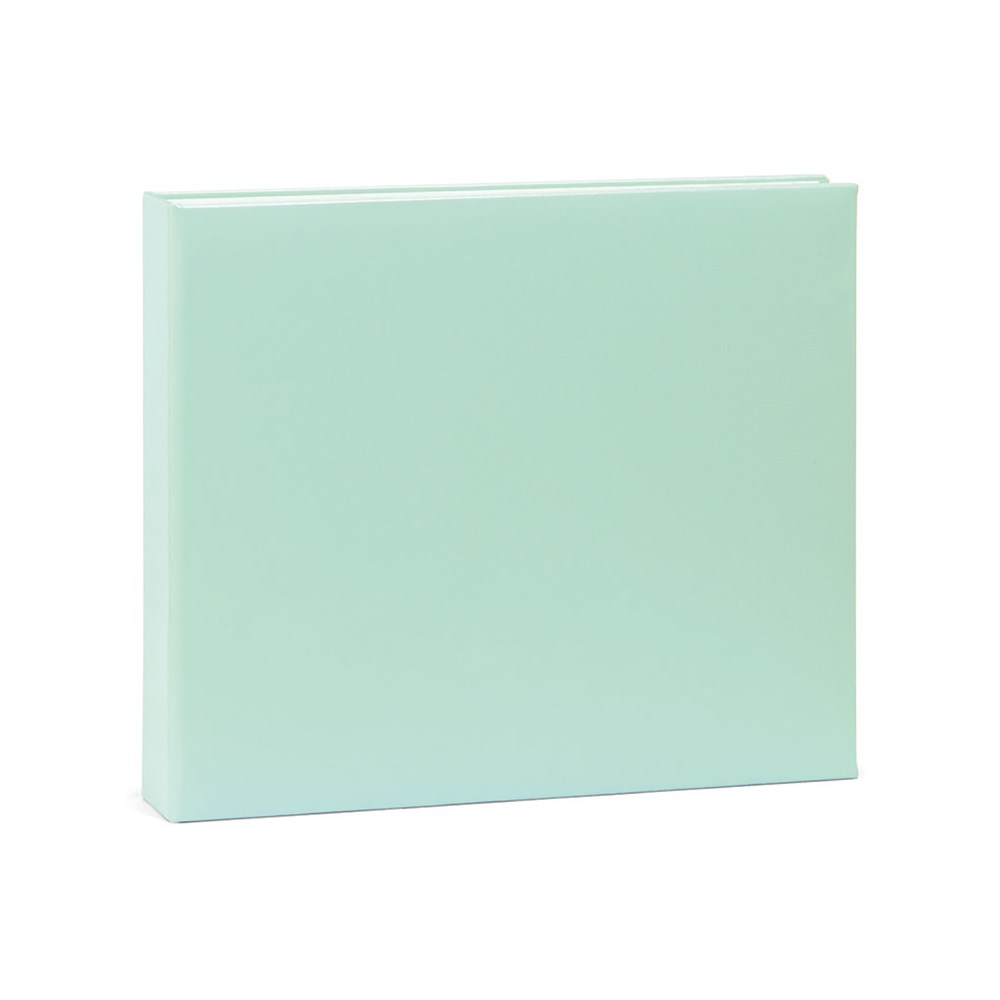
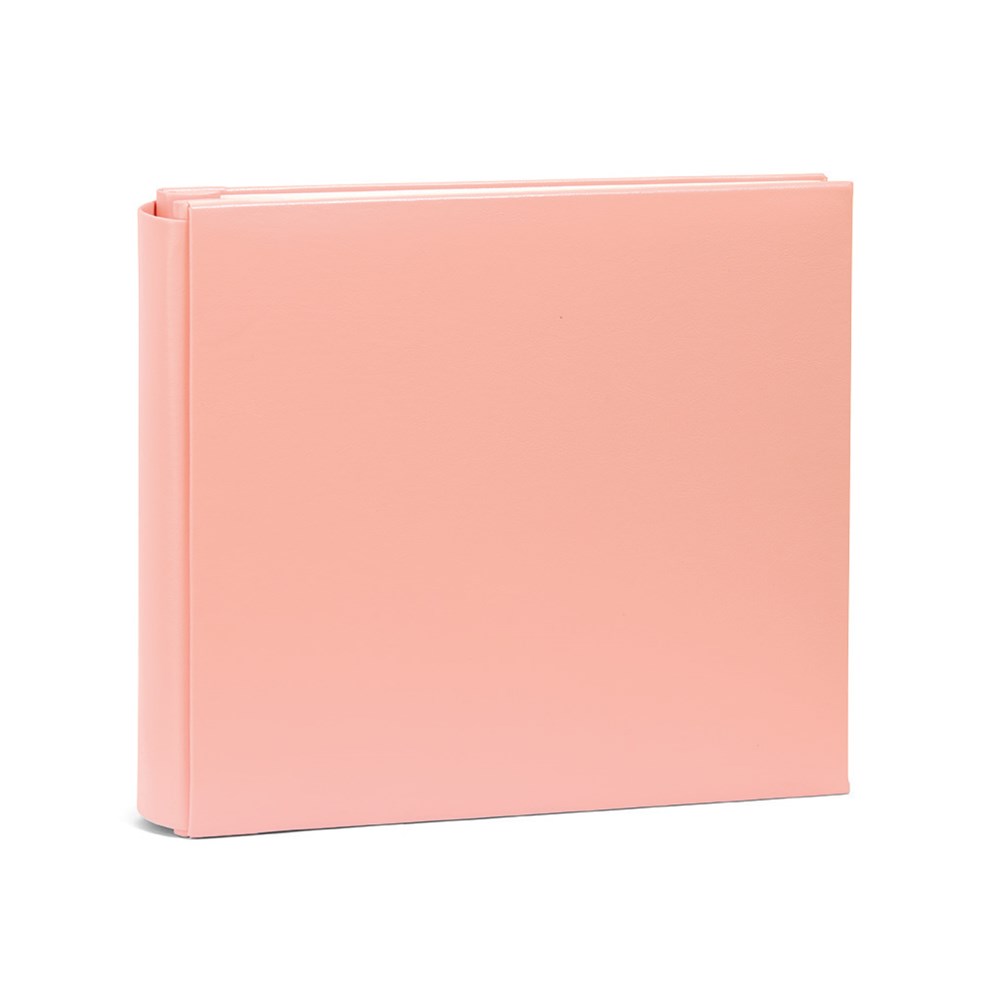
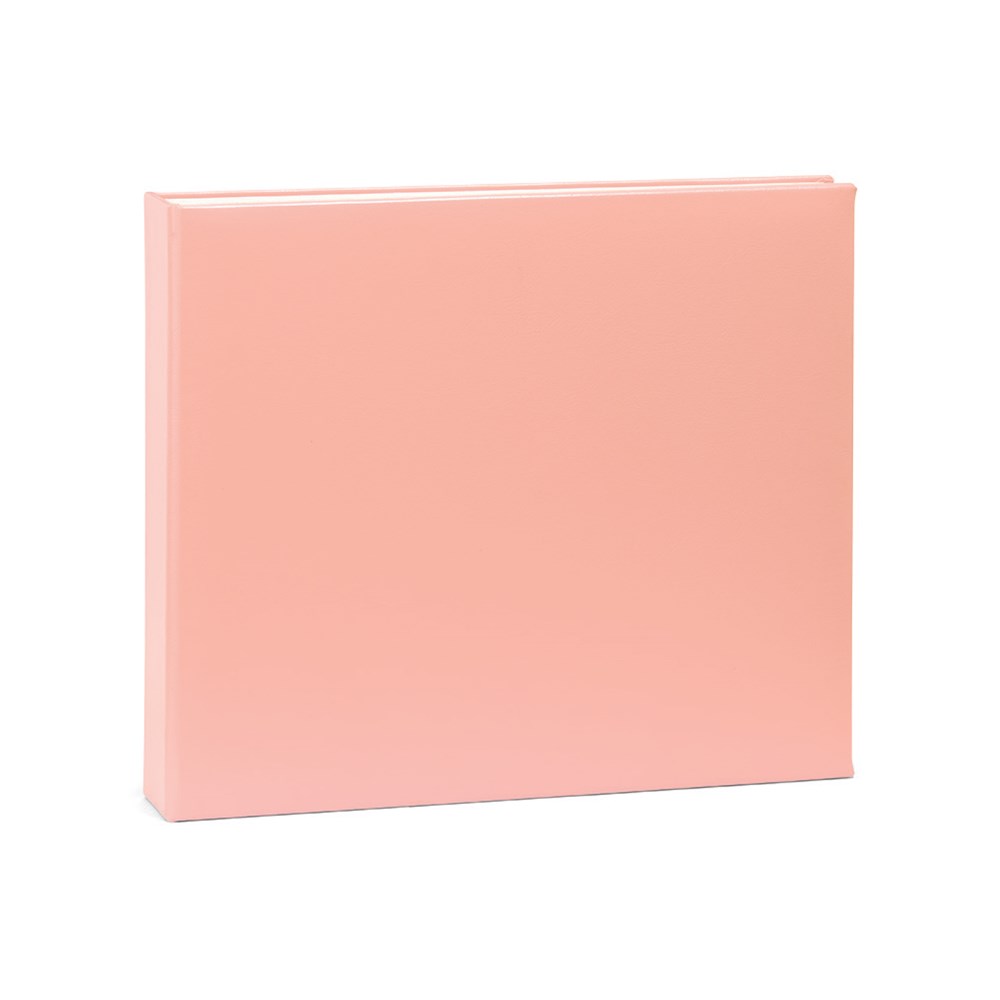
Close To My Heart offers two 12" x 12" album options: Post-bound and D-ring. The albums come in nine colors.
The Black, Grey, Brown, Navy, Teal and Red versions were introduced in Annual Inspirations 2016-2017 and are shown on pages 10 and 11 (you will find the Memory Protectors™ on pages 12 and 13). I expect these colors will be available until at least July 31, 2017–the end of this Annual Inspirations (I will post the retiring list as soon as Corporate publishes it; check my blog in June).
The White, Sea Glass and Pink versions were introduced in Seasonal Expressions 1 (2017) and are shown on pages 48 and 49. I believe these colors will only be available until April 30, 2017–the end of SE 1 (again, I will post the retiring list as soon as Corporate publishes it; please check my blog in March.
A note about the My Legacy™ post-bound albums...CTMH recently began including plastic post supports with the post-bound albums to reinforce the binding. Those of you who previously ordered one or more of the My Legacy™ post-bound albums should have received post supports in the mail.
You add the post supports by simply removing the post from your album and sliding the post support over the long part of the post until it rests against the smaller end. Add the post back to the album with the washer between the end of the post and the binding so that it sits flush against the white interior of the album. Add the post supports to all three posts to strengthen the durability of your album’s binding.
Post-bound albums ordered recently should have the post supports installed already, but if you receive the post supports separately, just follow the instructions above to install them.
As always, if you have any product questions, please do not hesitate to email me. Thank you for visiting today.
| Post-bound | D-ring | ||||
|
| ||||
|
| ||||
|
| ||||
|
| ||||
|
| ||||
|
| ||||
|
| ||||
|
| ||||
|
|
The Black, Grey, Brown, Navy, Teal and Red versions were introduced in Annual Inspirations 2016-2017 and are shown on pages 10 and 11 (you will find the Memory Protectors™ on pages 12 and 13). I expect these colors will be available until at least July 31, 2017–the end of this Annual Inspirations (I will post the retiring list as soon as Corporate publishes it; check my blog in June).
The White, Sea Glass and Pink versions were introduced in Seasonal Expressions 1 (2017) and are shown on pages 48 and 49. I believe these colors will only be available until April 30, 2017–the end of SE 1 (again, I will post the retiring list as soon as Corporate publishes it; please check my blog in March.
A note about the My Legacy™ post-bound albums...CTMH recently began including plastic post supports with the post-bound albums to reinforce the binding. Those of you who previously ordered one or more of the My Legacy™ post-bound albums should have received post supports in the mail.
You add the post supports by simply removing the post from your album and sliding the post support over the long part of the post until it rests against the smaller end. Add the post back to the album with the washer between the end of the post and the binding so that it sits flush against the white interior of the album. Add the post supports to all three posts to strengthen the durability of your album’s binding.
Post-bound albums ordered recently should have the post supports installed already, but if you receive the post supports separately, just follow the instructions above to install them.
As always, if you have any product questions, please do not hesitate to email me. Thank you for visiting today.
Subscribe to:
Comments (Atom)


