Tuesday, July 30, 2019

Magic Slider Card - My Adaptation

Last week I shared this card on the Seaside Blog Hop. When writing my post and preparing my photos I ran out of time to say much about how I created my card.

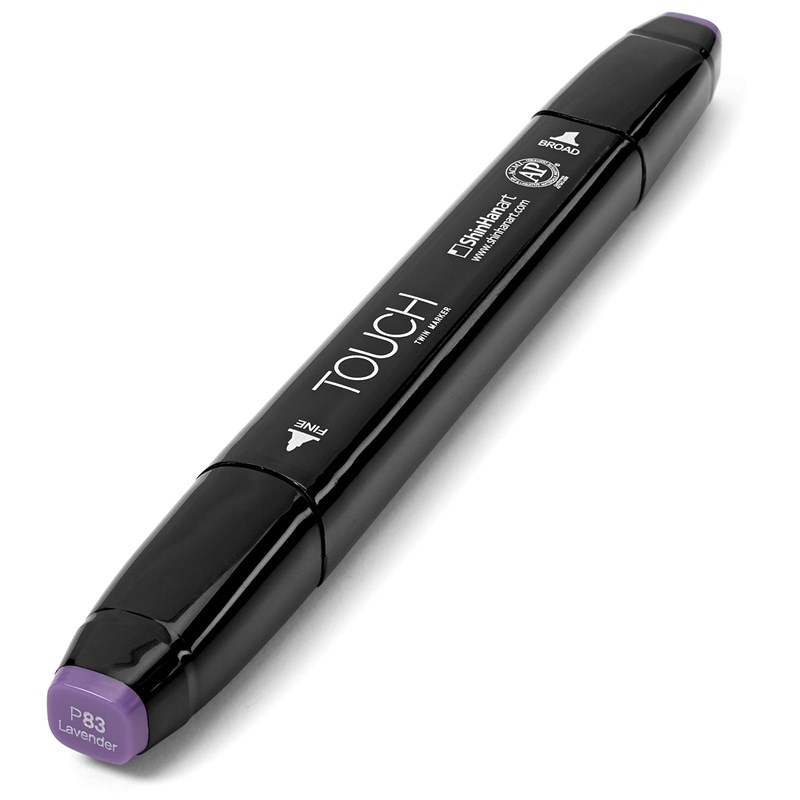
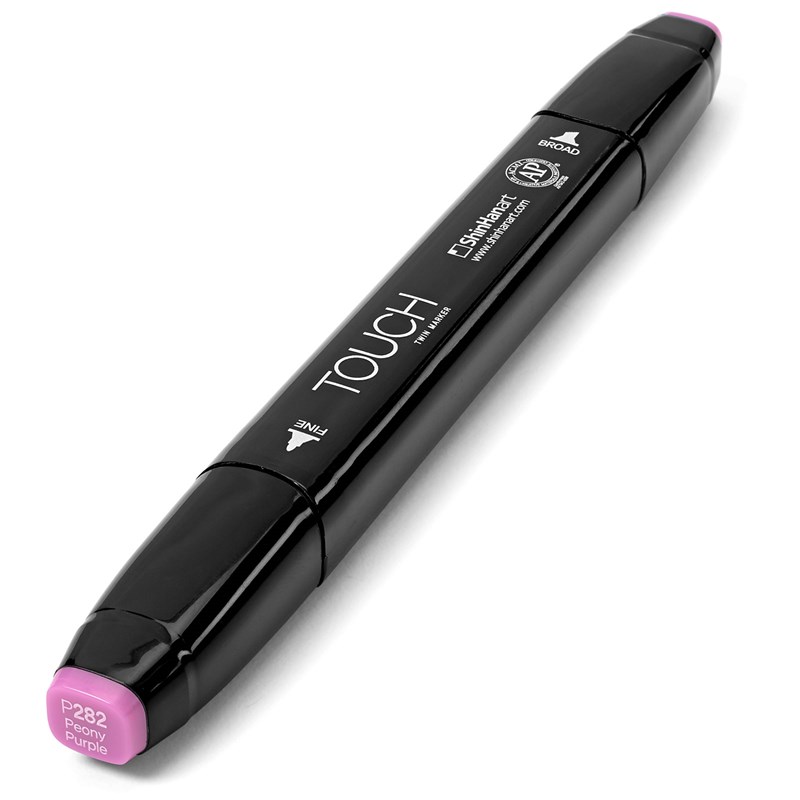
Seaside Magic Slider Card - front - slider in
Seaside Magic Slider Card - front - slider out

As I said on the hop, my card was inspired by two patterns I found online - Mermaid Magic Slider Card and Magic Slider Card. When preparing for the hop it was an extremely hot day; my computer and Cricut® are in a warmer area of my house so I used some rectangle dies from my stash to cut the aperture, the Thin Cuts—Stitched Rectangle Frames to cut the frame and my paper trimmer and a score board for everything else.

I "sketched" how I created my card out in Cricut® Design Space, but I have not had a chance to try to cut with the file yet. Honestly, when almost all cuts are a straight edge I typically use a paper trimmer so I can better control where to cut patterned papers to get the nuances I want, for example, where the "grain of wood" will fall lie on the card above.

screen shot of Cricut® Design Space
I hoped to create another card so I could take photos while creating, but unfortunately time was not on my side. I hope this verbal explanation will help you create your own Magic Slider card.

"paper" cuts needed:
  • one card from White Cards & Envelopes Value Pack (X254)
  • pieces that slide (not shown on the image above)
    • transparency cut 5½" high by 4" wide
    • White Daisy cut 5½" high by 4" wide
  • pieces that hold the slider
    • aperture (represented by the blue rectangle) - outside measurements 5½" high by 4¼" wide; to create the aperture, "gut" the piece to create an opening, you can use a die or cut on the Cricut® or even cut a decorative shape with a die or the Cricut®; the opening on mine is 4¼" high by 3⅛" wide
    • backing piece (represented by the lighter green rectangle) cut 5½" high x 4⅛" wide (it needs to be a little narrower than the card or the aperture will bow out)
    • for the accordion cut 2 pieces each 5½" high x 1½" wide; score both at ⅜", ¾" and 1⅛"
  • "icing on the top" aka a frame (represented by the darkest green rectangle), cut using the largest die from Thin Cuts-Stitched Rectangle Frames (Z4260)

Create the Slider

The image needs to be stamped in exactly the same location on the two pieces so they line up when pulled out from the card. I think the easiest way is to stamp the pieces using a stamp platform. Alternatively I think you can use a stamp positioner. Then I colored image stamped on White Daisy. I used a ribbon for a pull, but you could cut a circle or other decorative piece and write or stamp "pull" on it, then staple it to both pieces so the stamped images align. One of the patterns I read used a eyelet to hold the pieces together, but I think it would be harder to make sure the images lined up. I used the corner rounder after adding the staple to the top of these pieces.

Create a Holder for the Slider

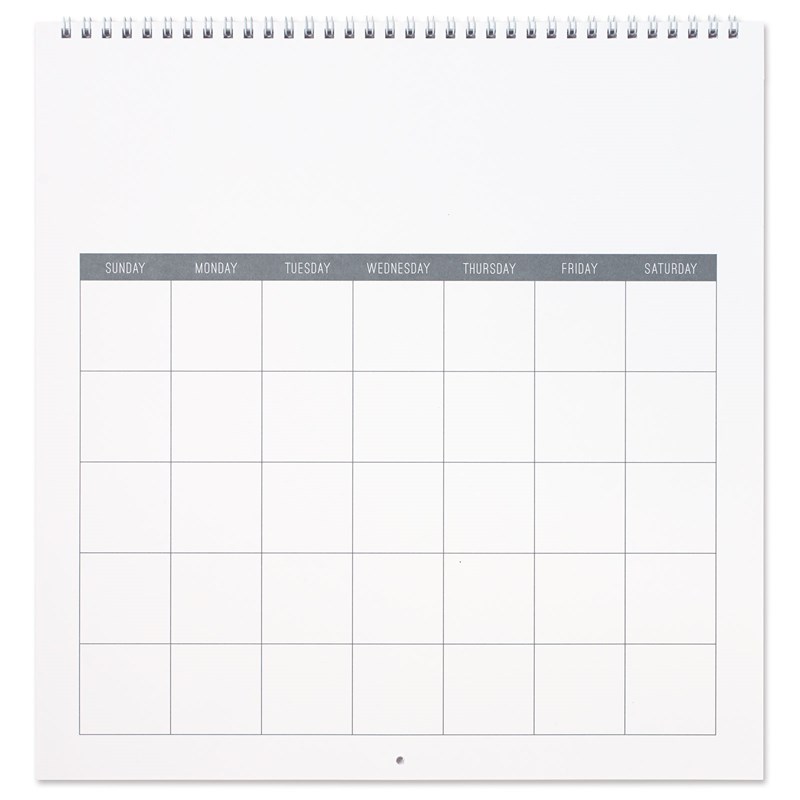
I created this diagram to help explain how I used the two accordion pieces.

Magic Slider Card - Accordion

Once you have the pieces glued together and to the front of a card, insert the transparent image in front of the "backing piece" and the White Daisy image behind the "backing piece". One of the patterns I followed talked about closing the bottom of the card, but I do not think that is necessary because where the two images are stapled (or held together with an eyelet) will not let the pieces side out the bottom of the card. Also, one of the patterns talked about preventing the recipient from being able to pull the images completely out of the card, but I don't think that would be a problem either.

"Framing" the Card

If you choose you can cut the largest rectangle from the Thin Cuts-Stitched Rectangle Frames (Z4260) and add it to the front of the card to finish off the card front.

I hope this helps create a card similar to the Magic Slider Card I shared on the Seaside Blog Hop. If you have any questions, please leave a comment and I will try to clarify. If you create a slider card, please share a link to it in the comments.

Once I have had a chance to test my Cricut® Design Space project I will share the link here.

Thank you for visiting today.

Monday, July 29, 2019

Christmas in July Sale Starts Now!

The Close To My Heart Christmas in July sale starts now!

Christmas in July Sale
Visit my Consultant website to see the items included in this sale. Just a reminder items featured in this sale will only be  available while supplies last so be sure to complete your order early.

Happy shopping!

Christmas in July Sale

Close To My Heart is having a Christmas in July sale. Set an alarm as it starts later today at 5pm EDT.

Christmas in July Sale
This is a 24-hour Christmas in July sale on my Consultant website. It starts Monday, July 29 at 5:00pm EDT and ends at 4:59pm EDT on Tuesday, July 30! As with past sales, the items featured in this sale will only be available while supplies last; be sure to visit the sale early!

Also, as with past sales, here are a few things to keep in mind about this sale:
  • Sale prices are only available on orders placed on my Consultant website.
  • The sale features a selection of current products as well as retired items. To avoid product shortages after the sale, a limited number of the current items were set aside for the sale. Once that allowed amount is gone, those items will no longer be available at the sale price.
  • Any current items that sell out during the sale will return to availability at normal price once the sale has ended.
  • All discounted items count towards Stamp of the Month qualification.
  • Shipping and handling is based on the full retail value of the sale items.
  • There is no grace period for ordering sale items.
At 5pm EDT today, please visit my Consultant website to see what items are included in this sale. Thank you for dropping by today.

Saturday, July 27, 2019

Close To My Heart Retiring from SE2 2019

In addition to some colors, paper collections and My Acrylix™ Stamps, there are many other items retiring from the Seasonal Expressions 2 Idea Book. I feature all of those other retiring items today. The retiring items are available while supplies last.

Seasonal Expressions 2 cover - valid until August 31, 2019
In addition to my blog posts this week, the retiring list is available as a PDF or a spreadsheet; the list is also posted on my CTMH Idea Books page. The retiring products are also listed under Going Soon section of my Consultant Website.

Craft with Heart™ Subscription - pages 10 to 11
12 Month and 4 Month SE 2 Subscriptions (CH12193 and CH4193)
The Story Begins - pages 70 to 71
Cut Above® Layout Kit—The Story Begins
(Baby Boy) (Z3382)
Picture My Life™ Cards—The Story Begins
(Baby Boy) (Z3368)
Cut Above® Layout Kit—The Story Begins
(Baby Girl) (Z3383)
Picture My Life™ Cards—The Story Begins (Baby Girl) (Z3388)
Thin Cuts - pages 102 to 126
Thin Cuts—Stitched Flowers (Z4064)
Thin Cuts—Doily (Z4063)
Thin Cuts—Puzzle Heart (Z4062)
Thin Cuts—Crafting Shapes (Z4061)
Lace Border Thin Cuts (Z4060)
Fancy Tags (Z4305)
item no longer available
Decorative Borders (Z4241)
item no longer available
Thin Cuts—Favor Box (Z4173)
Stitched Quilt Shapes (Z4258)
item no longer available
this space intentionally blank
Thin Cuts—Basic Hearts (Z3317)
Thin Cuts—Basic Circles (Z3318)
Thin Cuts—Basic Ovals (Z3328)
Basic Shapes Thin Cuts Bundle (Z4093)
Thin Cuts—Block Alphabet (Z3386)
Thin Cuts—Block Numbers (Z4159)
Block Letters & Numbers Thin Cuts Bundle (Z4094)
this space intentionally blank
Embossing Folders - page 127
Subway Tile Embossing Folder (Z4055)
Flower Garden Embossing Folder (Z4056)
Exclusive Color Palette - pages 128 to 131
See Monday's Retiring Colors post; also, cardstock in 12 sheet packages is being retired, 24 sheet packages will be available in the next Core Products Idea Book.
Specialty Items - pages 132 to 133
Sugarplum Glitter Paper (Z4188)
My Creations™ Calendar (Z3184)
Embellishments & Tools - pages 134 to 143
Rose Gold Loose Sequins (Z4065)
Crafty Loose Sequins (Z4059)
Sugarplum Glitter Gems (Z4192)
Gold-flecked Gems (Z4193)
item no longer available
Gold Arrow Clips (Z3379)
Gold Bow Clips (Z3380)
Hello Pumpkin Shapes (Z4222)
Hello Pumpkin Washi Tape (Z4214)
So Much Happy Washi Tape (Z4271)
this space intentionally blank
Into the Wild Wood Shapes (Z4078)
Craft On Rubber Shapes (Z4057)
Candy Apple Striped Ribbon (Z4230)
White & Gold Ribbon (Z3189)
Black Shimmer Ribbon (Z4012)
Blush Shimmer Ribbon (Z3313)
White Burlap Ribbon (Z3323)
this space intentionally blank
White & Gold Twine (Z4014)
White & Bronze Twine (Z4030)
Sapphire Crochet Thread (Z4058)
this space intentionally blank
ShinHan™ Touch Twin™ Black Marker (Z2446)
ShinHan™ Touch Twin™ Warm Grey 7 Marker (Z2468)
ShinHan™ Touch Twin™ Warm Grey 4 Marker (Z2467)
ShinHan™ Touch Twin™ Bronze Marker (Z2447)
ShinHan™ Touch Twin™ Mahogany Marker (Z2456)
ShinHan™ Touch Twin™ Clay Marker (Z2451)
ShinHan™ Touch Twin™ Pastel Peach Marker (Z2460)
ShinHan™ Touch Twin™ Barely Beige Marker (Z2445)
ShinHan™ Touch Twin™ Light Orange Marker (Z2455)
ShinHan™ Touch Twin™ Marigold Marker (Z2457)
ShinHan™ Touch Twin™ Golden Yellow Marker (Z2452)
ShinHan™ Touch Twin™ Pastel Green Marker (Z2459)
ShinHan™ Touch Twin™ Leaf Green Marker (Z2454)
ShinHan™ Touch Twin™ Vivid Green Marker (Z2466)
ShinHan™ Touch Twin™ Sap Green Marker (Z2463)
ShinHan™ Touch Twin™ Peacock Green Marker (Z2461)
ShinHan™ Touch Twin™ Turquoise Blue Marker (Z2465)
ShinHan™ Touch Twin™ Cerulean Blue Light Marker (Z2449)
ShinHan™ Touch Twin™ Marine Blue Marker (Z2458)
ShinHan™ Touch Twin™ Lavender Marker (Z2453)
ShinHan™ Touch Twin™ Peony Purple Marker (Z2462)
ShinHan™ Touch Twin™ Tender Pink Marker (Z2464)
ShinHan™ Touch Twin™ Cherry Pink Marker (Z2450)
ShinHan™ Touch Twin™ Carmine Marker (Z2448)
ShinHan™ Touch Twin™ Colorless Blender Marker (Z2469)
Marker Bundle (Z9977)
Sugarplum Shimmer Brush (Z4210)
Marvy® Uchida® LePen™ Journaling Pen (Z1979)
Spray Pen (Z1380)
this space intentionally blank
Stamping Starter Kit (Y1014)
My Acrylix® Stamp Scrubber (Z1782)
Bone Folder (Z1204)
item no longer available
Paper Piercing Tool Kit (Z3504)
item no longer available
Washi Tape Dispenser (Z2052)
Corner Rounder (Z1912)
Dual Action Glue Pen (Z553)
item no longer available
this space intentionally blank
Albums & Accessories - pages 144 to 147
My Legacy™ D-ring Album—Brown (Z5202)
item no longer available
My Legacy™ D-ring Album—White (Z5206)
item no longer available
Brown My Legacy™ Post-bound Album (Z5302)
White My Legacy™ Post-bound Album (Z5306)
Designer Travel/Organization - pages 152 to 155
Designer Travel Marker Case (Z6000)
markers are not included
Workspace Wonder™ Marker Stack (Z5103)
Stamp Of The Month - pages 156 to 159
See Thursday's Retiring My Acrylix™ Stamps post; the SOTM is only available during the month it is featured.

The Shop Now button will also take you to my Consultant Website.


Do not hesitate to email me if you have any product or promotion questions. You will also find me on Facebook at Brenda's Paper Crafts. Thank you for stopping by today.