Friday, October 28, 2016

Cricut® Flower Market Collection in Cricut® Craft Room

In mid-August I introduced you to the new Close To My Heart Cricut® Flower Market Collection which comes in two versions: with a physical cartridge (Z3285) and as a digital only option (Z3290).

Today let's take a look at how the cartridge will look to you in Cricut® Craft Room (CCR) for you to use with your Expression 2 and earlier Cricut® machines. You will find Flower Market grouped with  other Close To My Heart cartridges.


The tabs on the virtual keyboard in CCR correspond with the labels in the handbook. When you press the shift key you will see even more options, for example, when on the Font tab and you press shift, you will see braces where the zero is shown.

Font


Flower - 1


Flower - 2

Icon


Container


Background


Title


I created a page devoted to CTMH Cricut® Flower Market. You will find it in the green bar above. Close To My Heart is creating videos for each key and I am adding links to the videos to that page. Please bookmark my blog and check out my Flower Market page each week to watch the next video.

If you are interested in purchasing either of the Flower Market collection options, please consider having a Gathering. Your Gathering can be in your home, online or as Facebook party. At $150 in sales you receive $25 in Hostess Rewards; at $250 you receive $40 in rewards AND one item at 50% off. And the rewards can be greater with increased sales. Wouldn't it be wonderful to get the Flower Market cartridge for approximately $50? Details about being a hostess can be found on page 5 of Annual Inspirations 2016-17 or on my OBA here. If are are ready to place an order or would like to research any product, the Shop Now button will take you there.


If you have any product questions or would like to discuss hosting a Gathering, do not hesitate to email me. You will also find me on Facebook at Brenda's Paper Crafts. Thank you for visiting today.

Thursday, October 27, 2016

Workspace Wonder™ Items Are Available

We received an email from Corporate that the highly anticipated Workspace Wonder™ organization pieces are now available.


The above photo only shows one configuration option. If you look at pages 88-89 of Annual Inspirations 2016-2017, you will see another option and all six of the pieces. You will also find them on my OBA under the Organization menu. The pieces can be put together in many configurations so you are sure to find one is perfect for your workspace.

In this video Kristina shows us some of the different ways to configure the pieces.


Here are the six pieces that can be used together to customize your crafting area:

Workspace Wonder™ Paper Tray (Z5100)
Workspace Wonder™ Large Tray (Z5101)
Workspace Wonder™ Small Tray (Z5102)
Workspace Wonder™ Marker Stack (Z5103)
Workspace Wonder™ Stamp Pad Stack (Z5104)
Workspace Wonder™ Tool Cubby (Z5105)

Since the pieces are very popular, even before anyone had a chance to see them in person, some of the pieces may run out before additional stock (which is en route) arrives. I hope this will not be the case when you visit my OBA to order, but if it is not available, please know that stock will be replenished as soon as possible.

The shop now button below will take you to my Online Shopping Address.


Thanks for visiting today. As always, if you have any product or promotion questions feel free to email me. You will also find me on Facebook at Brenda's Paper Crafts.

Saturday, October 22, 2016

Happy Birthday Mom!

Today is my mother's birthday and this is the card I created for her. My mother loves gardening and grew up on a dairy farm so I thought the milk can with flowers was a good combination for her.


My card is inspired by one I saw posted by Krista Hershberger in her Krista's Crafty VIP Close To My Heart Group on Facebook.

I did not think to take a photo of the inside before giving it to my mom, but I used stamps from the Workshops Your Way™ Party Time Cardmaking Kit (G1111) and Peacock Exclusive Inks™ Stamp Pad (Z2649) to stamp the greeting inside.

All supplies are from Close To My Heart except where noted:
If you are not working with a CTMH Independent Consultant yet, you may purchase all of the supplies I used at my Online Business Address.
 
Thank you for stopping by today. I hope you are having a wonderful weekend.

Friday, October 21, 2016

New Adhesive Option

In the latest Close To My Heart update sent to Consultants we learned that Tombow® recently came out with a new adhesive option.

Tombow® Permanent Adhesive (Z3326)
Tombow® Permanent Adhesive Refill (Z3327)

After testing it out in the art studio, CTMH has been impressed enough to add it to the other adhesives that are offered. You can now order the new Tombow® Permanent Adhesive for just $8.95 using item number Z3326. You can also order refill packs for just $5.95 using item number Z3327.

Unfortunately the Mystery Hostess Party did not reach a rewards level, but everyone that ordered will receive some happy mail in the future.

If you have any product questions feel free to email me. You will also find me on Facebook at Brenda's Paper Crafts. Please like my page to receive periodic updates. Thank you for visiting today.

Wednesday, October 19, 2016

Recently Introduced CTMH Thin Cuts

During Australasia Convention last week, Close To My Heart introduced four new Thin Cuts that coordinate with stamps that you will find in Annual Inspirations 2016-2017.

The four new Thin Cuts are not bundled with the coordinating stamp sets. If you would like the Thin Cuts and corresponding stamp set you will want to purchase each item individually. The new Thin Cuts and their complementary stamp sets are:

Thin Cut Coordinating Stamp Set
Thin Cuts—Wreath (CC1157)
Wreath (A1193)
Thin Cuts—Sweet Birthday (CC1156)
Sweet Birthday (B1532)
Thin Cuts—Swirly Seashells (CC1155)
Swirly Seashells (C1664)
Thin Cuts—School Kids (CC1158)
School Kids (D1706)

The new thin cuts sets are available for purchase now, you will find them on the Monthly Specials page of my Online Business Address. They will remain available while supplies last for the duration of the Annual Inspirations idea book.

If you would like more information about Thin Cuts in general, I recently posted two cards I created using them. One card uses a "stand-alone" Thin Cut, that is one that does not coordinate with a stamp set, and the other card uses a Thin Cut bundle from Holiday Expressions 2016.

Also on the Monthly Specials page you will find the recently released 2017 Planner products. There are two bundles and 2017 pages.

Everyday Life™ Sea Glass Album & Planner Pages Bundle (CC1177)
Everyday Life™ Stripes Album & Planner Pages Bundle (CC1178)
Everyday Life™ 2017 Planner Pages (CC2017)
space intentionally blank

If you would like to receive a notice when I publish a new post, please subscribe to my blog (see the form to the right).


Thanks for visiting today. If you have any product or promotion questions feel free to email me. You will also find me on Facebook at Brenda's Paper Crafts. Please like my Facebook page to receive periodic updates.

Monday, October 17, 2016

Final Day - SpookTacUlar Online Event

Welcome to the final day of the SpookTacUlar Online Shopping Event on Facebook. The past couple of weeks have flown by. I hope you have enjoyed the crafty projects and products that I have shared with you.

Today a I have two more princess birthday ideas to share with you. They coordinate with the cake banner I posted yesterday. I am sorry about the "hot spots" in the photos; it is hard to take a photo of metallic paper.

The first is a Happy Birthday banner to hang in your entryway or the room where you are celebrating or cutting the cake. The background is Pixie cardstock and the letters, crowns and the background for the crowns are cut from a pink metallic paper.


The second item I created is a crown for the birthday girl to wear.


There are five small holes along the bottom of the Pixie cardstock to thread the elastic through. I placed them so they would be hidden by the decorative layer cut from metallic paper. I attached the decorative layer with 3-D Foam Tape so the elastic could move so you can tie elastic to keep the crown on the head. I thought about using a plastic head band, but I am not sure which adhesive would be strong enough to hold the crown to it. Time was also a consideration for me as any liquid glue would need to be held until set and on plastic that would have taken extra time.

If I had not run out of time, two additional ideas I had were a pop-up card like this one from the CTMH exclusive Cricut® Artfully Sent collection.


I was also thinking small versions of the crown, similar to the crown on the Happy Birthday banner, would be cute to place at the top of a pick or thin straw to place in cupcakes. I kept thinking of a princesses and her court and way trying to incorporate things to make for the party guests, but I ran out of time. It is too bad that household chores and a full time job take up some valuable crafting time.

I was able to create the cake banner (from yesterday), Happy Birthday banner and crown above from two sheets of cardstock and one sheet of metallic paper (and I did make the cake banner double-sided this evening). I have some scraps of cardstock and metallic paper left and I will try to think of some ways to use them.

All supplies are from Close To My Heart except where noted:

I hope this gives you some ideas if you want to host a princess birthday party for a special little girl in your life. Thanks for visiting today.

Birthday Celebration - Day 14 - SpookTacUlar Online Event

Hello and happy Monday (is there such a thing?)! Welcome to Day 14 of the SpookTacUlar Online Shopping Event on Facebook. Tomorrow is out last day for the SpookTacUlar Online Event. Boy how time flies when you are having fun.

Unfortunately I was not able to complete as any projects as I would have liked for this post. I was asked about princess birthday ideas and my first idea was for a banner of some kind. This banner was designed to be inserted into a cake - I wish I had the time (and skills) to create a cake so you could see this banner in use.. I have other ideas to go hand-in-hand with this banner; I hope I will have a chance to be creative tonight and share tomorrow.


The Pixie background of this banner was cut twice and place on either side of the bamboo skewers to hide the skewers between the layers. In hindsight I wish I would have cut the word twice so the banner would truly be double-sided. I think I will cut another and add it to the banner if I do not run out of metallic paper. Instead of princess you could use the name of the one celebrating their birthday. I though about adding crowns to the banner, but thought it would take away from the decorative ends. The banner is 9 inches wide.

I used a lot of adhesive to hold the bamboo skewers in place because I did not want the banner to slide down the skewers into the cake.. I laid a skewer down and placed 3-D Foam Tape on either side as tight as a could get it to the skewer. I decided the 3-D Foam Tape was not quite thick enough for the thickness of the skewer, so I placed Thin 3-D Foam Tape on top of the "regular" 3-D Foam Tape. I then lifted the skewer to apply a thin line of Liquid Glass under it for additional hold. Then I used a short piece of Scor-Tape at the very top and very bottom of the skewer for added security. I used one layer of 3-D Foam Tape elsewhere to hold the backing banner to the front.

All supplies are from Close To My Heart except where noted:
Thank you for visiting today. I hope to add more ideas for a princess birthday celebration in the next day or so.

Sunday, October 16, 2016

Cricut® City Sidewalks Blog Hop

Welcome to the Cricut® City Sidewalks Blog Hop. We are featuring projects created with the digital Cricut® City Sidewalks cartridge which is exclusive to Close To My Heart. There are approximately 17 Consultants sharing projects created with City Sidewalks. If blog hopping is new to you, we try to keep it easy: just keep clicking on the link to the next blog (typically near the bottom of the post) to visit the next stop. Our blog hop is circular so visiting the next blog will take you back to where you started.


You should have arrived here from ***Scrappy Hour by Michelle Jones***. If you get lost along the way, Melinda Everitt keeps a list of participants on her blog at If You Bling It.

As I mentioned above, the City Sidewalks collection is digital and works in Cricut® Design Space with any of the Cricut® Explore machines. So you may have a better view of the images on the cartridge, here is a screenshot from Cricut® Design Space:


I really like the images on this cartridge and believe some of them can be used year-round. I created this card to show you why I believe this:


Before you head to ***Alyson Mayo's Create With Alyson***, the supplies I used to create my project are listed below.

All supplies are from Close To My Heart except where noted:
If you are not already working with a CTMH Independent Consultant, you may purchase all of the supplies I used at my Online Business Address.

Before you leave I would be delighted if you left me a comment letting me know what you think of my project. So you do not have to scroll back up, the next stop on the hop is ***Alyson Mayo's Create With Alyson***.

Thank you for hopping with us.

CTMH Exclusive Cricut® Cartridges - Day 13 - SpookTacUlar Online Event

There are only two days remaining in the SpookTacUlar Online Shopping Event on Facebook. Time flies when you are having fun. I would like to take this opportunity to remind you that October 18 is the last day of my Mystery Hostess Party too – see my October 7 post for details.

Today I would like to introduce you to the Cricut® cartridges that are exclusively available from Close To My Heart Independent Consultants. There are currently four CTMH exclusive Cricut® collections available; one is available only with a physical cartridge, two are available with a physical cartridge or as a digital collection and one is only available as a digital collection (also without cardstock and stamps):

Cricut® Artbooking Collection (Z3169)
physical cartridge
space intentionally blank
Cricut® Artistry Collection (Z3167)
physical cartridge
Cricut® Artistry Collection (Z3500)
digital cartridge

Cricut® Flower Market Collection (Z3285)
physical cartridge
Cricut® Flower Market Digital Collection (Z3290)
digital collection
Cricut® City Sidewalks Digital Collection (Z4017)
space intentionally blank

The Cricut® Artbooking Collection was introduced in the Autumn/Winter 2013 Idea Book; the collection includes a physical cartridge, three D-sized stamp sets and a package of Whimsy cardstock (combo pack).

The Cricut® Artistry Collection is the first collection that is available with a physical cartridge or as a digital collection and was introduced in Annual Inspirations 2015–2016. It too includes three D-sized stamp sets and a package of Enchantment cardstock (combo pack). When you order the physical cartridge you will receive a box with the cartridge, keypad overlay and image handbook. The digital collection includes a card with a code you redeem online, the stamps and cardstock combo pack.

The Cricut® Flower Market Collection is also available with a physical cartridge or as a digital collection and was introduced in Annual Inspirations 2016–2017. It also includes three D-sized stamp sets and a package of Adventure cardstock (combo pack). Like Artistry, the digital collection includes card with a code which you will receive with the stamps and cardstock and redeem online.

The Cricut® City Sidewalks Collection was introduced in Holiday Expressions 2016. It only comes as a digital collection for use in Cricut® Design Space with any model of the Cricut® Explore machine. It has 30 complete images and does not come with stamps or cardstock.

Close To My Heart has three retired Cricut® collections: Art Philosophy, Artiste and Artfully Sent. While the cartridges are retired, since the shapes from them are very versatile, CTMH still creates stamp sets that coordinate with them.


I created some tags using the Art Philosophy cartridge and the recently introduced, in Holiday Expressions 2016, Perfect Presents (D1697) stamp set.

All supplies are from Close To My Heart except where noted:

Thank you for visiting my blog today. Please subscribe (see the form to the right) if you like to know when I post.


If you have any product or promotion questions feel free to email me. You will also find me on Facebook at Brenda's Paper Crafts. Please like my page to receive periodic updates. Thank you for visiting today.

Saturday, October 15, 2016

CTMH Thin Cuts - Day 12 - SpookTacUlar Online Event

Greetings! Welcome to Day 12 of the SpookTacUlar Online Shopping Event on Facebook. Time is flying so fast I cannot believe the Event is almost coming to a close. The last day of the Event is October 18. I am not sure if I will get a chance to share all of my ideas with you before the Event ends. I would also like to remind you that October 18 is the last day of my Mystery Hostess Party – see my October 7 post for details.

Today I am sharing cards created with the Close To My Heart Thin Cuts. CTMH offers two options of Thin Cuts – some that are designed to stand alone and some that coordinate with stamp sets similar to how some of our stamp sets coordinate with cuts from our Exclusive Cricut® cartridges (more on that soon). Thin Cuts that coordinate with stamps are now, starting with Holiday Expressions 2016, bundled with the stamps so there is no need to purchase the stamps on their own – if you want a bundle of dies and stamps look for product numbers that start with Z. The stamps are available individually if you would rather not use Thin Cuts or do have have a pressure die-cutting machine like a Cuttlebug or a Big Shot.

I have updated my post with photos taken in the daylight with a little help from my Ott Light so you can better see the final results.

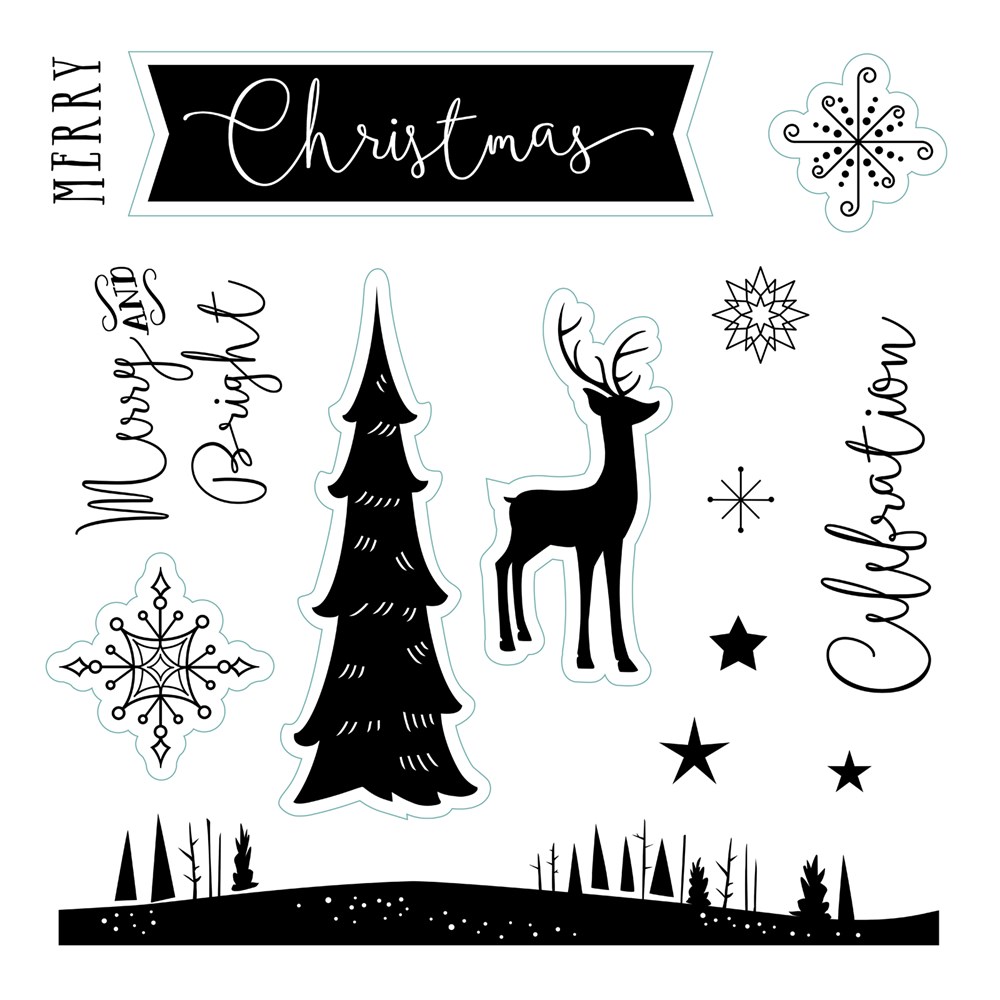
Here is a card I created using the Cozy Christmas Thin Cuts Bundle (Z4008).


I took this photo so you can see some of the dimension I was able to achieve using the foam tapes.


I used Thin 3-D Foam Tape (Z2060) and 3-D Foam Tape (Z1151) and torn edges to add layers to my card and create dimension. I also used the Shimmer Brush (Z3293) to create a snowy appearance however that is very difficult to show in photos.

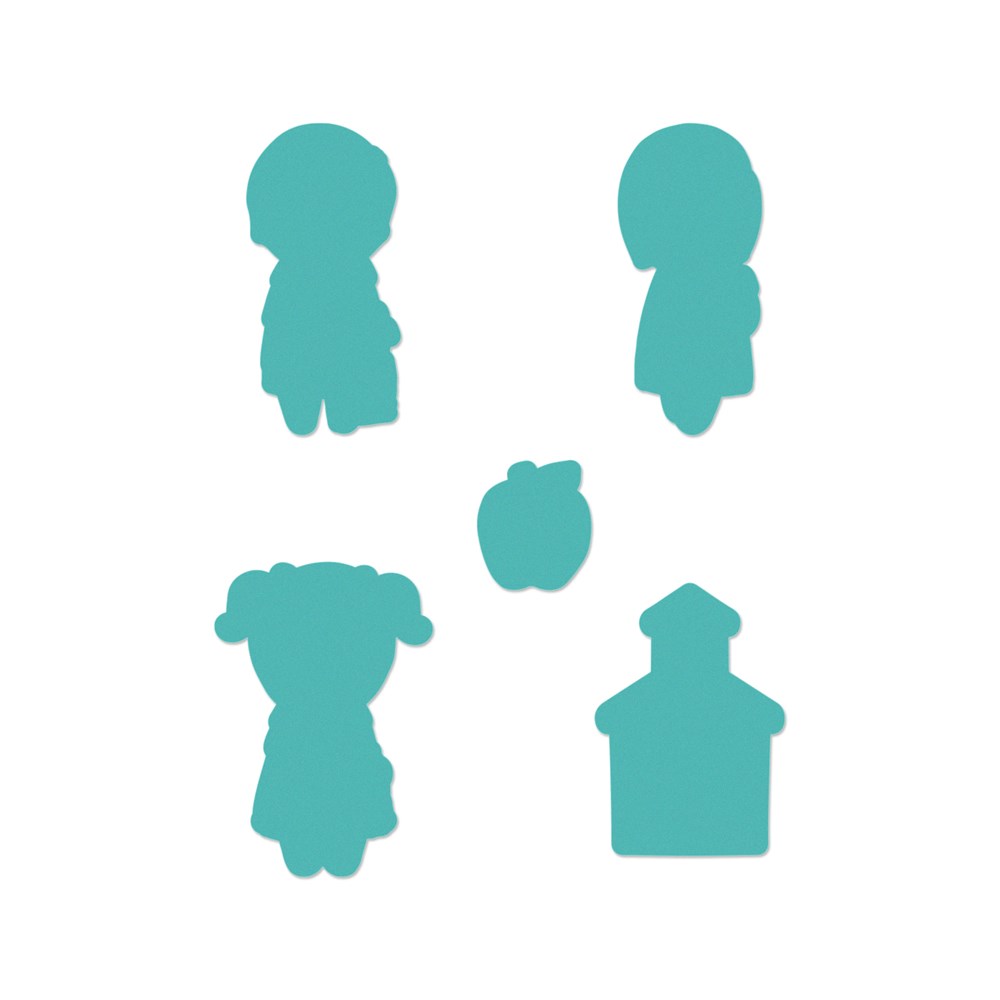
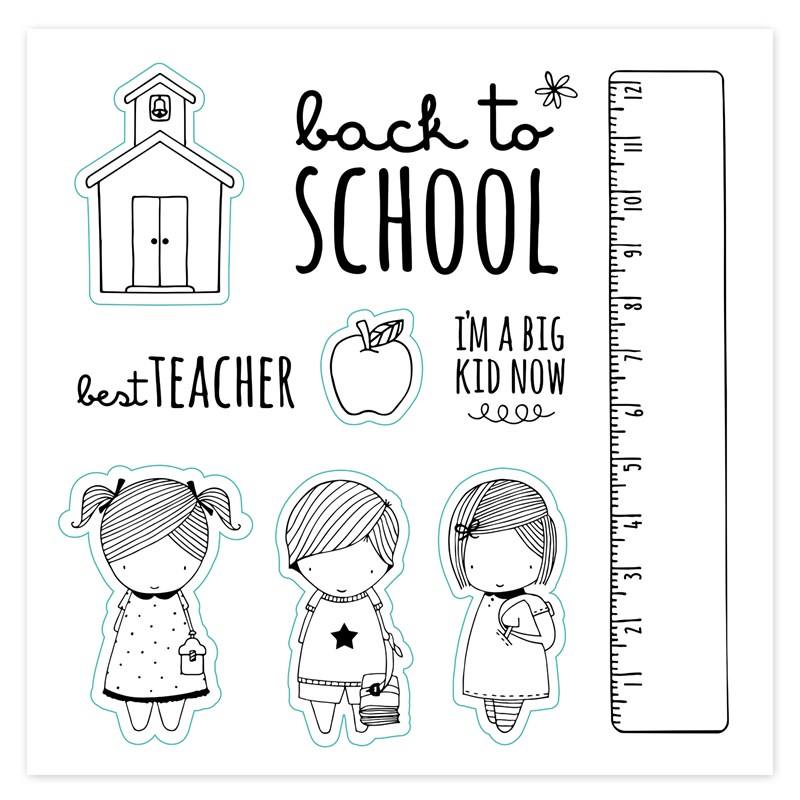
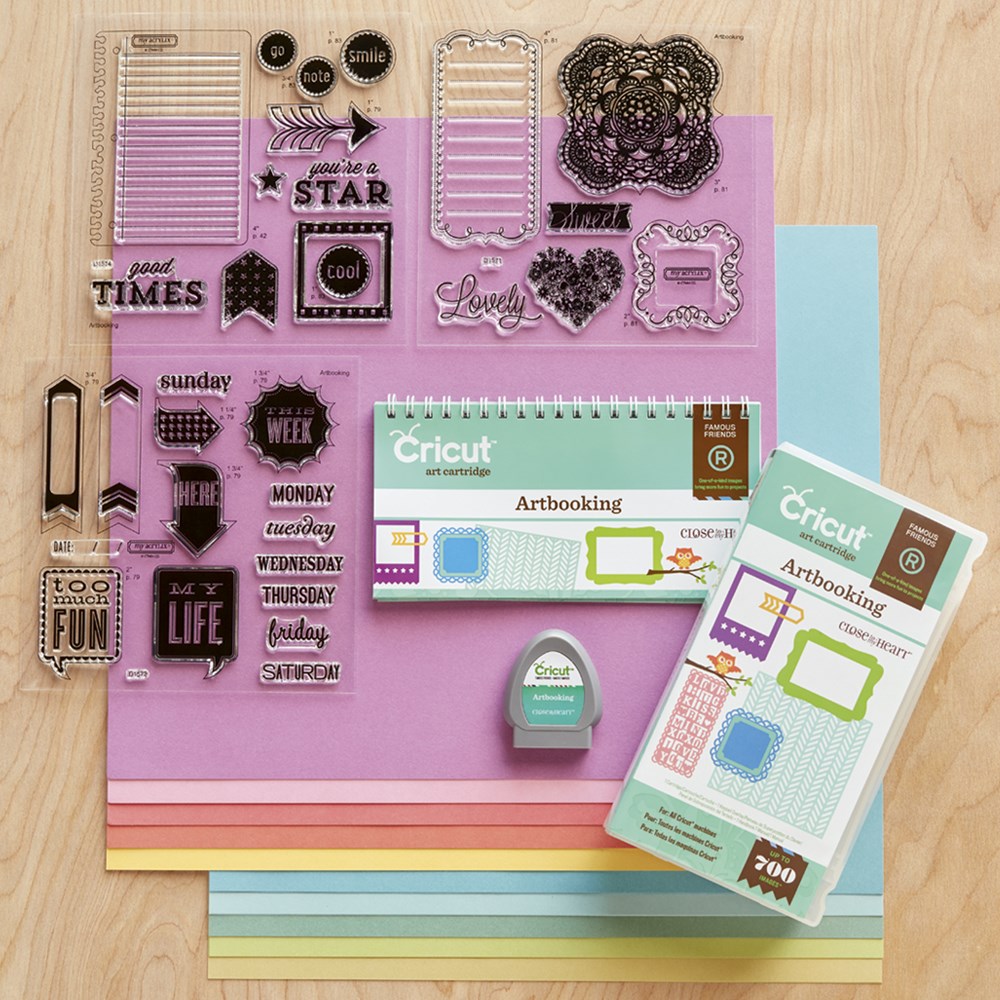
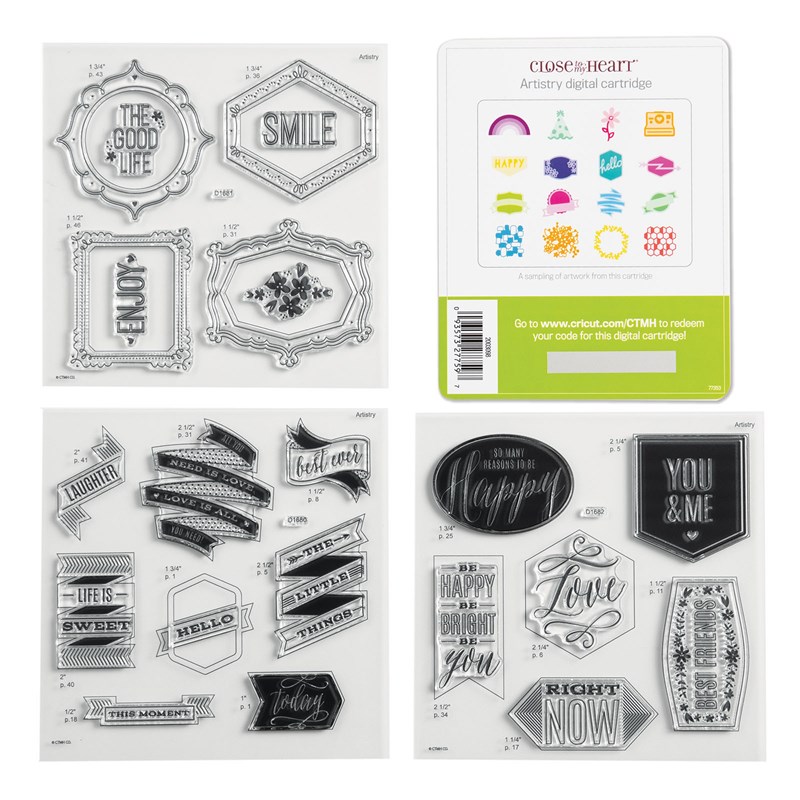
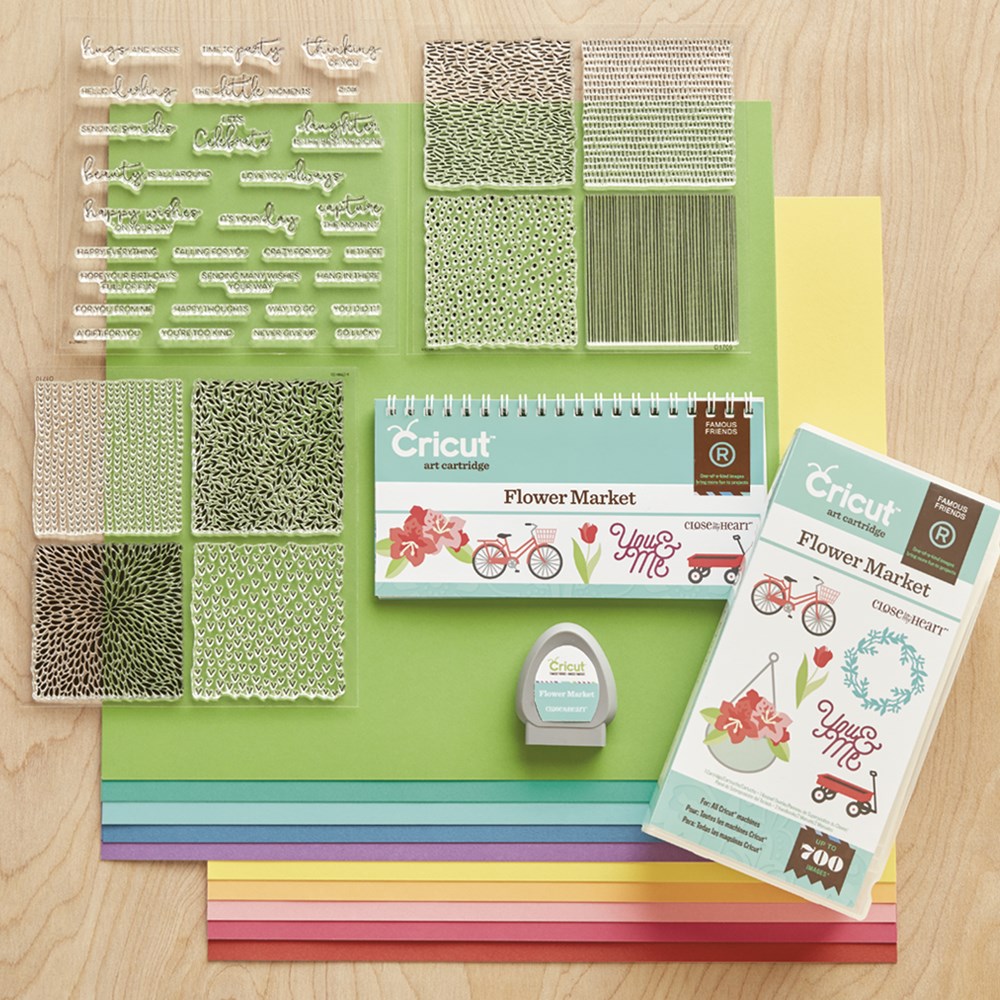
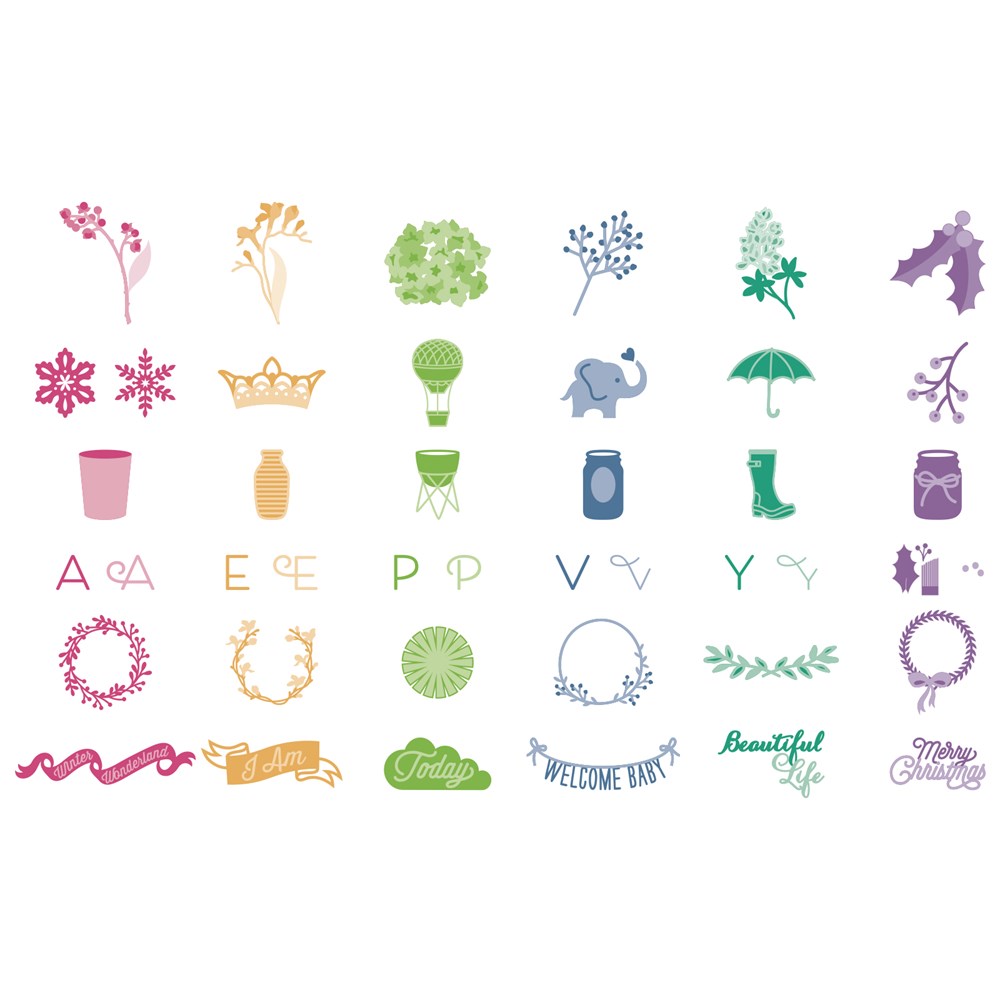
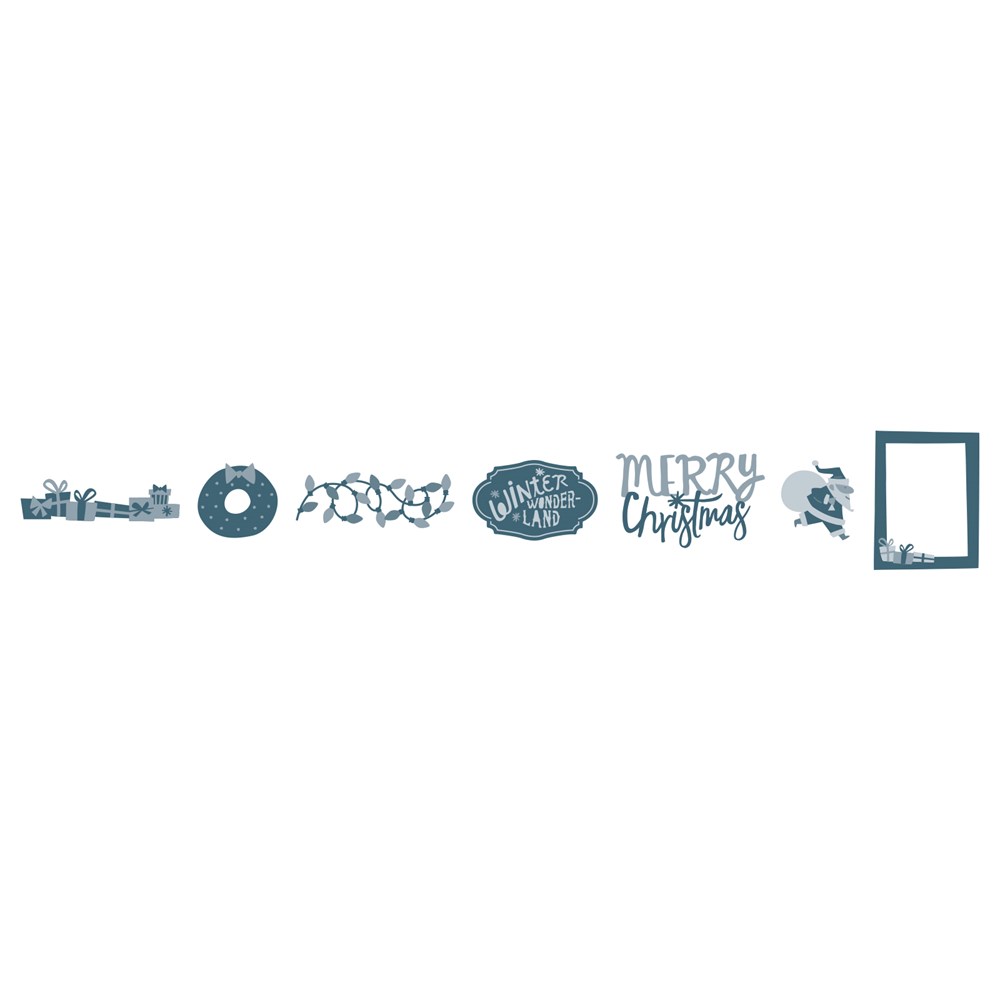
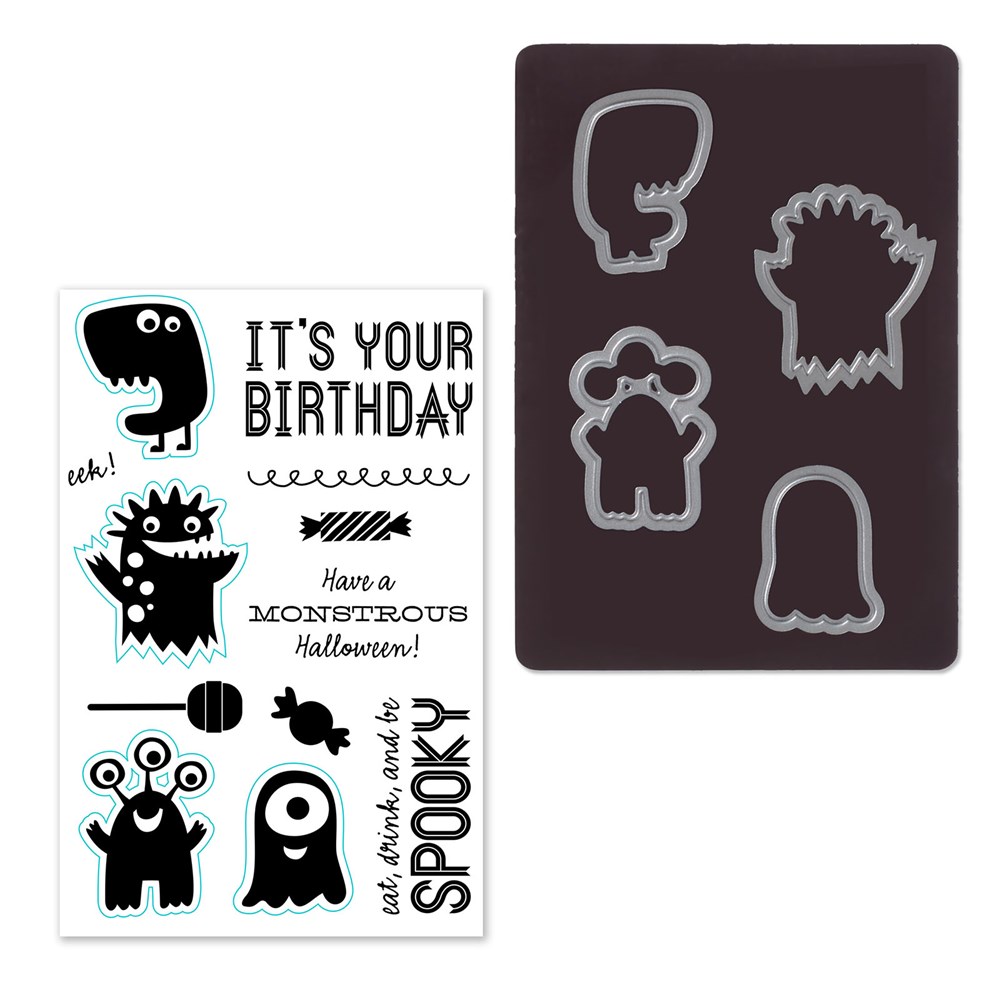
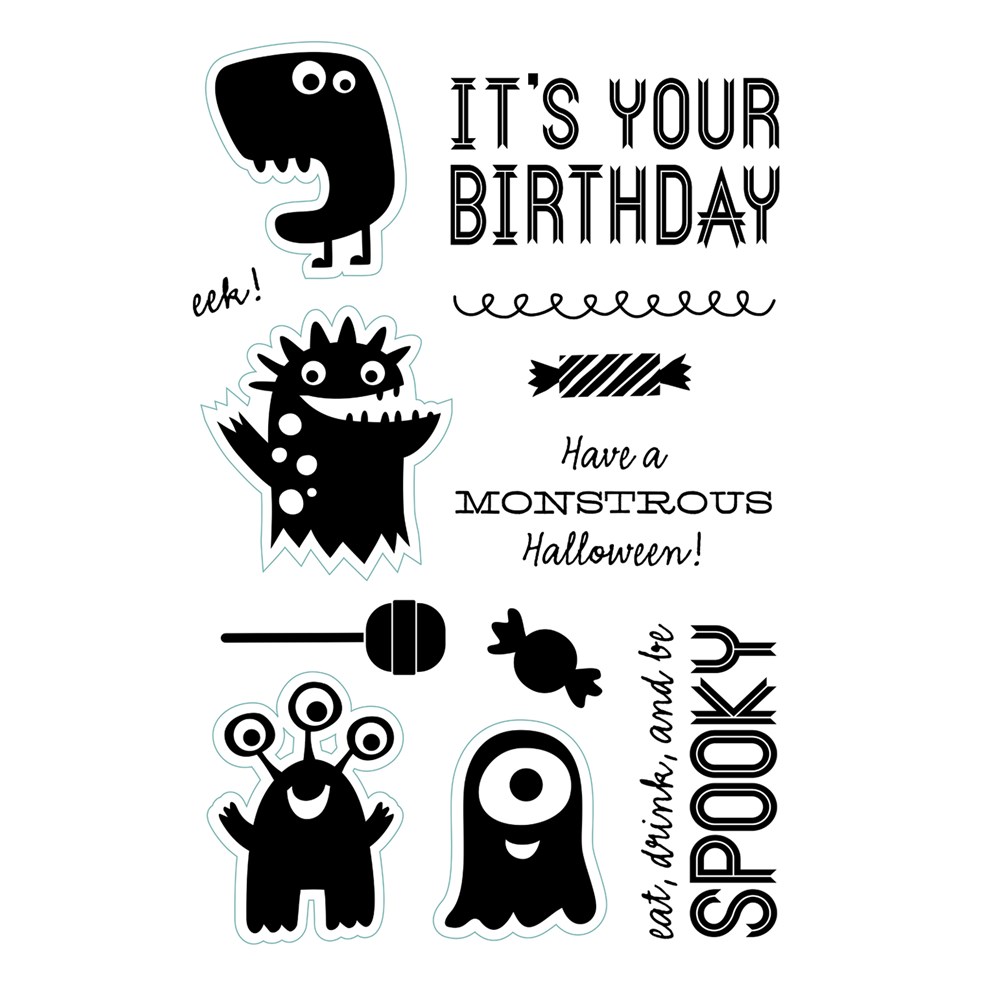
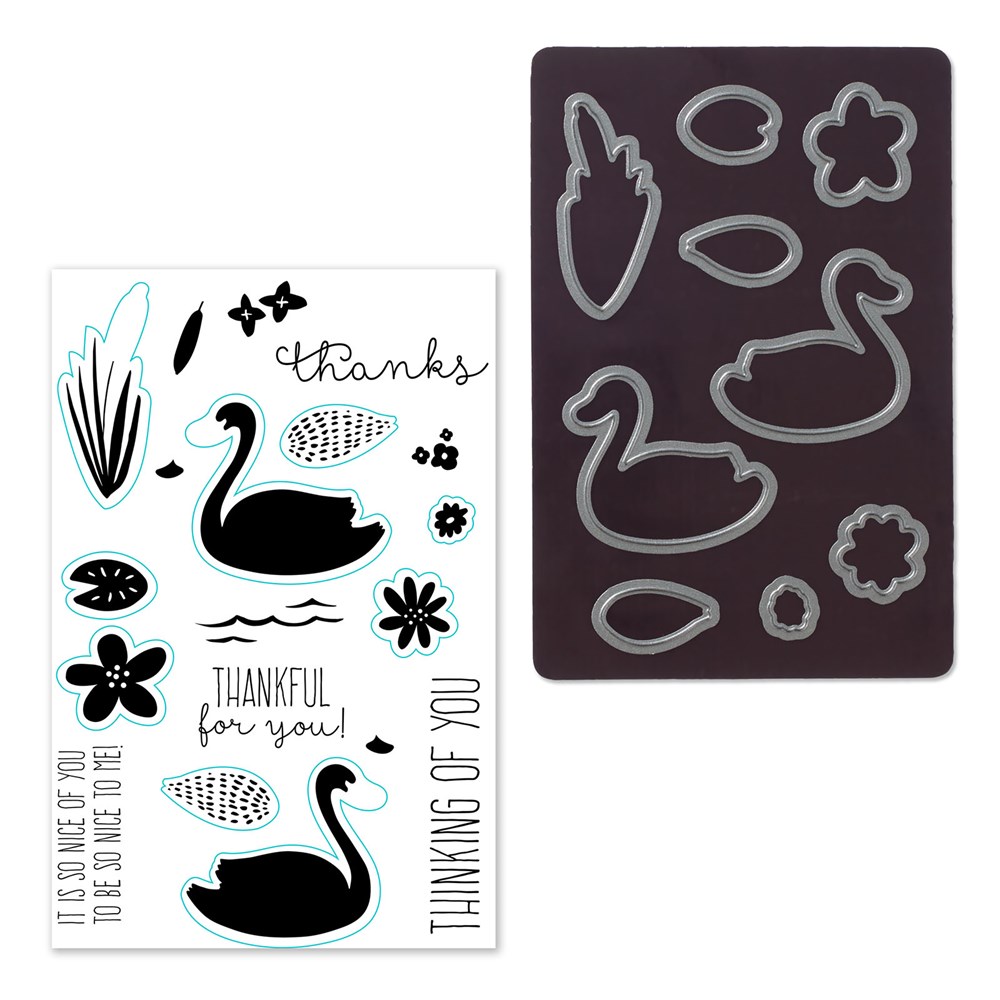
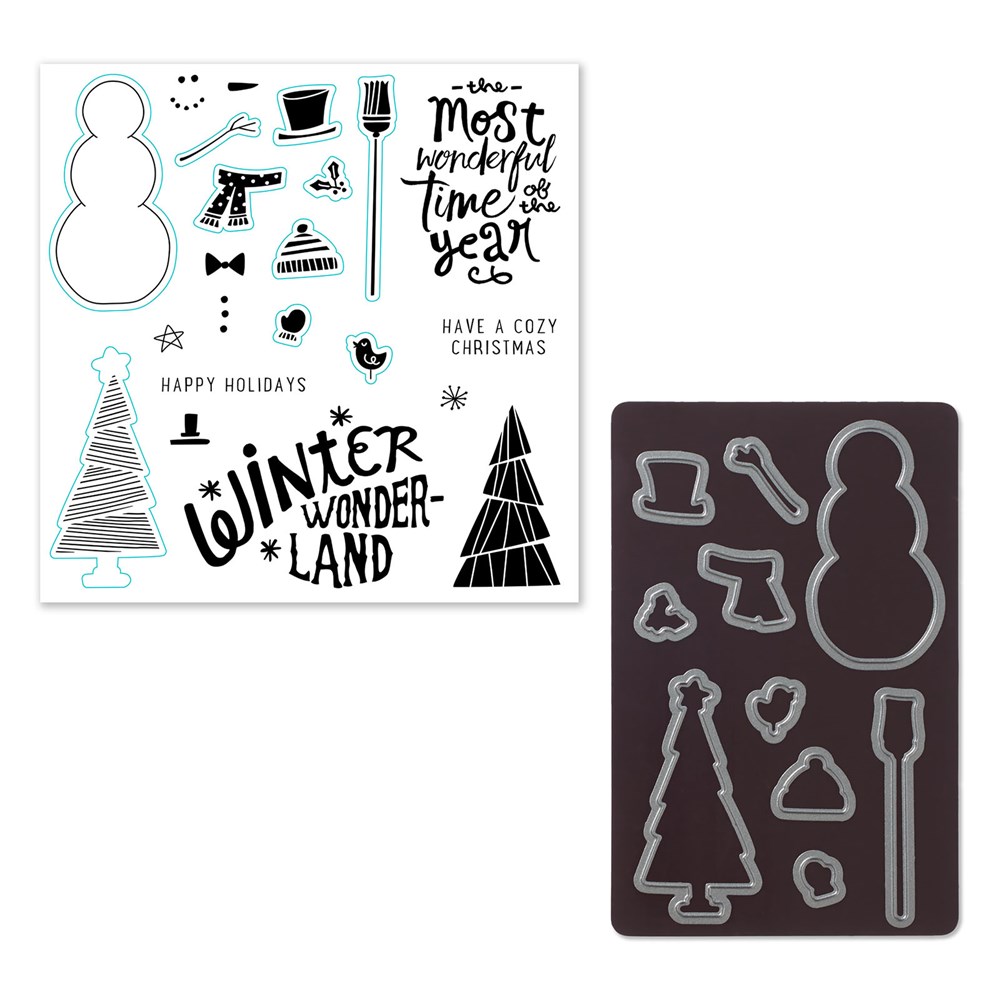
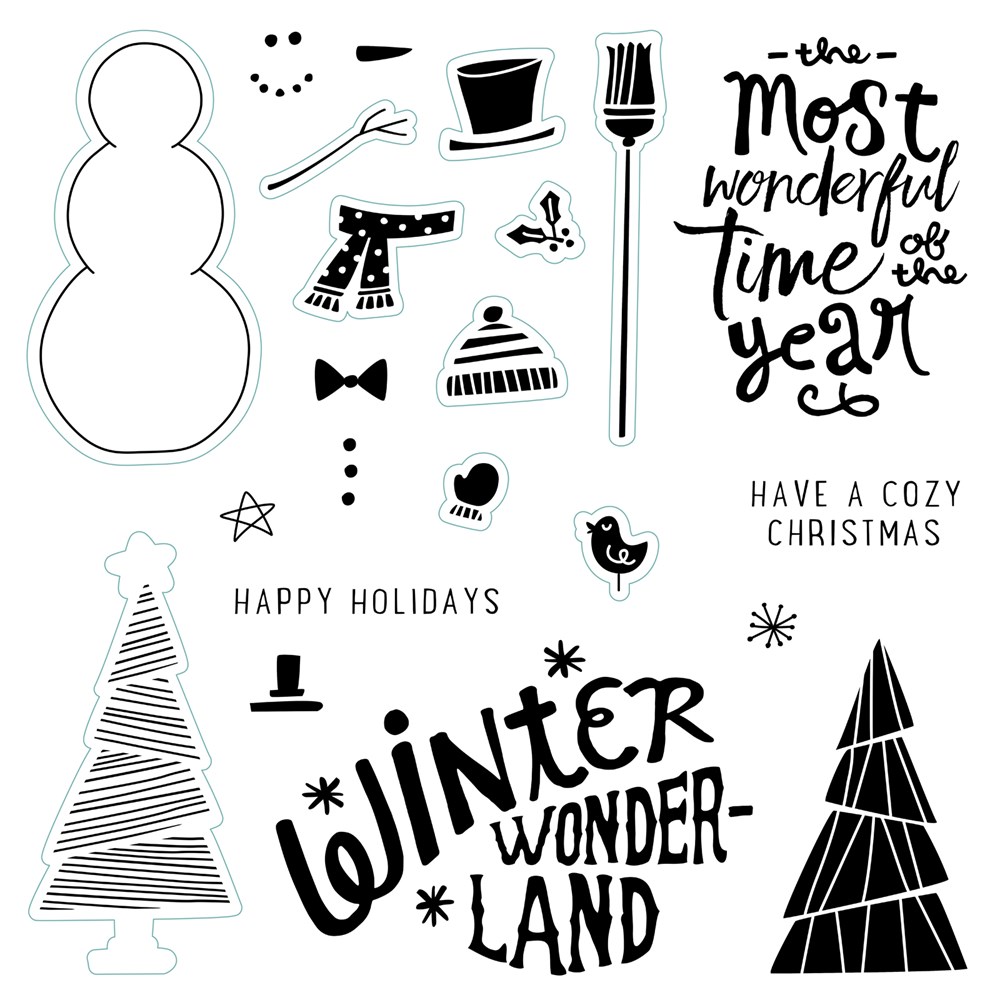
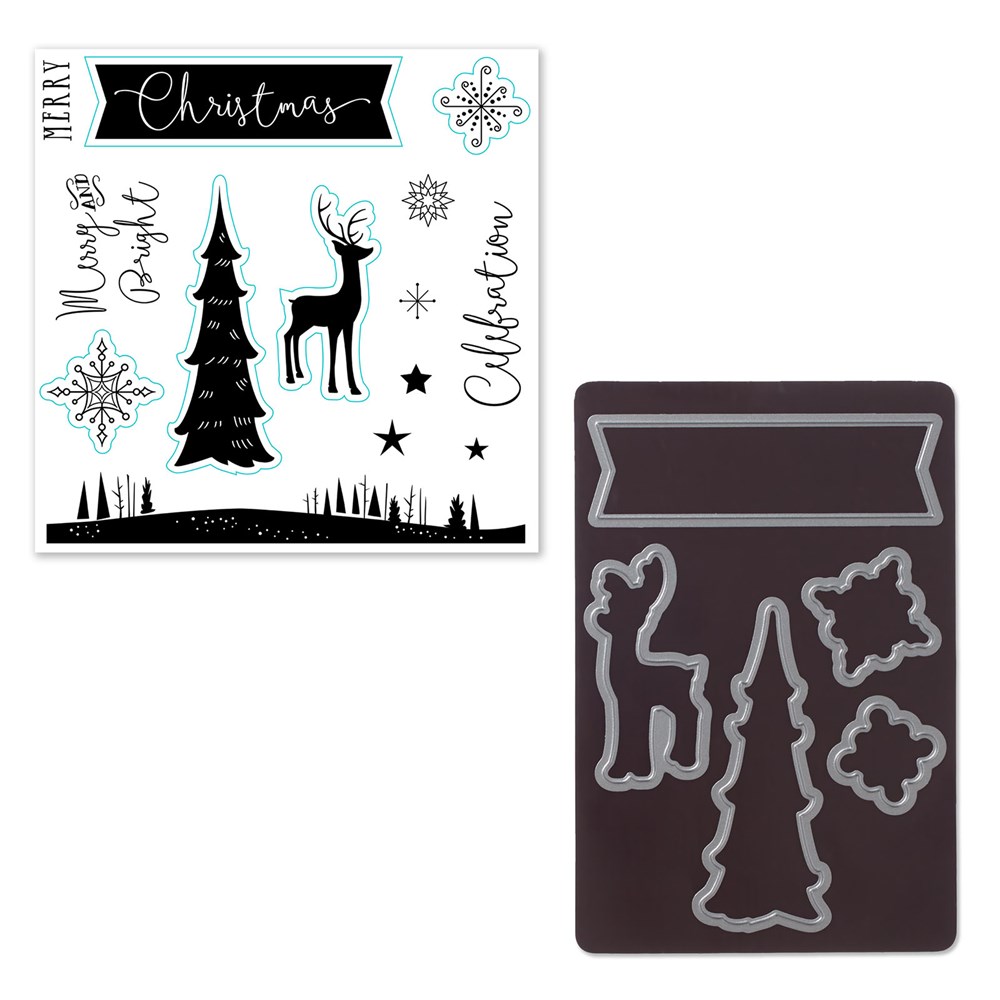
Currently Close To My Heart offers four Thin Cuts Bundles. Here's a look at the bundles, which includes the metal dies and the stamp sets, and the stamp set on it's own.

Thin Cuts Bundles Stamp Sets
Monstrous Halloween Bundle (Z4006)
Monstrous Halloween Stamp Set (C1652)
Thankful for You Bundle (Z4007)
Thankful for You Stamp Set (C1655)
Cozy Christmas Bundle (Z4008)
Cozy Christmas Stamp Set (D1695)
Woodland Wishes Bundle (Z4015)
Woodland Wishes Stamp Set (D1696)

If you plan to die cut or think you will eventually want to die cut, please purchase the bundle as the dies are not available for individual purchase. If you only want to stamp and fuzzy cut or mask to create layers, the stamp is available individually, but please do not order from both columns or you will end up with a duplicate stamp set. The Thin Cuts Bundles can all be found in Holiday Expressions 2016 which is only valid until December 31 and the bundles are while supplies last.

I also created this card which uses a stand alone die – that is a die that does not have a coordinating stamp set.


This card was inspired by the card on page 66 of Annual Inspirations 2016-2017 except I used patterned paper where the card in the Idea Book was stamped.


When I cut a piece of cardstock to die cut, I made it the size I would like to use an a card. Then I placed the die where I wanted it to cut. When I removed the word thanks from the die, I was careful to leave the other bits in place. I used a liquid glue on the remaining bits and placed a piece of White Daisy cardstock on the back then used the release holes to remove the Sorbet cardstock from the die. This way I maximized what I can get from my cardstock.

By the way, I often see questions about how to layer the cutting plates to cut using the Thin Cuts with a Cuttlebug. This is what I do, starting from the top layer:

B plate
cardstock
Thin Cut with the cutting side facing up
C plate
A plate

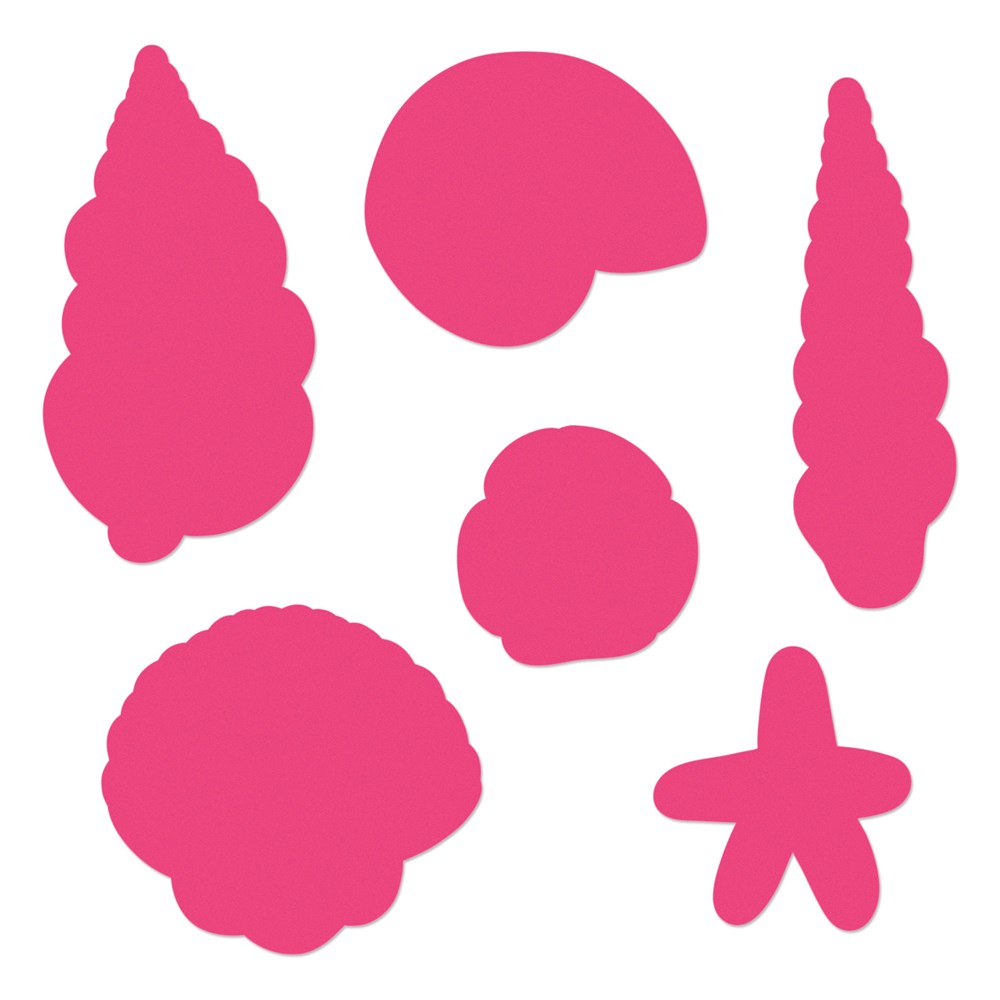
There are six Thin Cuts in Annual Inspirations 2016-2017.

Thin Cuts—Hearts (Z3260)
Thin Cuts—Stars (Z3261)
Thin Cuts—Happy (Z3258)
Thin Cuts—Love (Z3257)
Thin Cuts—Hello & Thanks (Z3259)
Thin Cuts—Celebrate (Z3256)

Annual Inspirations 2016-2017 is valid until July 31, 2017; Thin Cuts in AI will be available for months to come, but as we get closer to the end of the Idea Book, typically in the last month or so, we may see some of the options become unavailable as they sell out.

And there are four Thin Cuts in Holiday Expressions 2016.

Thin Cuts—Snowflakes (Z4003)
Thin Cuts—Gift (Z4005)
Thin Cuts—Winter (Z4002)
Thin Cuts—Christmas (Z4004)

The Thin Cuts that can be found in Holiday Expressions 2016 typically are only available until December 31 and while the supplies last.

If you need to head out, thanks for stopping by and reading today's post. If you would like a list of supplies used for either card; all supplies are from Close To My Heart except where noted:
Thanks again for visiting today. If you have any product or promotion questions feel free to email me. You will also find me on Facebook at Brenda's Paper Crafts. Please like my page to receive periodic updates.