Tuesday, January 31, 2017

January 2017 SOTM Adore You Thank You Cards

Well, I should have been working on something else, but I just had to finish the cards I had in progress using the January 2017 Stamp Of The Month Adore You.


The flowers were stamped with Black Memento™ Ink Pad (Z899), colored with ShinHan™ Touch Twin™ Markers and cut out with a craft knife on a glass mat. I inked the inside of an embossing folder and embossed the cardstock. I attached the flowers with Thin 3-D Foam Tape (Z2060).

I hope you like how my cards turned out.

January 2017 CTMH Promotions Ending Tonight

I was planning to share a couple of cards I created with the January SOTM Adore You, but time got away from me. I have the flowers colored and cut out, but didn't get a chance to complete the cards so I will share the CTMH promotions that are ending tonight and hopefully I will get a chance to share the cards later this week.

First, I recently learned that some items in the Clearance section of my Online Business Address will be removed at the end of today 11:59pm Mountain Standard Time. If there is anything there that you have been considering purchasing, today is the day to make that purchase. I would like to remind you of three details regarding clearance items: they can only be purchased online, they are available while supplies last and the cost of shipping is based on the full retail value of an item, not the clearance price.


Second, today is the last day to purchase the January 2017 SOTM. If you would like to add Adore You to your stamp collection, place your order before 11:59pm Mountain Standard Time tonight (that is 1:59am February 1 for those of us on the East Coast). The stamp set is available for $17.95 or for only $5 when you make a qualifying purchase of $50 or more.


Finally, today is also the last day to order the Welcome Home Wreath Kit. You may purchase it for $18.95 or when you place an order of $60 you can add it to your cart for free. In fact, for every $60 you purchase you can add a free wreath kit. Also, if you sign up to be a consultant in January you can get the kit for free or if you reach the second level of Hostess Rewards you can also get the kit for free, but it may be a little too late to host a Gathering unless you quickly contact me and your friends quickly place an order online.

I will be back tomorrow with February CTMH news and the following day I will be sharing a card I created using the February SOTM Easter Bunny.

Monday, January 23, 2017

Wedding Favors

If you have been keeping up with my blog this month, you know that my niece got married on December 31. I created a card for my mother to give to the new Mr. & Mrs. and a mirror with candles that they could use together as a centerpiece or separately to decorate their home. On January 7, I posted the card I created to give to the bride and groom.

Today's post is all about the wedding favors my mother and I created for the couple.


I cannot take credit for this idea. I created a coaster at Anna Griffin's Create II in Atlanta November 10 through 13. We created a wreath and a coaster in the session with Beth Kingston.

In case you want to create something similar or think the coasters I created look lopsided, here's a bit of what my niece, mom and I were thinking.


When I centered all of the elements, the vine wreath, "Mr. & Mrs" image, the last name and the year, as you can see the words touch or almost touch the inside left side of the wreath (above left). We moved some of the elements to the right to create about the same amount of "breathing room" on each side of the words.


Then I duplicated the design 23 times (without the score lines so I had fewer to hide) and used the attach feature in Cricut® Design Space to be the most economical with cutting the vinyl. I set the dial on my Cricut® to Vinyl and checked Mirror Image in Design Space because I put the vinyl on the back of the coasters. Cutting 24 took just over an hour. I used a new Cricut® German Carbide Premium Blade for each color of vinyl. I probably could have used one blade for all of my cuts, but I did not want to risk ruining any of the vinyl.

I forgot to take photos while applying the vinyl to the coasters, so I removed the vinyl from the coaster I made at Create II (this is give me a chance to use a brighter color vinyl on my next coaster) to give you an idea how I did this next step. Fortunately I had an extra cut laying around; unfortunately you will have to visualize my description a bit because I did not transfer the vinyl to transfer tape and the photo has the design and coaster upside down from how I applied the vinyl.


You may recall that I added score lines to my design to create a reference point; the red arrows show where they would be if I scored the vinyl. I used my Versamat™ (Z1279) from Close To My Heart when applying the vinyl because the gridlines were helpful. I centered the coaster within a 4 inch square with the bottom side (with feet) up. I transferred the vinyl to the NEW Cricut® Transfer Tape,  lined up the reference points with the 2 inch vertical and horizontal lines and applied the vinyl to the back of the coaster. Sometimes I had to rotate the coaster so the design would go around the feet. I hope this makes sense and if you have questions, leave a comment below and I will try to clarify.

Supplies I used:
I am not an affiliate for shopping sites, but I am a Close To My Heart Independent Consultant. If you choose to purchase a CTMH product from my Online Business Address, I will receive a commission, but I do not receive anything from referring you to where I purchased the other products. References and links to companies/brands are for your convenience only. I do this because I find it frustrating to search and search for a stamp/design/embellishment that inspires me.

I know the bride and groom like the coasters because in their thank you note they wrote "the coasters were a hit". I hope you like them too. Thanks for taking some time from your day to visit.

Sunday, January 22, 2017

Magnetic Closure Exclusive Inks™ Stamp Pads

It recently came to my attention that I did not do enough to highlight the differences between the retired and magnetic closure style of Exclusive Inks™ Stamp Pads. This post is designed to correct that.

The magnetic style of  Exclusive Inks™ Stamp Pads were introduced in Annual Inspirations 2016-2017. You will find them on pages 94–99. See all of the available colors at my Online Business Address. The ink type has not changed, just the stamp pad case.


The inked area is still in the lid of the stamp pad, so you continue to store the stamp pads with the label facing up.


The magnetic closure holds the lid on the stamp pad. The lids on the magnetic closure style of Exclusive Inks™ Stamp Pads come completely off of the stamp pad.


The magnetic closure Exclusive Inks™ Stamp Pads are also a little larger than the older style.
The magnetic closure style of Exclusive Inks™ Stamp Pads are about ¼" wider and about ¾" longer.

The larger size of the stamp pad means if you use the Exclusive Inks™ Organizer (Z4131) or the Exclusive Inks™ Stamp Pad Tower (Z4132) that retired in 2015 (to see what these products look like visit this post), the magnetic closure style pads will not fit.

The magnetic closure Exclusive Inks™ Stamp Pads will fit in the Medium Organizer (Z4139) and the Workspace Wonder™ Stamp Pad Stack (Z5104). If you use the Medium Organizer, a great suggestion I read online is to place a piece of ribbon under the stack to lift the pads out by holding the ribbon ends.

If you are interested in using the Workspace Wonder™ Stamp Pad Stack (Z5104) for storage, please visit yesterday's blog post to learn how you can get several pieces of Workspace Wonder™ at half off when you host a Gathering that reaches the third level for hostess rewards (sales over $350 before taxes and shipping).

I hope you found this comparison of the older and newer styles of Exclusive Inks™ Stamp Pads useful. The Shop Now button will take you to my Online Business Address where you can browse the full range of Close To My Heart products.


If you have any questions, do not hesitate to email me. You will also find me on Facebook at Brenda's Paper Crafts. I hope you enjoyed your visit today.

Saturday, January 21, 2017

Host a Gathering - Earn Hostess Rewards

Have you hosted a party for direct sales company? If you have you know that most companies, if not all, offer rewards based on the sales at your party. The sales can usually be a combination of purchases made online, at your in-home Gathering or via a book party. Close To My Heart offers Hostess Rewards based on this chart:


I cannot speak to how other direct sales companies associate a customer purchase placed online with a Gathering, but at Close To My Heart there is a button on the home page of the consultant's Online Business Address (OBA) to Join a Gathering. Here's an example I posted in the past:


At checkout, there is a second chance to verify your order will be associated with a Gathering. At the top of your Shopping Cart look for the Gathering name and if the green button says "Leave", you are all set; if the green button says "Join", please click the it.


Even if you are not ordering based on an invitation from a Hostess, I encourage you to join a Gathering listed on my OBA. In the past I have had a few Hostesses lucky enough to get help earning rewards based on a purchase by someone they do not know. Who knows, the next time it could be your Gathering that gets a boost.
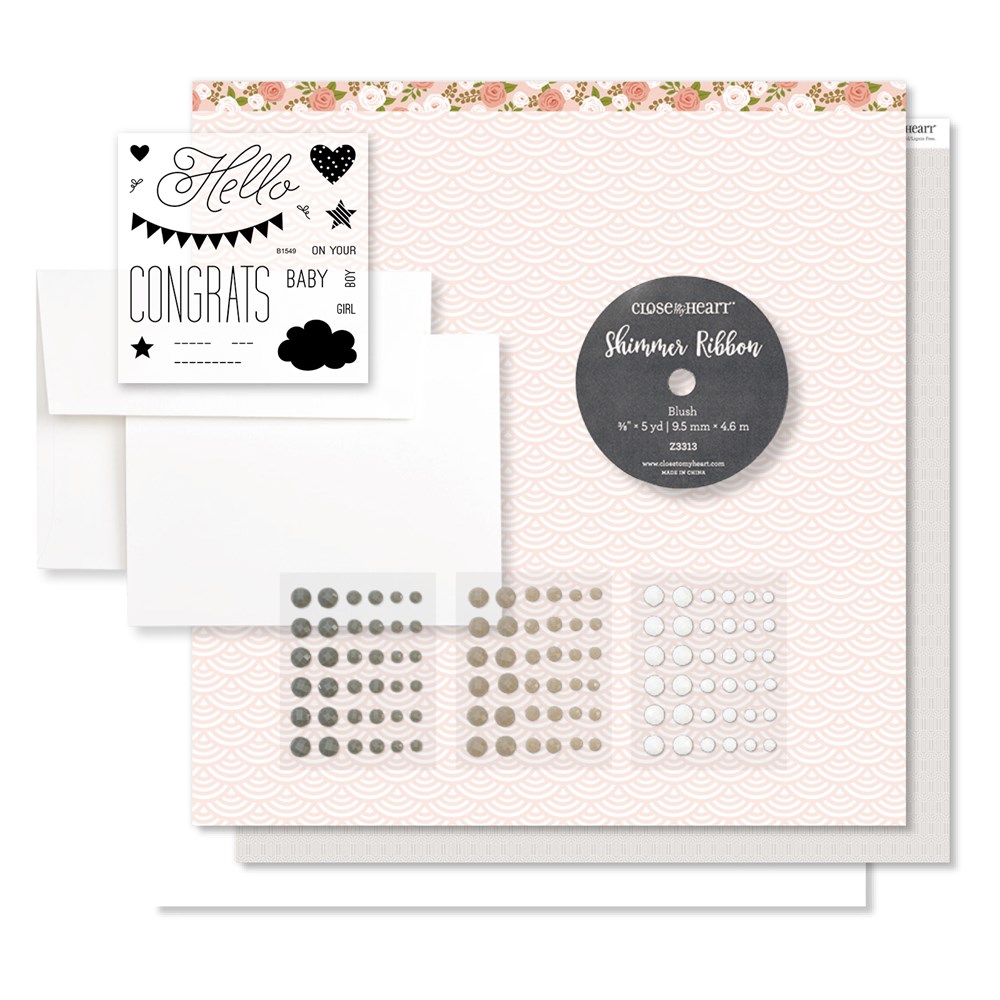
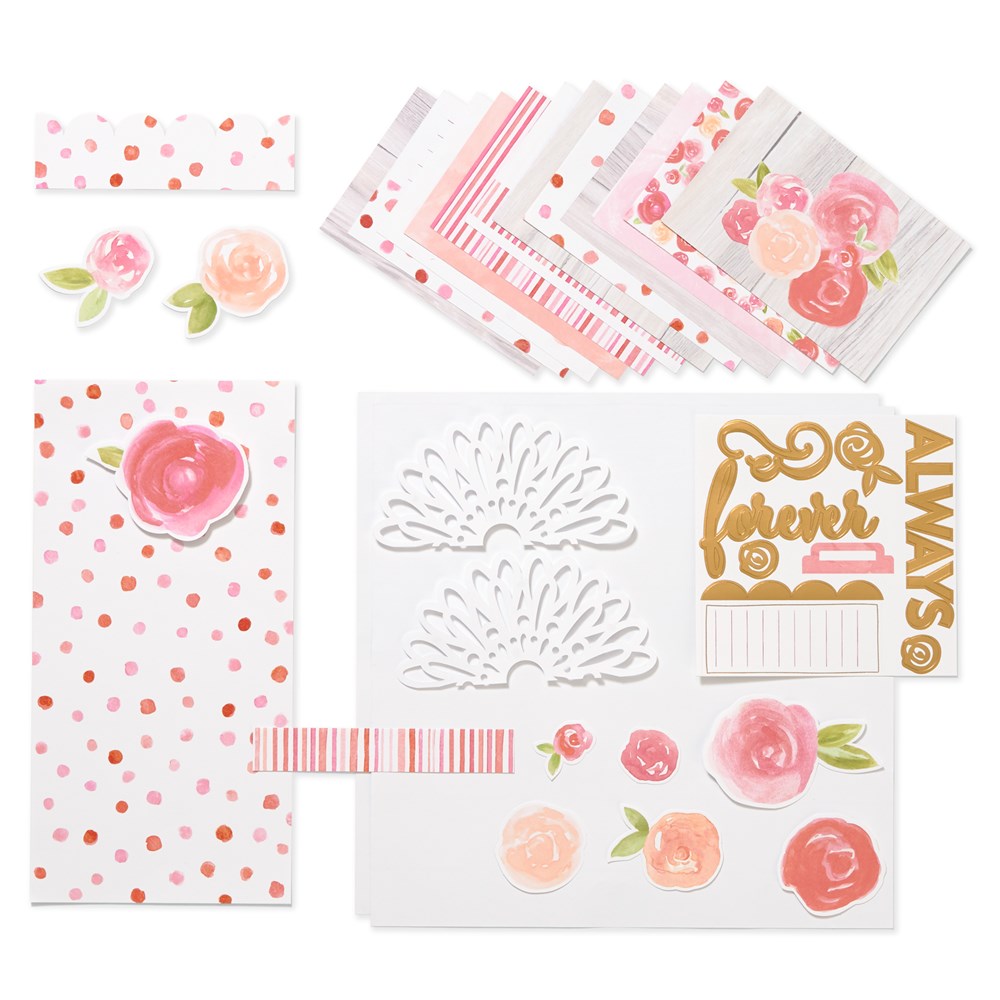
This flyer shows some of the items you can create and has suggestions for products to select to use rewards earned. There are suggestions for three different rewards levels.


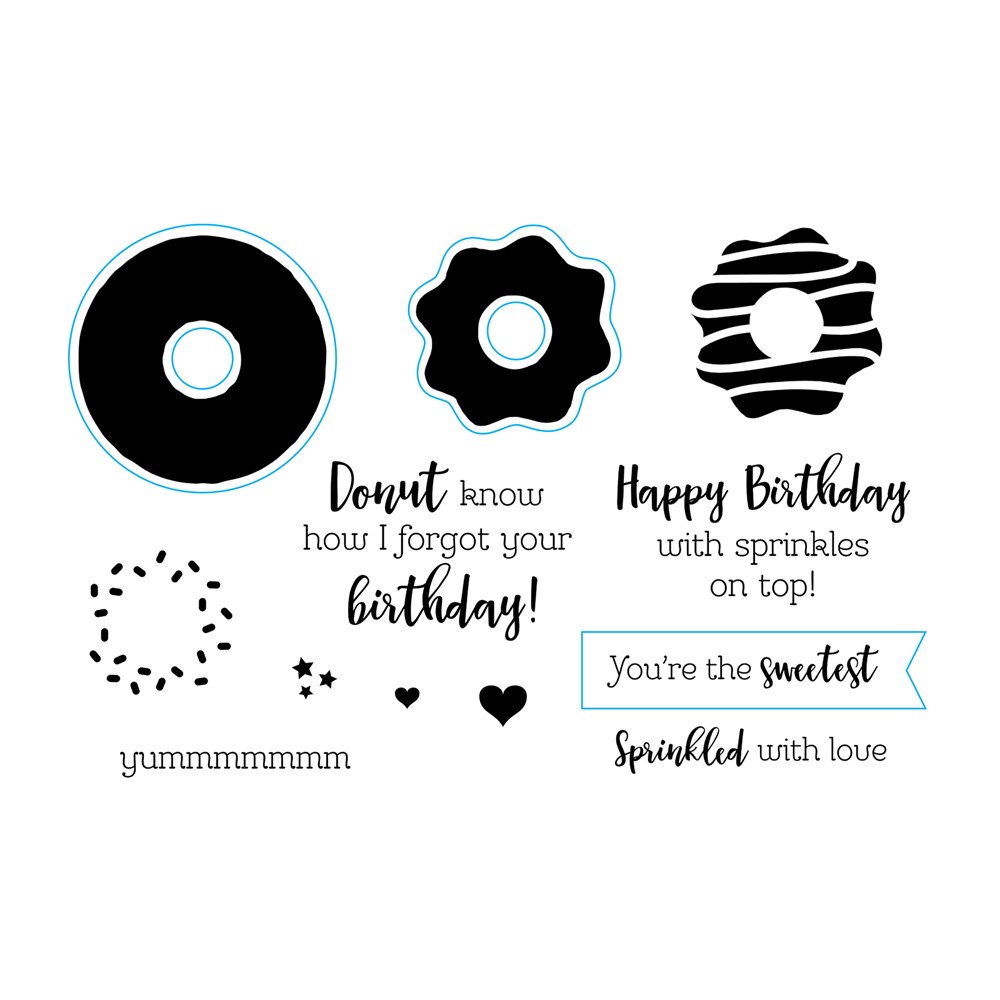
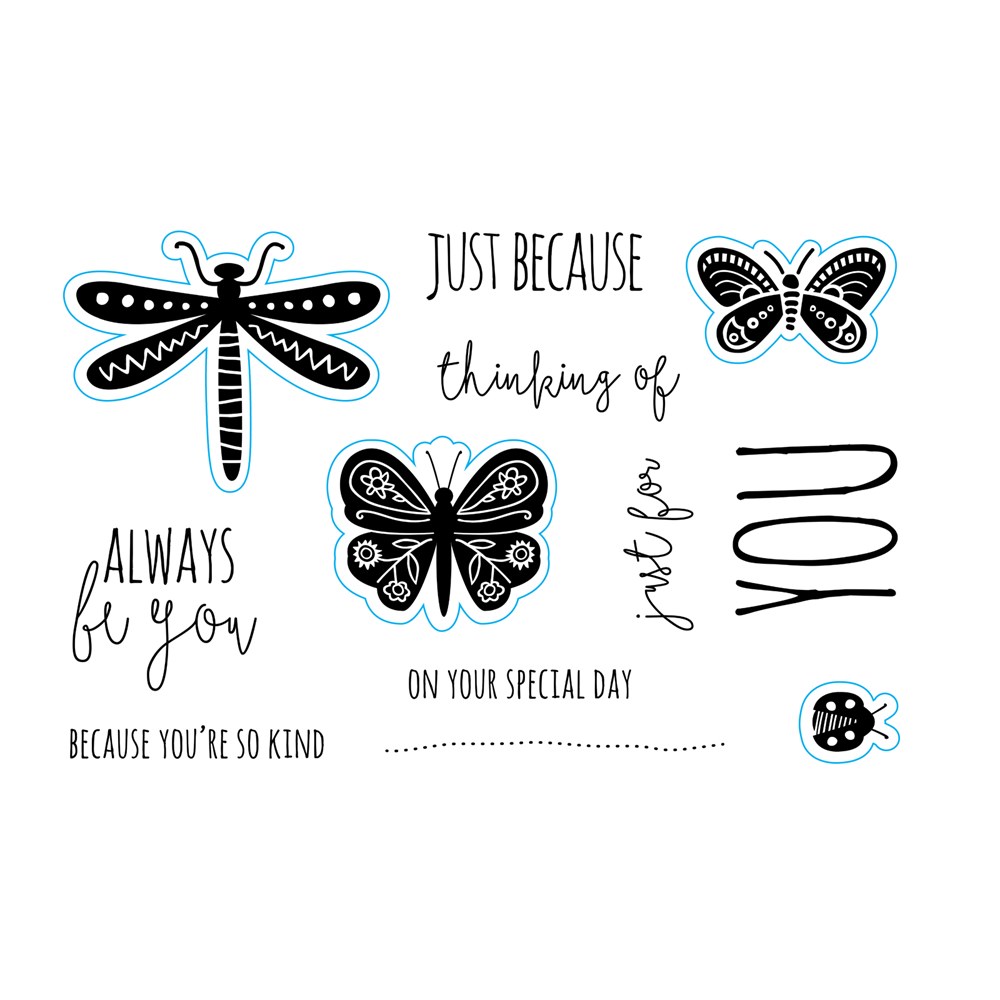
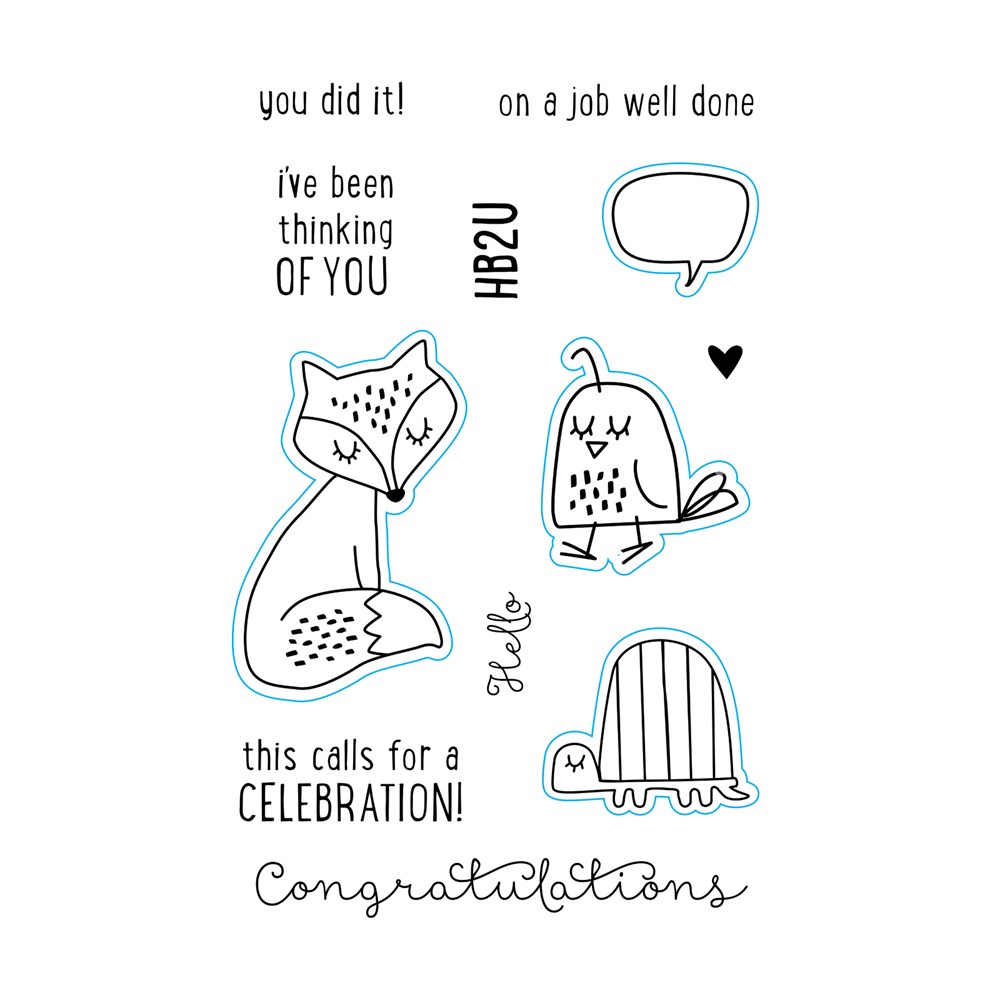
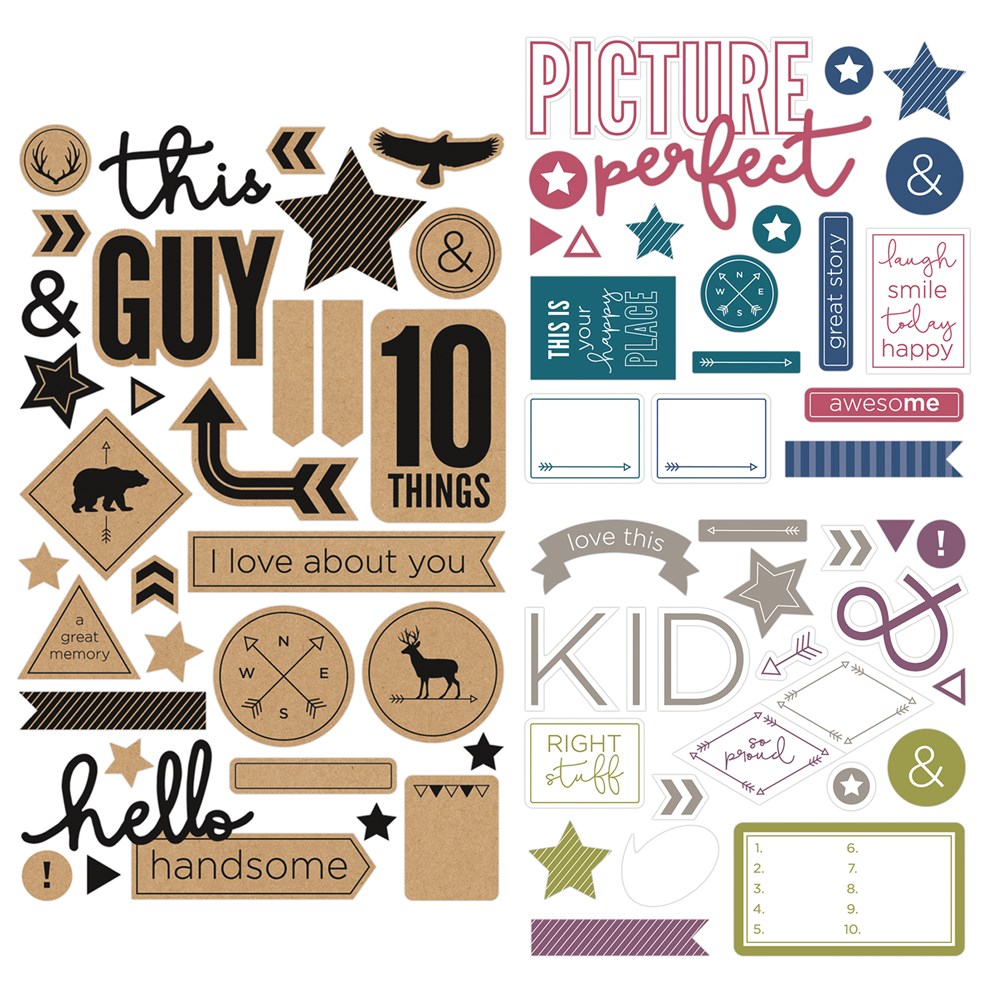
If creating any of these items interest you, I will help you learn how to create the layouts and/or cards or similar papercrafting projects.

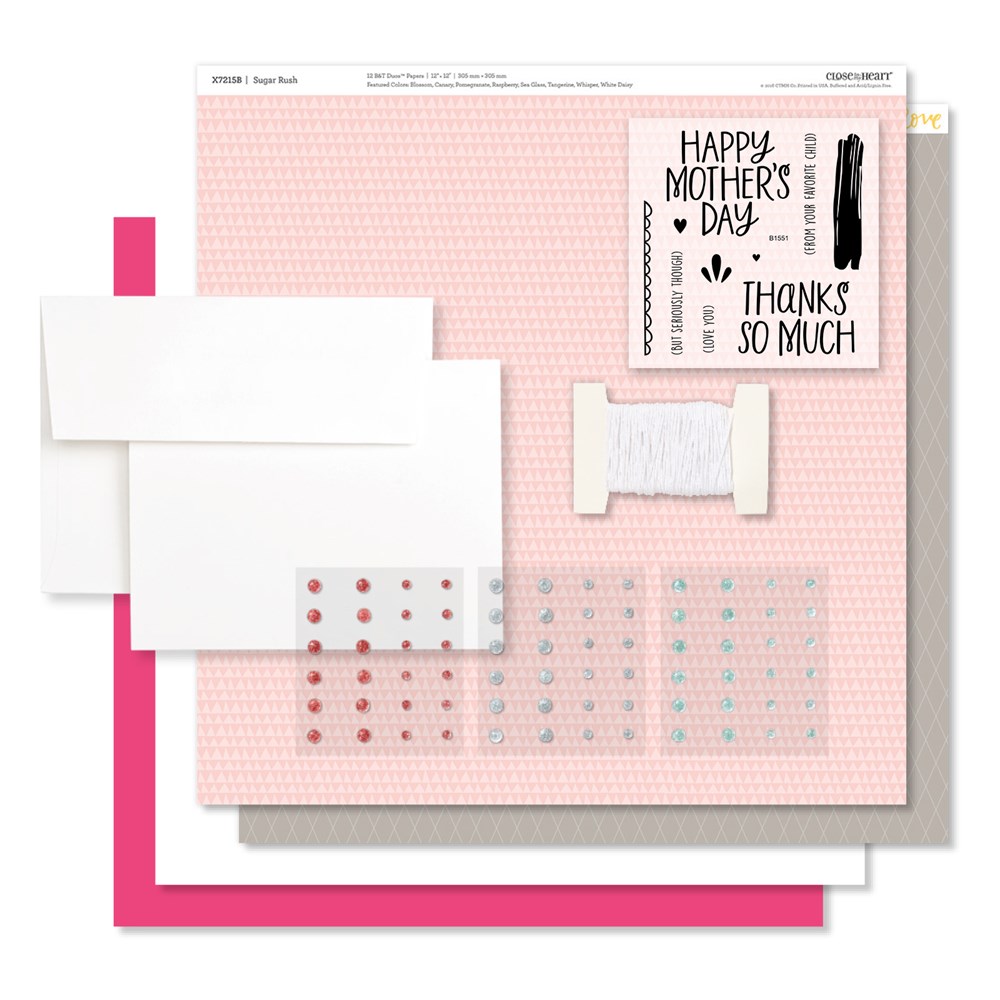
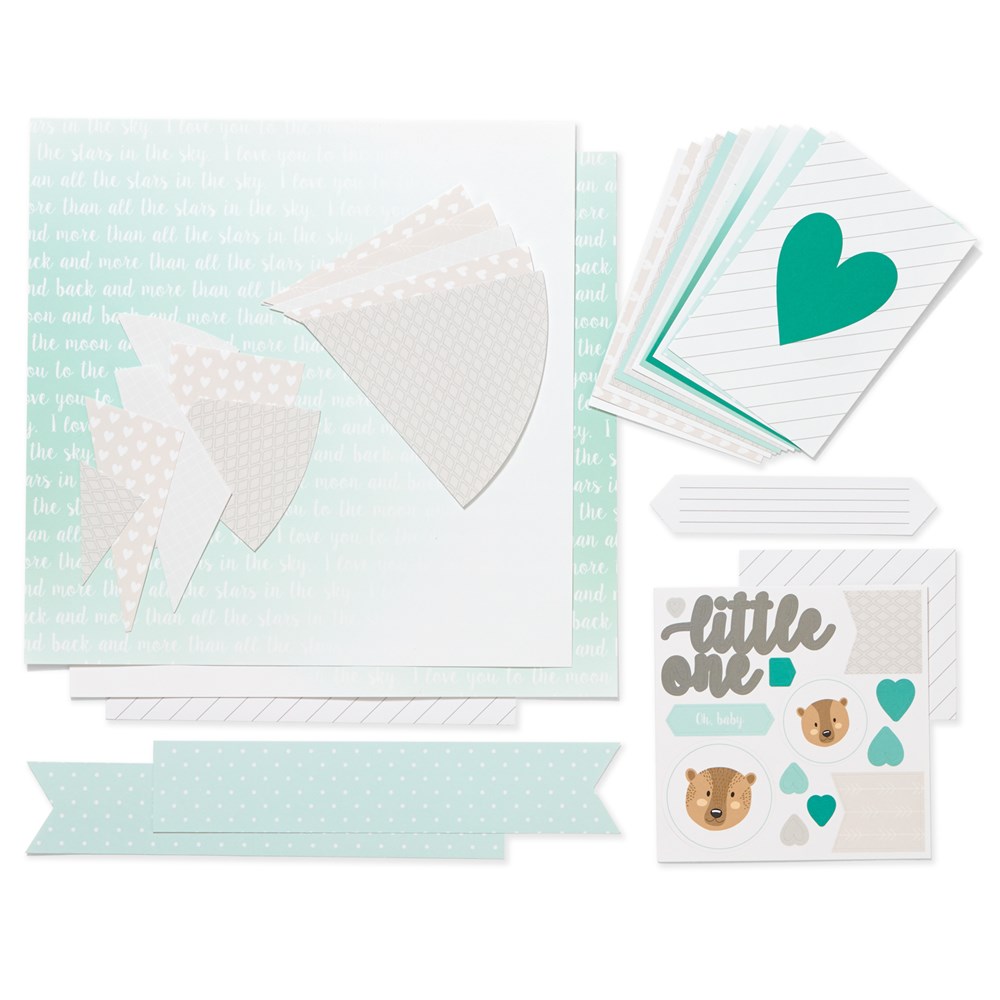
Close To My Heart has added three items that hostesses can choose from when they qualify for a 50% off item; they are not shown in the Idea Books, but are shown in this flyer.


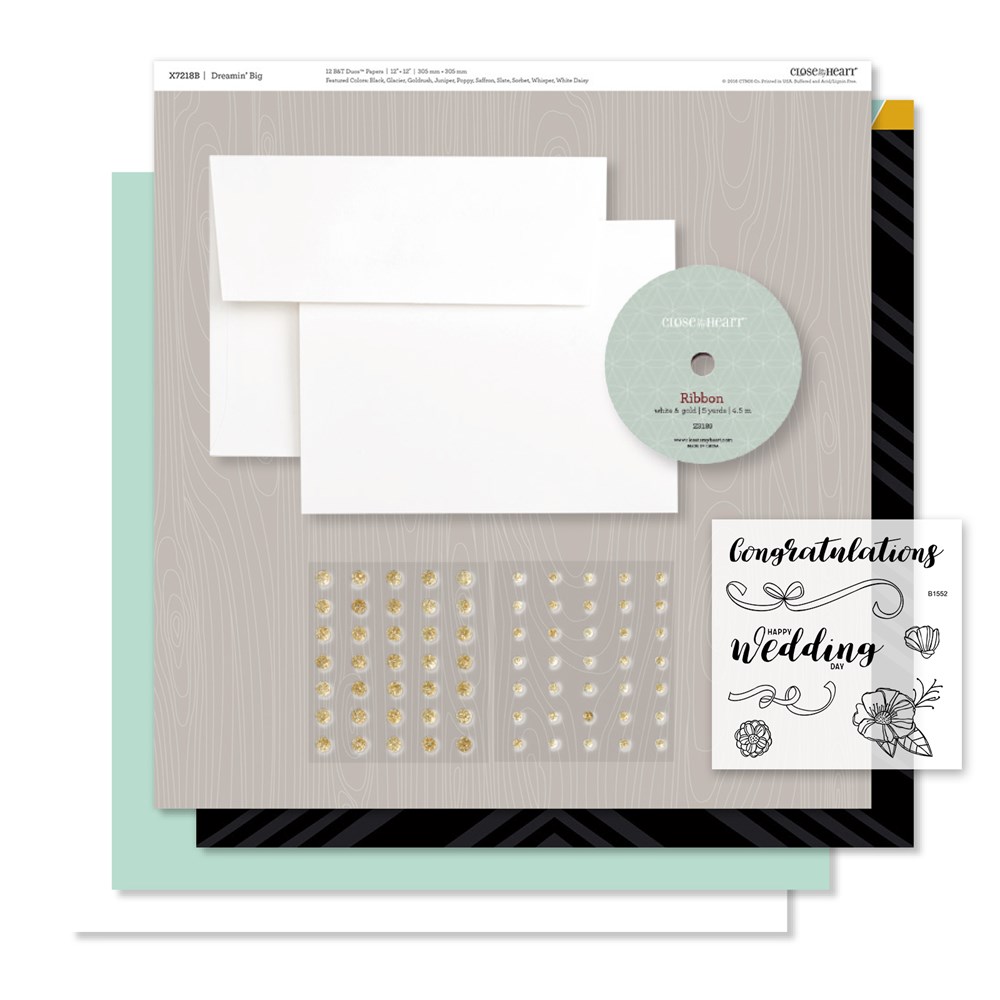
If sales for a Gathering reach Level 3, with sales of at least $350, hostesses qualify to order the hostess-exclusive Workspace Wonder™ bundle as their 50%-off item. This flyer provides the details showing the bundle includes 2 paper trays, 1 large tray, 1 small tray, 1 marker stack, 4 stamp pad stacks and 1 tool cubby. This is a retail value of $117.50 for only $58.75.


The Workspace Wonder™ configuration in the image above is just one way you can put the the pieces together. If you visit my Workspace Wonder™ Items Are Available post, there I share a video showing several different ways to put the pieces together, though some ideas may require additional pieces.

The Shop Now button will take you to my Online Business Address where you can read more about the Workspace Wonder™ line.


If you have any product or promotion questions, do not hesitate to email me. You will also find me on Facebook at Brenda's Paper Crafts. Thank you for visiting today.

Saturday, January 14, 2017

Seasonal Expressions 1 Blog Hop

Welcome to our Close to My Heart Seasonal Expressions 1 Blog Hop! We will be showcasing items from our new Seasonal Expressions catalog with various projects created by talented Close To My Heart consultants. If you are visiting from Melissa’s blog then you are on the right track, if not please start at the beginning with our hostess Carol.

Cover Seasonal Expressions 1

For today's hop I created a two cards. On my first card I used the stamp as it is.


The Leafy Congrats stamp coordinates with the largest die in the Thin Cuts—Basic Circles set (the shapes are 2½", 2", 1½" and 1"). Even though our stamps are clear, I tend to stamp then cut the shape out. I use washi tape to hold the die in place while running it though my Cuttlebug. I happened to have a set of Spellbinders Nestabilities to cut larger circles, so I cut a Willow circle at 2¾"

On my second card I masked the word and stamped my own sentiment from Sending Smiles (D1708) which is one of the three D-sized stamp sets that comes with the Cricut® Flower Market Collection.


Here's how I went about creating a mask for this stamp. I stamped and cut as usual, then I used a craft knife and glass cutting mat to cut around the word.


When I use the stamp to create something with a new greeting, I place both pieces of cardstock down (this also assures me that the piece of cardstock I am using is large enough). Then I hold the word in place while lifting the larger piece of cardstock from where I want to stamp. I line up the words, stamp and then die cut.


I cut the cardstock before stamping the sentiment. I feel that gives me better accuracy when deciding if a sentiment will fit into the space.

This is the other image I stamped planning to create a card with the Hello Lovely papers, but I ran out of time.


I am loving how this stamp can be used with many different greetings.

All supplies are from Close To My Heart except where noted:
If you are not already working with a CTMH Independent Consultant, you may purchase all of the supplies I used at my Online Business Address.

Before you head to Carol, I would be thrilled if you took a moment to let me know what you think of my cards. I hope you are finding many ideas for new the products in SE1.

Here is a copy of the blog hop list with a direct link to each blog post:

Thanks for hopping with us!

Thursday, January 12, 2017

Welcome Home Wreath for National Papercrafting Month

I wanted to have my Welcome Home Wreath completed before publishing this post, but I have said yes to too many things and have not had a chance to complete it yet. This is a image Corporate provided of the wreath.


The wreath kit was created for National Papercraftng Month. You will find it on the promotions tab of my OBA - Welcome Home Wreath Kit. There are several ways you can get the wreath:
  • purchase the kit for $18.95 (no qualifying purchase needed)
  • get the kit for free when you have a qualifying purchase of $60 (you also qualify to get the SOTM for $5 at this purchase level and with each $60 you spend you qualify for one free wreath so you can get more than one wreath on the same order)
  • if you are a hostess during January, you can earn a free Welcome Home wreath kit when the Gathering sales total reaches the second level of Hostess Rewards ($250)
  • if you become a consultant during January you will receive a free Welcome Home wreath kit with your New Consultant Kit
When you receive the Welcome Home wreath it will be in a zip top bag like the Workshops Your Way.

Welcome Home Wreath Kit | CC 1210

The kit includes a chipboard wreath base, gold foil alphabet stickers, die-cut shapes including flowers, leaves and other foliage.

Here is a brief video that shows how to roll the rose with a Quilling Tool - Z1795 and apply Liquid Glass - Z679 so the rose keeps its shape. After completing the rose, the video shows how to layer the other flowers and add dimension using a Bone Folder - Z1204.


If you would like to create your own Welcome Home Wreath, be sure to place your order before 11:59pm MST on January 31.

The Shop Now button will take you to my Online Business Address. The Welcome Home Wreath can be found here. When you have a qualifying purchased of $60 in your cart, you will see a green tinted area at the bottom of your cart prompting you to add the wreath to your order. It will also tell you how much more you need to add to your cart to qualify for a free wreath.


If you have any product or promotion questions, do not hesitate to email me. You will also find me on Facebook at Brenda's Paper Crafts. Thank you for visiting today.

Friday, January 6, 2017

Seasonal Expressions 1 Blog Hop

Welcome to the Seasonal Expressions 1 New Product Blog Hop featuring recently introduced CTMH products. We have about 25 bloggers sharing projects they created with new items you will find in Seasonal Expressions 1. If blog hopping is new to you, we try to keep it easy: just keep clicking on the link to the next blog (typically near the bottom of the post) to visit the next stop. Our blog hop is circular so visiting the next blog will take you back to where you started.


You should have arrived here from ***jd designs by Jennifer Dykstra***. If you get lost along the way, Melinda Everitt keeps a list of participants on her blog at If You Bling It.

If you joined us for the January SOTM Blog Hop you know that my niece got married on December 31 and I used that stamp set for a card my mother gave to the bride and groom. When it came to the card I was giving them I was very inspired by the card on the front cover of Seasonal Expressions 1 (and in the blog badge above).


I created my own 5" x 7" card base from White Daisy cardstock. Then I cut a grey layer from Hello Lovely paper then embossed a layer of White Daisy using the Simple Chevron folder to layer on top of that. I cut a 3¾" circle with the Explore using the insert shapes feature in Design Space. I have the "arches" in the Hello Lovely paper going the opposite way from the card on the cover because I thought "arches" was more positive. I added the circle to the card with Thin 3-D Foam Tape and when I added the floral die cuts I used a combination of adhesives to build layers. The floral at the top of the card is a zip strip.

I love that Close To My Heart stamps are clear. When inking the floral spray I just tapped the area I wanted to be Sorbet on the stamp pad and then rotated the stamp to ink with Fern. I did not not have time to mask as I was finishing the card about 5 minutes before leaving for the wedding. I used Silver Glitter Paper for the word love and the heart because silver was one of their wedding colors.

Before you head to ***Michelle Loncar's Show and Tell, with Michelle***, the supplies I used to create my card are listed below.

All supplies are from Close To My Heart except where noted:
If you are not working with a CTMH Independent Consultant yet, you may purchase all of the supplies I used at my Online Business Address.

Before you leave I would be delighted if you left me a comment letting me know what you think of my project. So you do not have to scroll back up, the next stop on the hop is ***Michelle Loncar's Show and Tell, with Michelle***.

Thank you for hopping with us. I hope you are finding inspiration in the projects we are sharing.

Seasonal Expressions 1 Tour

On January 1, 2017 a new seasonal idea book was introduced by Close To My Heart - Seasonal Expressions 1.


Seasonal Expressions 1 can be viewed at my Online Business Address (OBA) or you can download a printable PDF (links open in a new tab). If you would like a list of items in SE1, the Product Index (in PDF format) may be helpful (I use mind for a wish list and as a way to track purchases). CTMH also produced a PDF Recipes which lists the products used (and Cricut shapes, if applicable) to create the samples found in the book. We have not seen a list of retiring products from this idea book yet, but based on Corporate policies and past seasonal idea books I believe most, if not all of the products, should be considered as available while supplies last.

Here is a tour of Seasonal Expressions 1:

There are four new paper packs introduced in Seasonal Expressions 1. Each paper pack has a Workshops Your Way® Scrapbooking Kit. When you download the instructions from my OBA (there is the link below the button to place the item in your cart) there are directions for using the WYW "leftovers" and a few additional supplies (see the list under the WYW in the idea book), to create 9 cards (three of each design):

Hello Lovely
this collection starts on page 4
Sugar Rush
this collection starts on page 14
Dreamin' Big
this collection starts on page 24
Some Kinda Wonderful
 this collection starts on page 34

Clicking on the link under the photos above take you to all of the CTMH products tagged with the paper collection name, including the stamps used to create samples in SE 1 with the paper collection. Clicking on the paper photo will take you directly to the paper pack.

There are four new Workshops Your Way® cardmaking kits.

WYW Hello Baby Cardmaking Kit
page 13
WYW Mother's Day Cardmaking Kit
page 23
WYW Happy Congratulations Cardmaking Kit
page 33
WYW Here for You Cardmaking Kit
page 43

There are four new Thin Cut bundles. If you do not use a die cutting machine like the Cuttlebug or Sizzix Big Shot, the stamp sets are available individually. If you have a die cutting machine, or plan to purchase one, please purchase the bundle as the dies not are available for individual purchase.

Thin Cuts Bundle (dies AND stamp set)
Stamp Set Only
Hello Lovely Cardmaking Thin Cuts Bundle
(Z3301)
Hello Lovely—Cardmaking
(C1670)
Sugar Rush Cardmaking Thin Cuts Bundle
(Z3300)
Sugar Rush—Cardmaking
(C1671)
Dreamin' Big Cardmaking Thin Cuts Bundle
(Z3303)
Dreamin' Big—Cardmaking
(C1674)
Some Kinda Wonderful Cardmaking Thin Cuts Bundle
(Z3302)
Some Kinda Wonderful—Cardmaking
(C1673)

There are four new standalone Thin Cuts; two of the new Thin Cuts have two coordinating stamps.

Thin Cuts without Coordinating Stamps
Thin Cuts—XOXO (Z3305)
Thin Cuts—Happy Birthday (Z3304)
Thin Cuts with Coordinating Stamps
Thin Cuts—Basic Hearts (Z3317)
Thin Cuts—Basic Circles (Z3318)
Coordinating Stamps for Basic Hearts & Basic Circles
Journaling Heart (M1165)
Journaling Circle (M1164)
Heartfelt Hello (A1202)
Leafy Congrats (A1203)

Update January 14 – I just realized the sizes for the Basic Hearts and Basic Circles are not listed on my OBA, however they are in the Seasonal Expressions 1 on page 52. The sizes for both shapes are: 2½", 2", 1½" and 1".

As a reminder, there are six standalone Thin Cuts in Annual Inspirations 2016-2017 (page 79) and four that were introduced in October 2016 that coordinate with stamps in AI 2016-2017.

In addition to the Compliments that coordinate with the four new paper collections above, there are four new sets of compliments that I feel are more neutral, that is the patterns do not tie them to a specific paper pack, though each has colors that coordinate with a Fundamental collection.

My Boy Complements (Z3306)
My Girl Complements (Z3308)
Springtime Complements (Z3307)
Snapshot Complements (Z3309)

There are six new stamp sets that coordinate with Cricut® cuts.

Good Thymes! (D1717) - Flower Market
Sugar Rush—Scrapbooking (D1715) - Artistry
Dreamin' Big—Scrapbooking (D1714)- Flower Market
Twins Rule (C1675) - Artistry
Some Kinda Wonderful—Scrapbooking (D1716) - Artistry
Silly Sayings (C1672) - Artistry

Both Artistry and Flower Market come in a version with a physical cartridge and a digital version where you will get a code to link the cartridge to your Cricut® account. Both collections also come with 3 coordinating D-size stamp sets and a pack of cardstock.
Two new stamp sets come in French and Spanish options to join the seven found in Annual Inspirations 2016-2017.

English Version
French Version
Spanish Version
Hello Lovely—Scrapbooking
D1713
D1713F
D1713S
In Bloom
A1199
A1199F
A1199S

There are three new album color choices to join the six 12" x 12" color options in AI 2016-2017 (see pages 10-11 of AI and page 49 of SE1).

12" x 12" D-ring Album
12" x 12" Post-bound Album
My Legacy™ D-ring Album—White (Z5206)
My Legacy™ Post-bound Album—White (Z5306)
My Legacy™ D-ring Album—Sea Glass (Z5207)
My Legacy™ Post-bound Album—Sea Glass (Z5307)
My Legacy™ D-ring Album—Pink (Z5208)
My Legacy™ Post-bound Album—Pink (Z5308)

We have two Cut Above scrapbooking kits that are a great introduction to scrapbooking because all you need to do is add adhesive and photos tof complete the pages.

Cut Above™ Layout Kit—Forever & Always (Z3319)
Cut Above™ Layout Kit—Little One (Z3320)

I hope you have enjoyed this tour of Seasonal Expressions 1. As always, the Shop Now button will take you to my OBA where you can read full products descriptions and place orders.


If you have any product questions, do not hesitate to email me. You will also find me on Facebook at Brenda's Paper Crafts. Thanks for dropping by today.