We have just shy of 10 CTMH Makers sharing their creative talents on the Slimline Celebration Blog Hop. If you just happened upon my post, please join our hop. You can complete the hop by clicking the link to the next blog (often found near the bottom of the page) until you come back to my page.
 |
| Slimline Celebration Blog Hop |
You should have arrived here from the blog authored by ***Kristine Ponte***. If you get lost along the way, Melinda Everitt keeps a list of blog hop participants on her blog at If You Bling It.
For the Slimline Celebration Blog Hop I created a few A2-size cards with wiggling characters.
 |
| owl card created with Thoughtful Critters |
I started with this owl card. I colored the stamped images with the TriBlend™ Markers, random stamped Papaya cardstock with Papaya ink then layered most of the color and colored images with a mix of Thin 3-D Foam Tape and 3-D Foam Tape.
 |
| raccoon card created with Thoughtful Critters |
On my second card I used Peach cardstock and random stamped with Peach ink.
I thought you might like to see a wiggling character in action, so I created this quick video.
I think this is such a quick and easy way to create some fun cards for people of all ages. I see this as a fun technique to use on cards for guys (behind a golf ball, ship, car, fish, deer and more) and on cards for women as well as children. The ideas are almost endless.
I bet you are wondering how the characters wiggle. I was inspired by a video from Crafter's Companion who call them wobbling characters. The wiggle is created by a piece of
cardstock cut into a tight spiral (the spiral reminds me of the Cricut® flowers you roll with a quilling tool) no bigger than a quarter. The center of the spiral is attached to
the back of the character (I used Micro Dots) and the other end of the spiral is glued to the card front (I used a Dual-tip Permanent Glue Pen and applied to the last ½ inch – be sure no glue seeps out and permanently attaches the entire spiral or character to the card front preventing the wiggle).
 |
| hedgehog card created with Thoughtful Critters |
On my final card I mixed in some patterned paper. To "dress-up" the Shortbread cardstock behind the stamped and colored images, I used a scoreboard to create a border; unfortunately the horizontal lines do not show well in the photograph.
I had the cards standing up on the kitchen stove (it is not used often) waiting to be photographed and I noticed when someone walked by the characters would wiggle, so I decided to try to capture all of the characters moving in another video.
Unfortunately I ran out of time before I could finish the other cards I have started, but I will take a moment to remind you of some other cards I created with Slimline Celebration. My first card was created for the September–October 2021 New Product Blog Hop and features a Slimline Sentiment on the front.
 |
| Pumpkin Spice Digital Art Collection Give Thanks |
The card below was created for my great-niece who celebrated her second birthday earlier this month; you will find all of the details about the card here.
 |
| Slimline Celebration Birthday Card |
I hope I was able to inspire you with one or more of the cards I shared today. Your next stop on our hop is ***CatScrapbooking***. Before you go, the supplies I used to create my project are listed below.
All supplies are from Close To My Heart except where noted:
- My Acrylix™ Stamp Sets: Mini Garden Gnomes + Thin Cuts (CC9215) or Mini Garden Gnomes (CC9211), Thoughtful Critters + Thin Cuts (CC9216) or Thoughtful Critters (CC9212), Fishy Greetings + Thin Cuts (CC9217) or Fishy Greetings (CC9213)
- Patterned Paper: Pumpkin Spice + Sticker Sheet (X7272S) or Pumpkin Spice (X7272B)
- Cardstock: White Daisy (1385), Papaya (X6063), Mocha (X6060), Peach (X6044), Shortbread (X6059)
- Exclusive Inks™ Stamp Pads: Intense Black (Z4189), Papaya (Z6534), Peach (Z6502), Espresso (Z2829), Black (Z2805)
- White Cards & Envelopes Value Pack (X254)
- TriBlend™ Markers: Brown Grey Blend (Z2475), Earth Brown Blend (Z2478), Gold Brown Blend (Z2479), Orange Blend (Z2480), Coral Blend (Z2481), Citrus Blend (Z2482), Dark Red Blend (Z2497), Brown Grey Shades (Z2511), Earth Brown Shades (Z2515), Gold Brown Shades (Z2516), Coral Shades (Z2518)
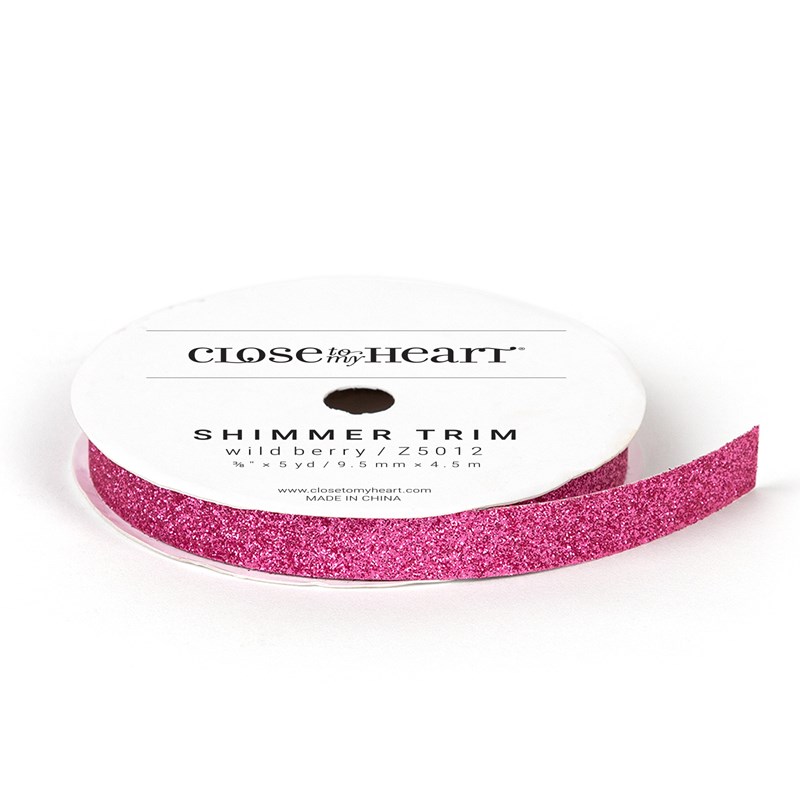
- Glue Dots® Micro Dots (Z2089), Dual-tip Permanent Glue Pen (Z3440), 3-D Foam Tape (Z1151), Thin 3-D Foam Tape (Z2060)
- Die-cutting & Embossing Machine (Z5038)
- Score Board (Z1937) – retired or Dual-tip Stylus Embossing Tool (Z3505) with paper trimmer
I would love to know what you think of the cards I created; if you have a few moments, please leave a comment. I hope you are enjoying all of the projects created with Slimline Celebration. Thank you for hopping with us!
So you do not have to scroll back up, the next stop on the hop is ***CatScrapbooking***.