I have some news to share that I do not want to get lost in my October 2023 update, so I thought I would jump on with a quick post.
PLEASE NOTE THERE ARE UPDATED DATES AND TIMES FOR THE FACEBOOK LIVES
 |
| National Stamping Month—Say It with Style |
If you are planning to attend any of the National Stamping Month Facebook Live Events, the schedule has been updated a bit. Rather than two workshops on each day, there will be one workshop each day for four days on October 3–6 at 4pm EDT each day. I updated the September 8 Mark Your Calendars for Say It with Style Facebook Events post with the new date and links to the new Facebook events.
I also want to remind you that we have two specials ending on September 30 - three when you include the Stamp Of The Month.
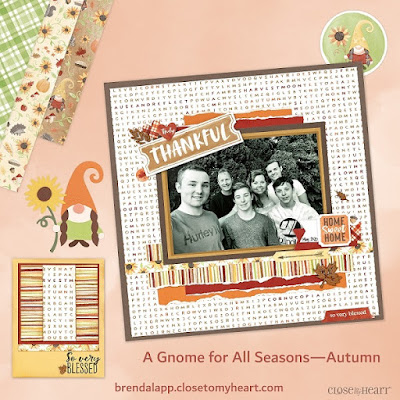
A Gnome for All Seasons—Autumn
 |
| A Gnome for All Seasons—Autumn |
A Gnome for All Seasons—Autumn will be ending on September 30. It is my understanding that A Gnome for All Seasons—Autumn is the first in a series of gnome inspired items that Close To My Heart will be bringing to us. While I have not been a super fan of the gnomes since the beginning, they are beginning to grow on me. To save some room for a quick photo progression of assembling the Thin Cuts Autumn Gnome below, I will ask to you visit my
September 1 post for more information about the A Gnome for All Seasons—Autumn collection or visit my
eCommerce page.
Memory Lane
 |
| Memory Lane |
The Memory Lane special will also be ending on September 30. I shared details of Memory Lane when it was first introduced in July. I love the soft, soothing color in Memory Lane. My only regret is my Memory Lane supplies are still in the box waiting for me to carve out some time to create.
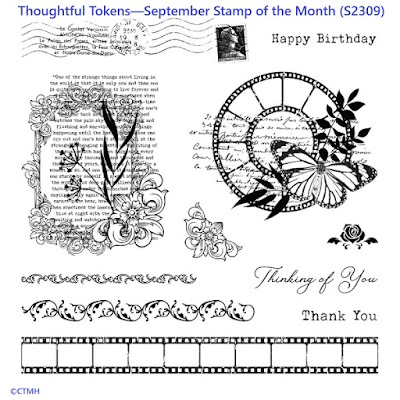
Thoughtful Tokens—September Stamp of the Month
 |
| Thoughtful Tokens—September Stamp of the Month (S2309) |
As always, the Stamp Of The Month is only available for one month and then it is gone. Thoughtful Tokens (S2309) is no exception. I have used the sentiments from this set because they are a perfect size for when you want the card front to shine, but unfortunately I have not had much luck finding time to use the other stamps in the set.
Finally, I would like to show you how I worked with the Gnomes for Autumn Thin Cuts (CC72327).
 |
| Gnomes for Autumn Thin Cuts Step 1 |
The above photo shows all of the Thin Cuts used the create the Autumn Gnome. I used the light side of Peach for the face (background) cut and hands and the dark side for the nose. I used Mocha for the braids, feet and flower center. I used Sangria (retired) for the shirt, Honey Butter for the hat, Sundance for the flower and Jade for the stem (below I show an assembled gnome with Sage for the stem).
I should note that I used a wet glue like (a
Quickie Glue™ Pen (Z1512) or
Dual-tip Permanent Glue Pen (Z3440) so I have a little time to wiggle the pieces into place.
 |
| Gnomes for Autumn Thin Cuts Step 2 |
This photo shows my first assembly steps. I added the shoes/feet and flower stem. I put the hat on before the nose so it makes it easier to place the nose in the correct spot, however I did not place the glue close to the bottom edge so I could lift the hat and slightly slide the nose under the brim of the hat.
 |
| Gnomes for Autumn Thin Cuts Step 3 |
At this stage I add the flower, dress/shirt and nose. Be sure to lift the brim and slide the nose under the brim of the hat a little.
 |
| Gnomes for Autumn Thin Cuts Step 4 |
Here I had the flower center and braids (for the braid on the right, leave some room on the right edge for the hand). The braids will cover the base/background at the bottom and keeps the gnome from appearing bald.
Finally it is time to add the hands. The hand on the left has a little dimple where the hand is holding the flower stem. The hand on the right is shaped a little like an egg. I put the pointed end at about 1pm and just slightly tucked the rounded end under the braid (slightly tucked is so little I do not have a ruler that is precise enough to tell you a measurement).
And here are two finished gnomes.
 |
| Gnomes for Autumn Thin Cuts Step 5 |
Another clever Maker showed a guy gnome on Facebook from the Gnomes for Autumn Thin Cuts. Unfortunately I saw it in a private Facebook group so I cannot share a link, I do not remember their name, and I did not get a chance to try it before writing this post. What they did was to trim the flower and stem from the base/background and to use part of the flower to make a beard. I will try to get a chance to create and share one before the end of September.
I hope you have a great rest of your week and that your weekend plans include some crafting. Take care!


