Hello friends!
Recently I shared cards using the Stitched Fancy Brackets where I made the size a bit smaller to better fit the stamp I was using. Here are two examples; this thank you card:
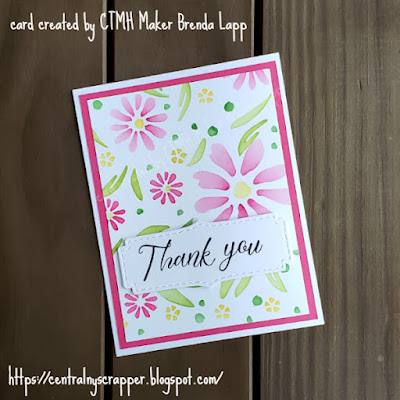 |
| floral card 3 created with stenciled cardstock - card details here |
And this sympathy card:
 |
Sympathy Card created with August 2023 SOTM (S2308) - card details here
|
There has been some curiosity about how I created just the right size of bracket for the stamp I selected. Let me show you how I made them.
Start by selecting a scrap or strip of cardstock and cut on the desired edge. I have started with a strip as narrow as 1", but I never choose anything too much wider than just over ½ the width of the die (the second example below shows this better).
 |
Step 1 - First Cut
|
Remove the die cut and start to align for the second cut. Fit the stitched notches on the cardstock into the raised stiches on the die and use a low tack tape (I used iCraft Removable Purple Tape that I have in my stash, but the 1" Masking Tape (Z4606) works the same) to hold the cardstock in place while running through your die cutting machine.
 |
| Step 2 - Prepare for Second Cut |
Here are your finished brackets in a smaller size for shorter or smaller sentiments.
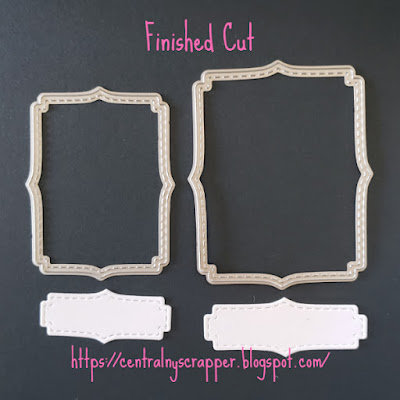 |
| Finished Cut Brackets |
For the cuts below, I used the longer side of the smaller Stitched Fancy Bracket and a wider cardstock strip with the larger Stitched Fancy Bracket. As you can see, the edge of the die flairs out a bit close to the middle of the edge, so you need to avoid the cardstock falling too close to the center of the die. As above, I fit the stitches on the cardstock into the stitched "blades" on the die and taped the cardstock in place before running this through my die cutting machine.
 |
| Step 1 - First Cut - Longer Thin Cut Edge and Wider Cardstock |
Here is a longer, less in height, bracket by using the longer side of the smaller die and a taller bracket by using a wider cardstock strip.
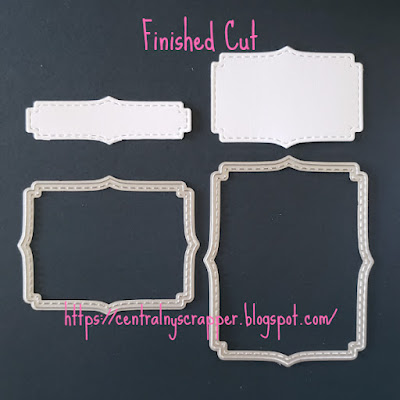 |
| Finished Cut Brackets - Longer Thin Cut Edge and Wider Cardstock |
Now you may be wondering what other dies you can do this with and honestly I have not tried that many from Close To My Heart. Some dies you can just look at and know it is unlikely to cut well, but if you really want that shape, try the die with a scrap of cardstock if you are curious.
If you are lucky enough to have the retired Stitched Brackets (Z3631), this technique works for narrower strips of cardstock (1" strip used for sample below). Because the die indents near the middle of the edges, the edge would get cut in such a way so the result is not a mirror image top to bottom.
 |
| Finished Cut Bracket - Stitched Brackets (Z3631) |
If you take a closer look at the cut I made using Stitched Brackets, due to the indent I have a bit of a second stitched impression. It is faint enough that I would still use the completed cut, but if you are very, very particular, you may choose to not use the die cut.
Supplies used:
Code to above product name appearance:
- plain text = retired product no longer on my eCommerce site; if you really like a product, look for it at yard sales, on Facebook groups or other places people resale items
- text with link = this is a current product available on my eCommerce site
- highlighted text with link = this is a product that was on my eCommerce site when I created the paper crafts pictured above and wrote the post, but since it is on the retiring list and no longer appears in the current catalogs, or it was part of a promotion, it is available only while supplies last
I hope you give this technique a try. I think it is a great way to extend your options when paper crafting. I would love to see how you use this technique. Thank you for stopping by today.


0 comments:
Post a Comment
Thank you for leaving a comment! I enjoy reading them.