I have a Design Space subscription and when I searched for snowflake, I was offered 341 images to choose from. If I owned all of the cartridges that are not part of the subscription, I would have 409 images to select from.
I started by selecting several snowflakes I really liked and put them on my mat. Then I started eliminating the shadows and extra layers I did not need and the snowflakes that looked too intricate for this project. I also put squares around my snowflakes so the Explore would cut the stencil material into more manageable pieces. I also attached the images within 11½" x 11½" to get more cuts from the stencil material. The next time I will add a bit more space around each image so I do not have to worry about paint on the outside edges of my stencil. It only happened two or three times, but it really slowed me down when working around the edges.

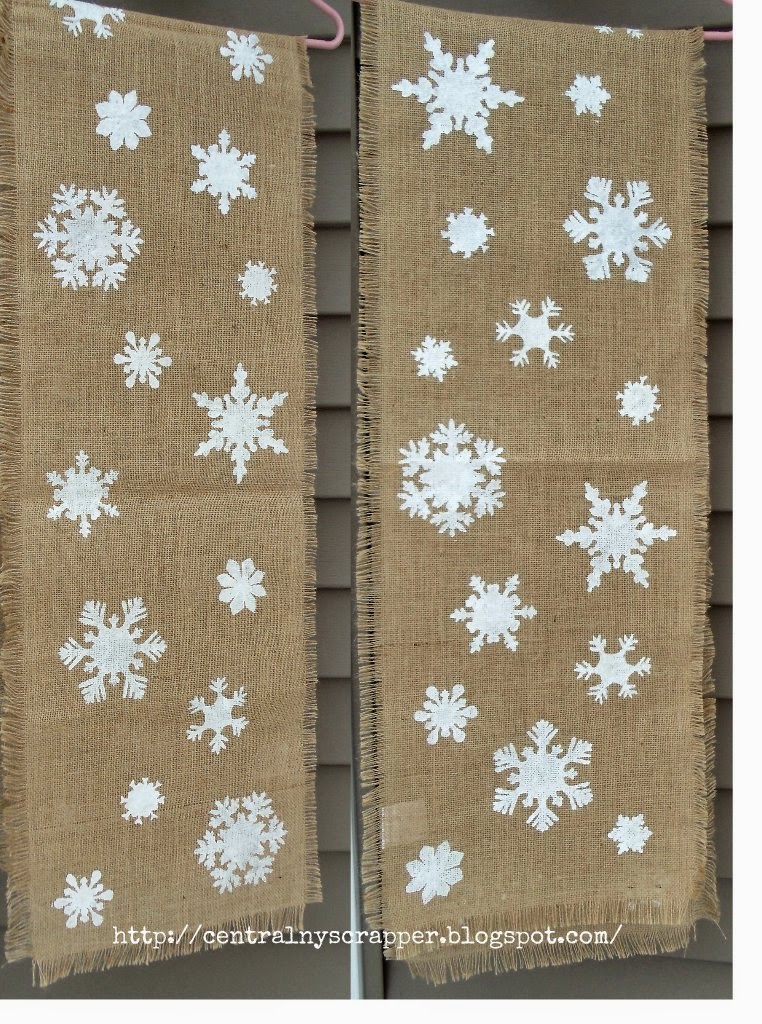
I purchased a Jute table runner, Tulip Soft White Matte Paint and Tulip Crystal Sparkles Glitter Dimensional Fabric Paint. I used a foam brush to first apply the white matte paint and then I went back to add the glitter paint. I do not have a table long enough and the was too dark inside to take photos, so I hung the table runner outside to take these photos.
A few notes about cutting the Stencil Material. I set the dial on my Explore to Custom and selected Stencil in Design Space, but when I was trying to separate the flakes from the stencil material, I found I wished it had cut a little deeper; but it does not need to be a lot deeper.When you are ready to cut your stencil material, on the Cut Preview screen, you may want to choose Material Settings and set the cut pressure a little higher. The default is 284 points; maybe 290 points would be enough, but not so much that the blade would go though the backing and into your mat. I have not tried cutting stencil material again to give you a better idea.
I hope you like my table runner. It will be a Christmas gift this year. My mother is in the process of cutting and sewing some blue Duck Cloth to make a table runner and coordinating place mats. We will use the same snowflake stencils and paints to create another Christmas gift.
I hope you like today's project. Thanks for visiting today.
0 comments:
Post a Comment
Thank you for leaving a comment! I enjoy reading them.