I shared a card using this technique on the Sep/Oct 2019 New Product Blog Hop; I also posted a card where I cut and layered the strips a bit differently because I found I was not happy with how I initially layered the colors which trickled down to how the looked when cut apart, rearranged and assembled. Let me give you a little background with how I got to a finished card...
This is what my virtual mat looks like in Design Space. After I added the image to my mat I unlocked it so I could change the proportions and set the width to 11½" and I set the height to 5½". My goal was to use one-half sheet of cardstock the most efficient way I could.
screen shot of Short Zig Zags Overlay image on Cricut® Design Space virtual mat
As you can see with one cut that I have seven strips to create with – without cutting the overlay apart.
I used a letter-sized sheet of white cardstock and ran it though a Xyron machine to layer my zig zag strips. I felt I needed adhesive covering all of the supporting (or base) cardstock since I would be cutting this apart.
I was not happy with my first attempt. While I think this, my initial layering of the zig zag strips, looks find the way it is,
zig zag strips applied to the supporting (or base) cardstock
when I cut it apart and alternated the ends, I was not really happy with it.
zig zag strips cut apart and ends alternated (simulated using Ribbet Collage)
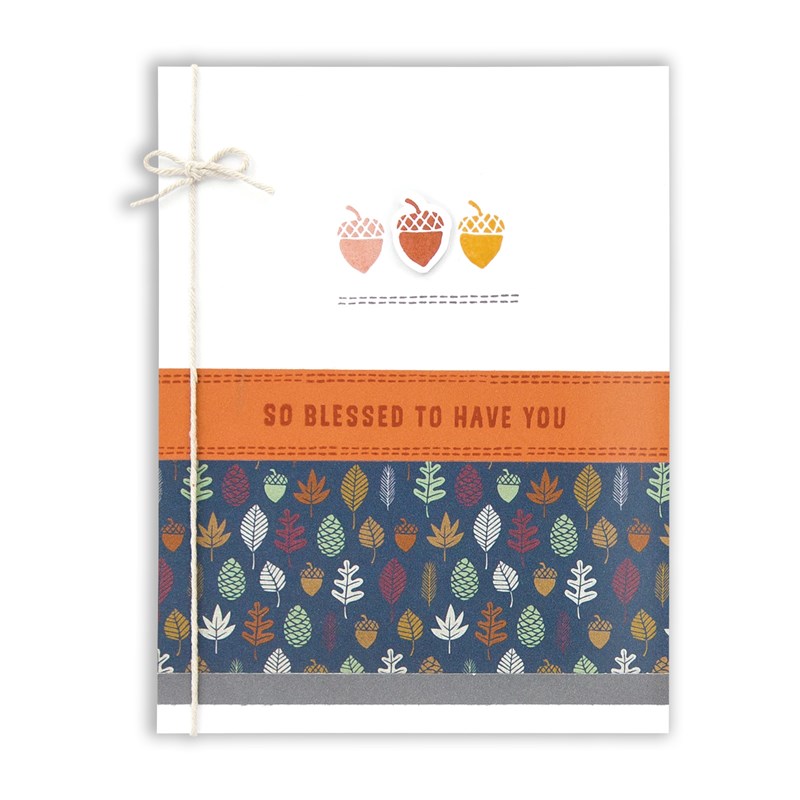
It was at this point where I decided to go in a slightly different path for the New Product Blog Hop. For that card and the card below I layered the zig zag strips in this order (from the bottom): Wisteria (darker side), Wisteria (lighter side), Evergreen (darker side), Evergreen (lighter side), Julep (darker side), Julep (lighter side), Lemonade (darker side) then Lemonade (lighter side).
After layering the zig zag strips I cut them apart from the peak to the valley. I then used a smaller scrap of cardstock, added adhesive and layered as shown below (I am sorry I did not think to take a photo of that layer before adding it to the card).
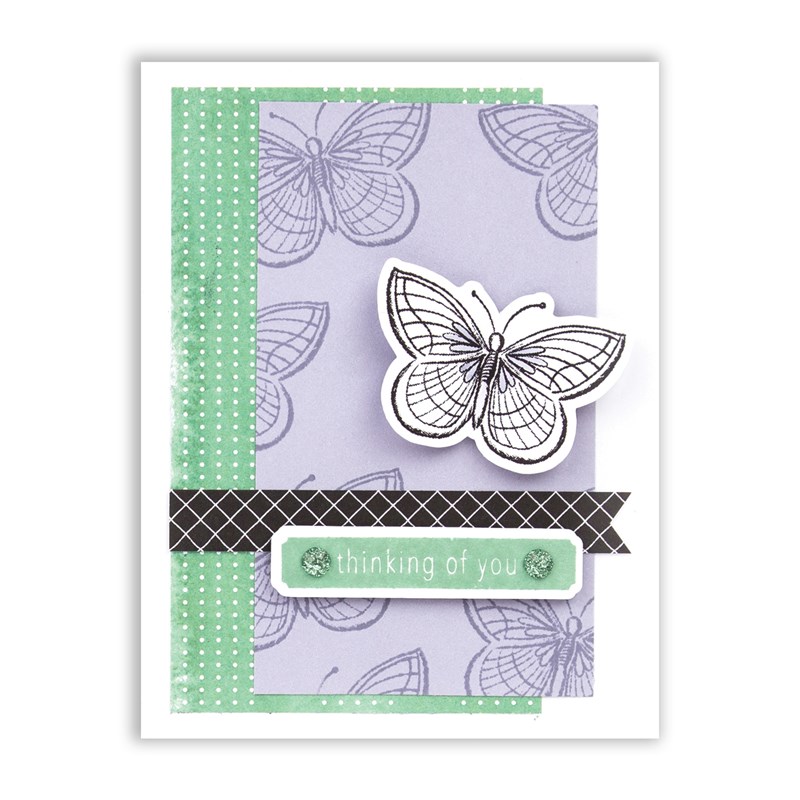
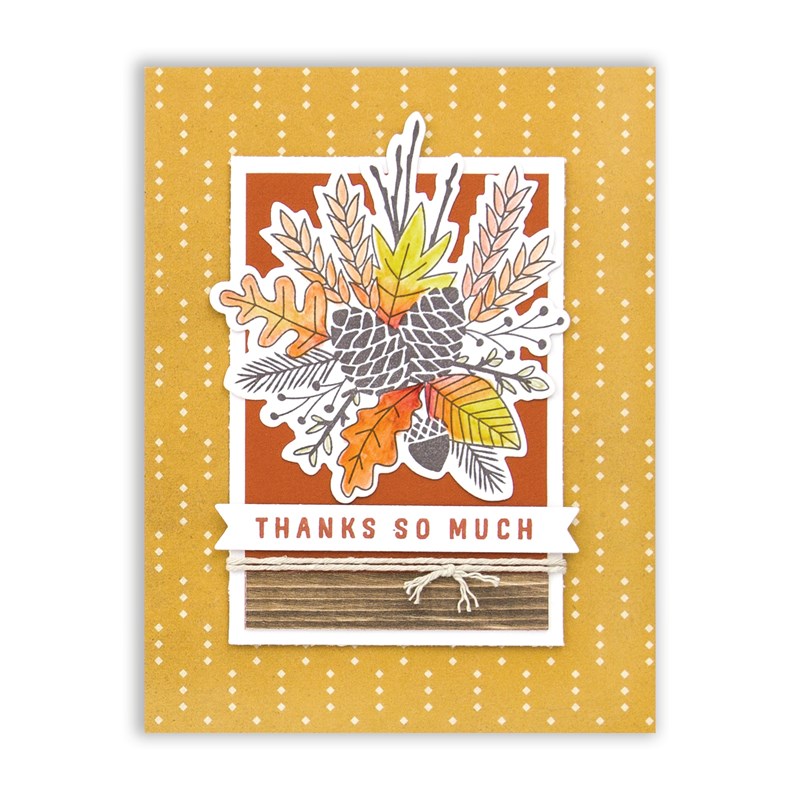
Card created with Random Act of Cardness - CTMH Sep 2019 SOTM
I layered Black cardstock on the card base then added a layer of Every Little Thing. I added 3D Foam Tape to the back of the chevron strip. Using the September SOTM I stamped with VersaMark™ Ink, added White Embossing Powder and heated with the Heat Tool. I used Glue Dots® to attach the vellum to the card and hid the glue using Black Diamond Stickles™ Glitter Gel (I also used it embellish the Wisteria strip at the bottom). You can purchase all of the supplies I used on my Consultant Website; you can purchase the Artbooking collection on Cricut®'s website – my Cricut® Affiliate Link will take you there.
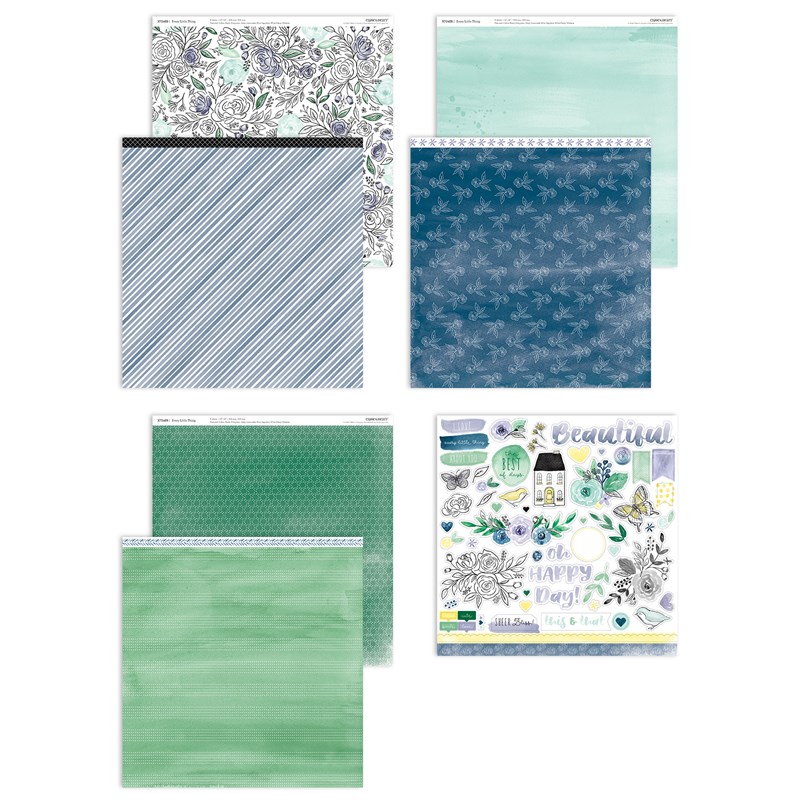
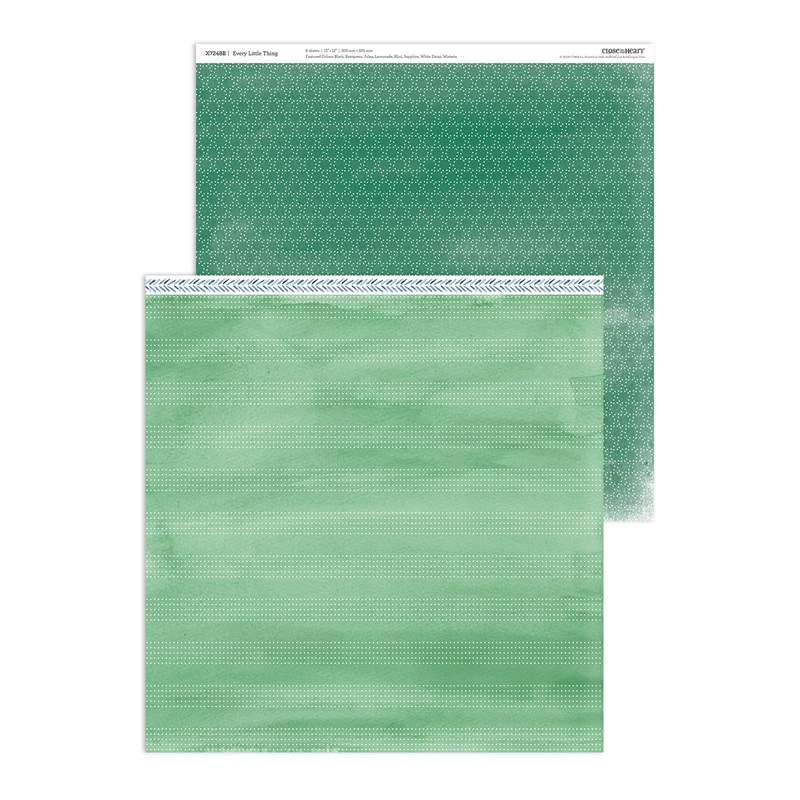
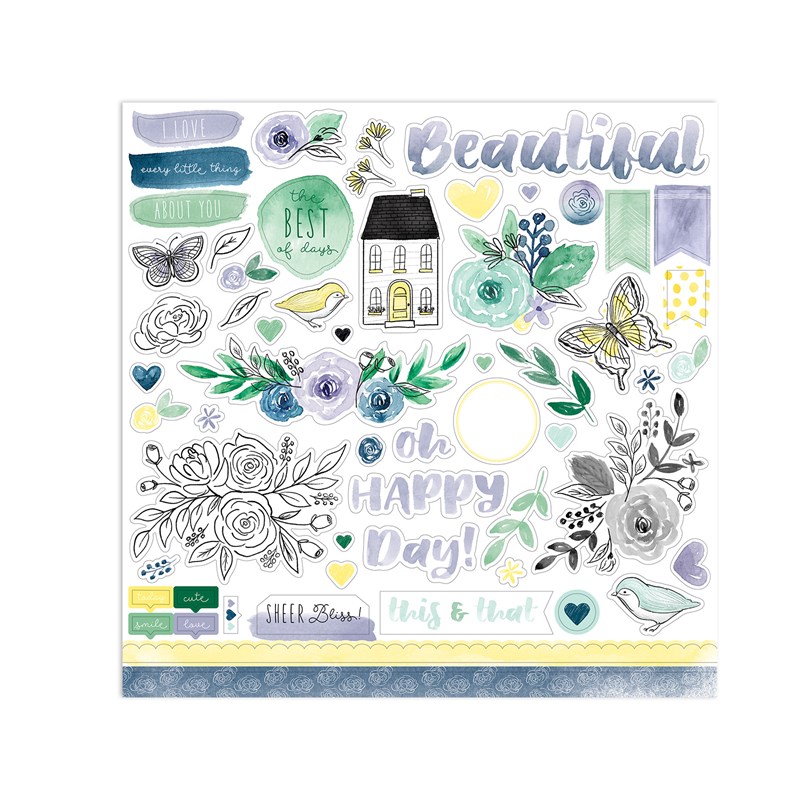
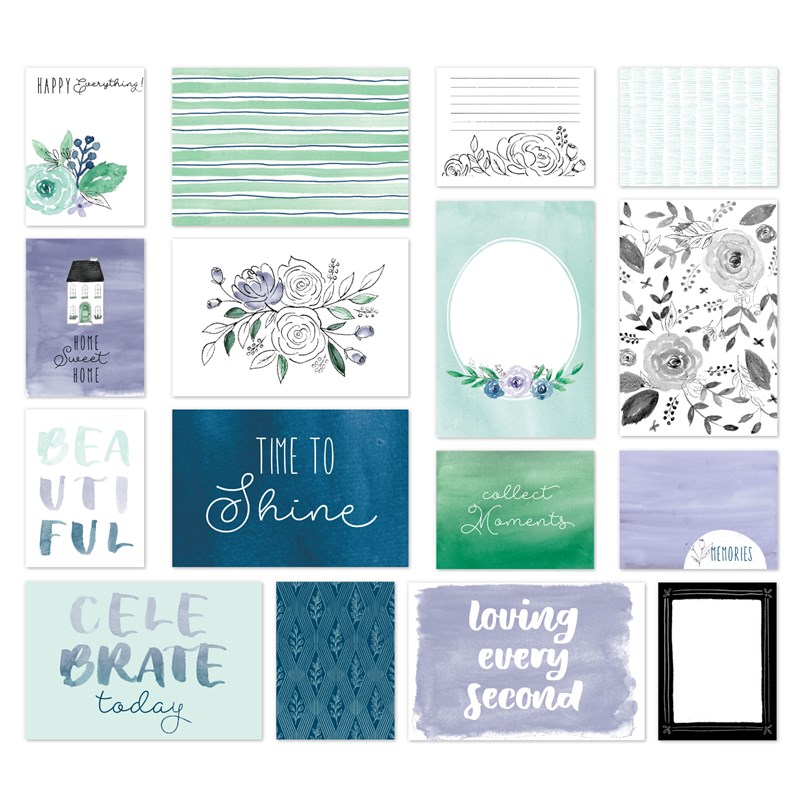
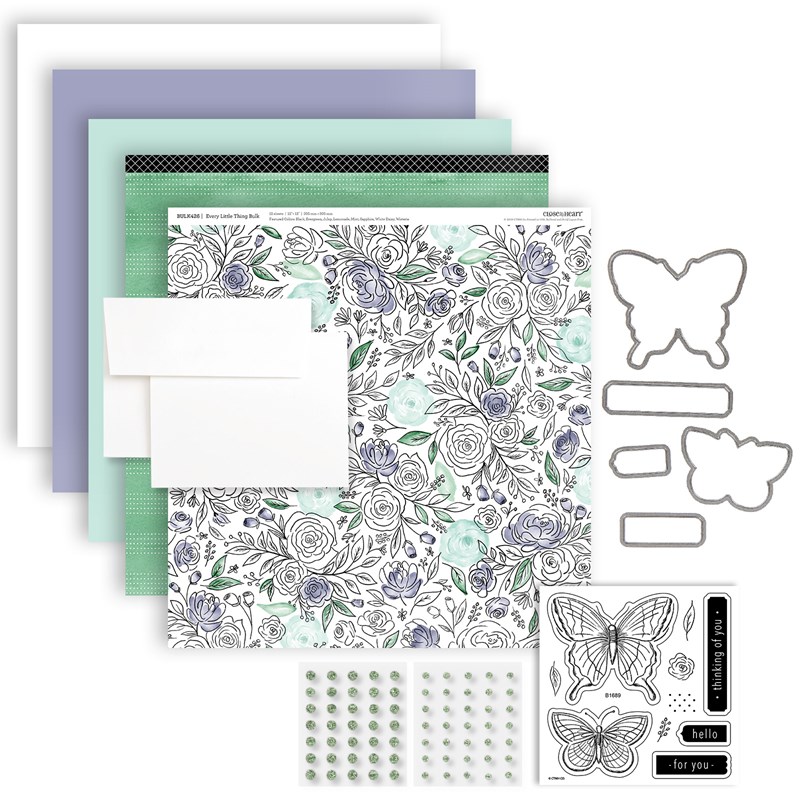
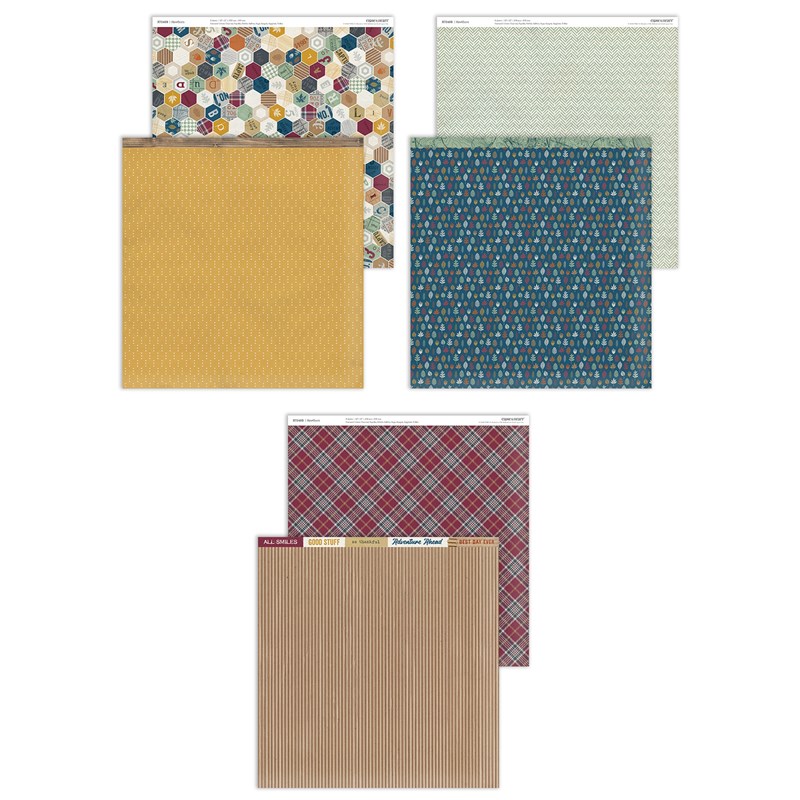
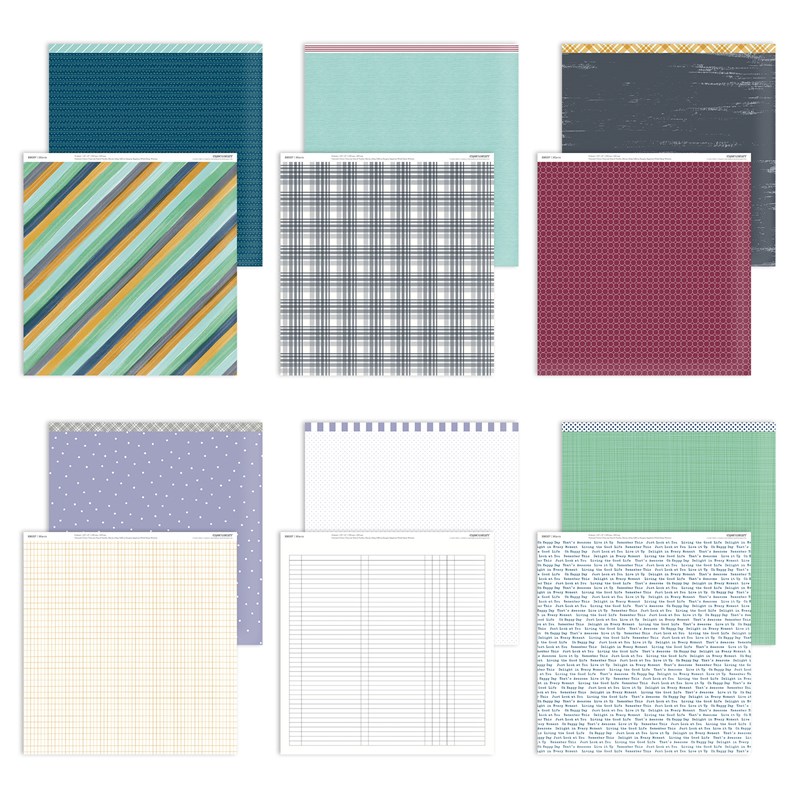
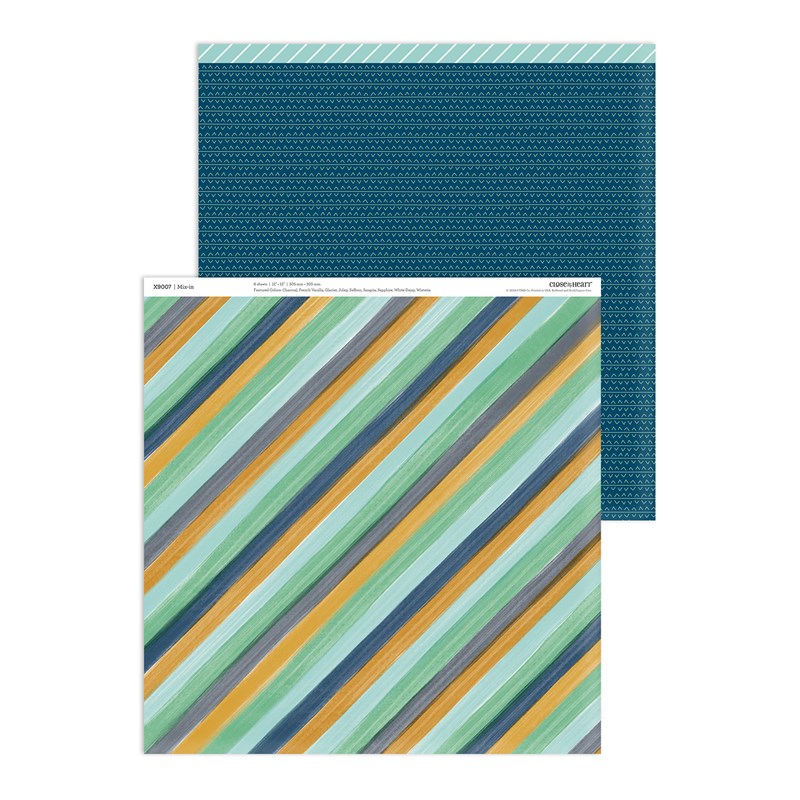
So far the cards I have made using this technique were made with Every Little Thing. I hope to find time to create with Hawthorn soon. In case you have not had a chance to sit down and look though the latest CTMH Idea Books, you will find both the Sep/Oct 2019 and Core Products Catalogs here on my Consultant Website. Here's a review the current paper collections from Close To My Heart:
I hope you like the card I created. So you do not have to scroll back up to find the links, you can purchase most of the supplies I used on my Consultant Website; the Artbooking collection is available on Cricut®'s website – my Cricut® Affiliate Link will take you there.
If you have a few moments please let me know what you think about my card and this technique. Have a fantastic day!
0
comments:
Post a Comment
Thank you for leaving a comment! I enjoy reading them.


0 comments:
Post a Comment
Thank you for leaving a comment! I enjoy reading them.